Is your TIG welder arc acting up? Maybe it’s sputtering, dancing around, or just not smooth like you want it to be. This can be super frustrating, especially when you’re just starting out.
It’s a common problem, but don’t worry! We’re going to show you some simple ways to fix it. We’ll walk you through it step-by-step so you can get that nice, steady arc back.
Let’s get your TIG welding back on track and make those projects look great.
Key Takeaways
- You will learn the common reasons why a TIG welder arc might be unstable.
- We will explain how simple adjustments can fix arc instability.
- Discover the importance of proper gas flow for a stable arc.
- Understand how tungsten selection and condition affect arc stability.
- Learn about the role of amperage and how to set it correctly.
- Find out how to check and clean your TIG torch for better performance.
Why Your TIG Welder Arc Might Be Unstable
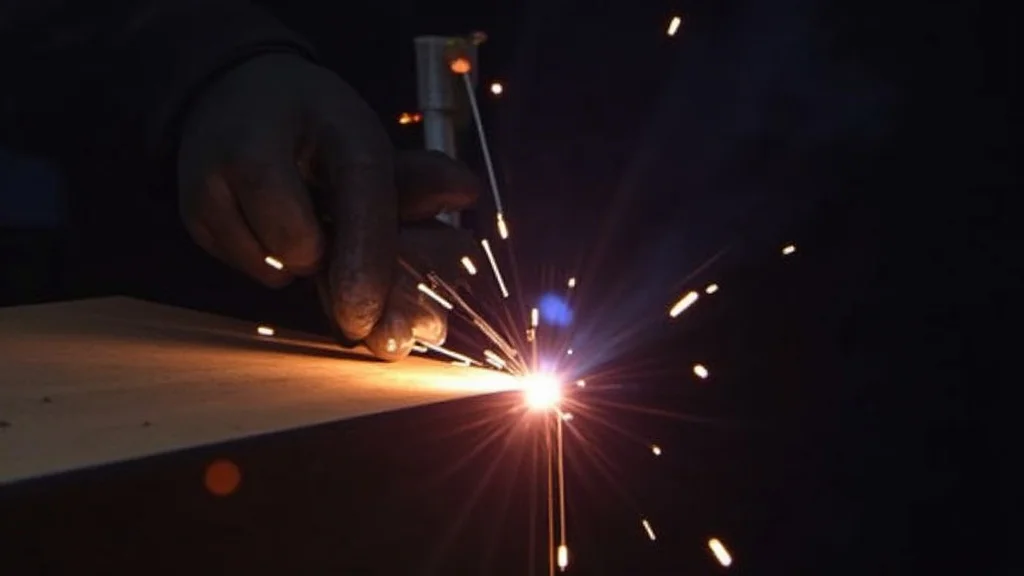
When you’re learning TIG welding, getting a smooth, consistent arc is one of the first big hurdles. If your TIG Welder Arc Not Stable? Easy Fix is a common thought, it’s because a shaky arc makes it hard to control the weld pool.
You might get uneven beads, spatter, or even burn through your material. This instability isn’t usually a sign of a broken machine; it’s often just a few small things that need adjusting. Think of it like learning to ride a bike – at first, it wobbles, but with practice and a few tweaks, you find your balance.
Understanding the Basics of a Stable TIG Arc
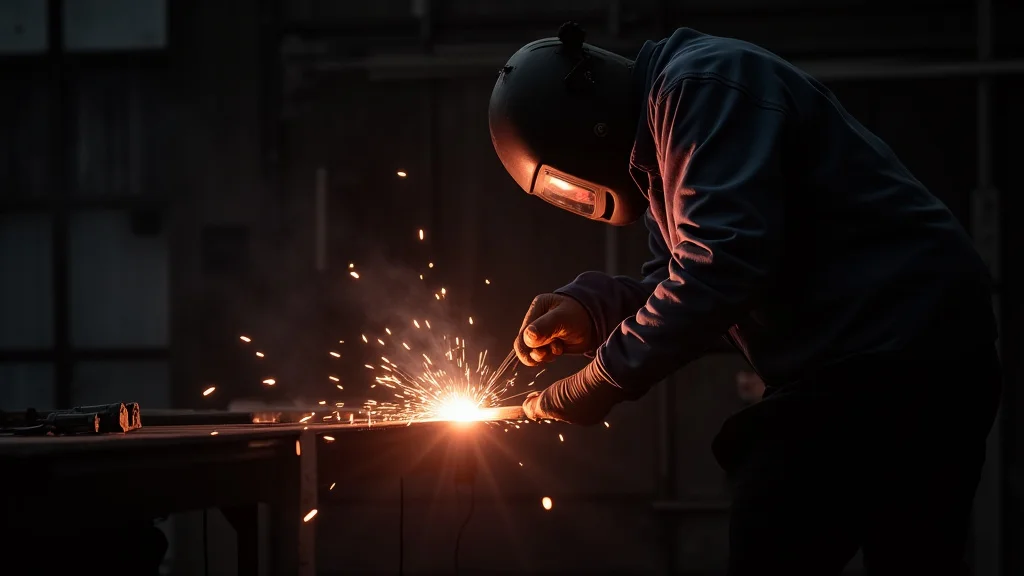
A stable TIG arc is like a well-behaved friend. It stays where you put it, burns cleanly, and lets you focus on feeding the filler metal and moving along the joint. This consistent stream of electricity between the tungsten electrode and your workpiece is what melts the metal.
When that stream is uneven, it’s hard to control the heat, and that’s where problems start. A good arc makes welding easier and produces much nicer-looking welds.
Common Culprits Behind Arc Instability
Several things can make your TIG arc jumpy. The most frequent causes are related to the shield gas, the tungsten electrode, and the power settings. It’s like a recipe; if one ingredient is off, the whole dish can be ruined.
Luckily, these are usually the easiest things to check and fix.
Checking Your Shielding Gas
The shielding gas is super important. It protects the molten weld pool and the hot tungsten from the air. If the air gets in, it can cause all sorts of problems, including a wild arc.
Imagine trying to keep something hot and clean in a windy room – it’s tough!
Gas Flow Rate
What to Look For
You need the right amount of gas flowing from your torch. Too little, and the air will sneak in. Too much, and the gas stream can get turbulent and actually blow the molten metal away, causing spatter and an unstable arc.
You’re looking for a steady, gentle flow.
How to Adjust It
Most TIG welders have a flow meter on the gas cylinder. You’ll see a ball inside a tube. For most general TIG welding with Argon, a good starting point is around 15-25 cubic feet per hour (CFH).
Check your specific machine’s manual or the material you’re welding for best practices. You can adjust this with the valve on the regulator.
Gas Leaks
What to Look For
Even if your flow meter shows the right setting, you might have a leak somewhere. This could be in the hose connecting your regulator to the machine, or the connections on the machine itself. A leak means less gas is actually getting to your weld.
How to Check for Leaks
Turn on your gas cylinder valve slowly. With the regulator turned off (knob tight), you should see the pressure gauge go up and stay there. If it drops quickly, you have a leak before the regulator.
With the regulator on and gas flowing, you can use soapy water on all connections. If you see bubbles, there’s a leak.
Proper Gas Coverage
What to Look For
The gas needs to come out of the torch cup evenly. If the cup is damaged or the gas lens isn’t installed correctly, the gas might not cover the weld area like it should. Wind can also be a big enemy of good gas coverage.
How to Ensure Good Coverage
Make sure your torch cup is clean and not cracked. If you’re using a gas lens, ensure it’s assembled correctly with the proper screens. Try to weld in an area with as little wind as possible.
Even a slight breeze can disrupt the gas shield.
Tungsten Electrode Issues
The tungsten electrode is the business end of your TIG torch. It’s what creates the arc. If it’s not in good shape, your arc will suffer.
Tungsten Type
What to Look For
There are different types of tungsten electrodes, each with a specific color band indicating its composition. Using the wrong type can affect arc stability, especially at lower amperages or on certain metals. For general AC welding (like aluminum), pure or Zirconiated tungsten might be used.
For DC welding (like steel or stainless steel), Lanthanated or Ceriated are common choices and offer good arc stability.
Choosing the Right Type
For steel and stainless steel, a 2% Ceriated (blue band) or 2% Lanthanated (gold band) tungsten is usually a great choice. For aluminum, a Pure (green band) or Zirconiated (white band) tungsten is often recommended, though many welders find Lanthanated works well here too. Always check recommended practices for the specific metal you are welding.
Tungsten Condition
What to Look For
A tungsten electrode that has been used a lot, has a rounded tip, or has picked up contamination will not produce a stable arc. A properly shaped tungsten electrode is key to a focused and consistent arc.
Sharpening and Maintaining Your Tungsten
For DC welding, the tungsten should be ground to a sharp point. Use a dedicated grinder for tungsten – never one you use for other metals, as contamination is bad. Grind it lengthwise, not across the tip, to create a nice taper.
For AC welding on aluminum, the tip should be rounded or balled. If your tungsten gets contaminated (e.g., touches the weld pool), you’ll need to grind a fresh point.
Tungsten Stick-Out
What to Look For
This is how much of the tungsten electrode sticks out of the torch cup. Too much stick-out exposes the tungsten to air and heat, leading to instability and contamination. Too little stick-out can make it hard to see your weld pool and can lead to the tungsten touching the workpiece.
Finding the Sweet Spot
For most general welding, about 1/4 inch to 1/2 inch (6-12 mm) of tungsten stick-out is ideal. This varies slightly depending on the size of your torch cup and the joint you’re welding. Experiment to find what works best for visibility and arc stability.
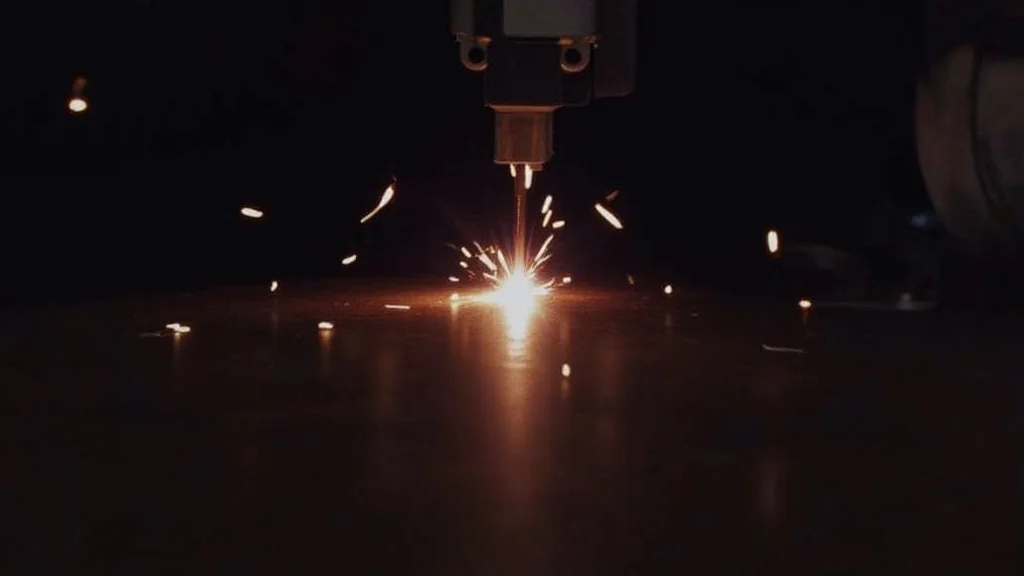
Power Settings and Amperage Control
The electricity you’re using is the heart of the arc. Getting the amperage right is crucial for a stable arc and a good weld.
Amperage Setting
What to Look For
If your amperage is set too low for the material thickness, you’ll have trouble getting enough heat to melt the metal, and the arc might sputter. If it’s too high, you risk burning through and can also get an unstable arc.
Finding the Right Amperage
There are charts and general rules of thumb for amperage settings based on material type and thickness. For example, a common starting point for steel is about 1 amp per thousandth of an inch of thickness. For aluminum, you might need more.
It’s always best to consult welding guides or start with lower settings and gradually increase them while watching the arc and the weld pool.
Power Source Quality
What to Look For
Some TIG welders, especially older or cheaper models, might have a less stable power output. This means the amperage can fluctuate on its own, even if you’re not touching any controls. This can manifest as a “choppy” or unstable arc.
What You Can Do
If you suspect your power source is the issue, ensure your machine is plugged into a stable power supply. Avoid using long extension cords if possible, as they can cause voltage drop. For very inexpensive machines, there might be inherent limitations in the arc quality.
However, for most modern machines, this is less of a common issue than the other factors we’ve discussed.
Torch and Cable Connections
The physical connection between your welder and the torch is important. Any issues here can interrupt the flow of electricity.
Loose Connections
What to Look For
If the connection point between your TIG torch cable and the welder is loose, it can create resistance. This resistance can lead to a weak or unstable arc. It might also cause overheating at the connection point.
How to Check and Tighten
Turn off your welder. Carefully check the connection where the torch cable plugs into the machine. Most use a DINSE connector or a similar twist-lock system.
Make sure it’s clean, free of debris, and twisted or pushed in securely. Give it a gentle tug to ensure it’s not loose.
Damaged Cables or Hoses
What to Look For
Cracked or worn torch cables and hoses can cause a variety of problems. They can lead to gas leaks, water leaks (if you have a water-cooled torch), or internal wire damage that affects the electrical connection. This damage can result in an unstable arc or even a complete loss of arc.
Inspection and Repair
Regularly inspect your torch cable for any signs of wear, cuts, or abrasions. Pay attention to the areas where the cable bends frequently, near the torch handle and the welder connection. If you find significant damage, it’s best to have the cable repaired or replaced by a qualified technician.
Technique Matters
Sometimes, the issue isn’t with the machine but with how you’re holding and moving the torch.
Torch Angle
What to Look For
Holding the torch at a very steep or very shallow angle can affect the gas coverage and the way the arc interacts with the base metal. A steep angle can disrupt the gas shield, while a very shallow angle might make it hard to see and control the weld pool.
Ideal Angle
For most welding, a torch angle of about 10-15 degrees away from your direction of travel is a good starting point. This angle helps maintain good gas coverage and allows you to see what you’re doing.
Distance to Workpiece
What to Look For
The distance between the tungsten electrode and the workpiece affects the arc length and heat input. A very long arc is unstable and can draw in air. A very short arc can lead to the tungsten touching the weld pool, causing contamination and an unstable arc.
Maintaining Consistent Distance
Try to keep a consistent arc length, roughly the same as the diameter of your tungsten electrode. This takes practice. Using a consistent tungsten stick-out (as mentioned earlier) helps a lot with maintaining a consistent distance.
Troubleshooting Table
Here’s a quick look at common problems and their likely causes:
| Problem | Possible Cause | Easy Fix |
|---|---|---|
| Arc is sputtering, noisy | Low gas flow, contaminated tungsten, dirty workpiece | Increase gas flow, clean/re-grind tungsten, clean metal |
| Arc wanders or blows | Too much gas flow, wind, magnetic arc blow (less common for beginners) | Reduce gas flow, shield from wind, check workpiece grounding |
| Arc is weak and fades | Loose connection, low amperage, worn tungsten, poor ground | Tighten connections, increase amperage, re-grind tungsten, check ground clamp |
| Arc is “fuzzy” or not focused | Incorrect tungsten type, dull or rounded tungsten, incorrect AC balance (if applicable) | Use recommended tungsten, re-grind tungsten to a point (DC) or ball (AC), check AC settings |
Frequently Asked Questions
Question: Why is my TIG arc so loud and crackly?
Answer: A loud, crackly arc often means you don’t have enough shielding gas, or there’s air getting into the weld. Make sure your gas is on, your flow rate is set correctly, and there are no leaks. Also, check that your tungsten isn’t contaminated.
Question: My TIG arc keeps blowing out. What am I doing wrong?
Answer: This could be due to too much gas flow, which can create turbulence, or it might be a windy environment. Try reducing your gas flow slightly or shield the welding area from drafts. Ensure your torch cup is the right size for the job.
Question: Can I use a standard grinder to sharpen my TIG tungsten?
Answer: It’s not recommended. Standard grinders can leave behind metal dust that contaminates your tungsten. It’s best to use a dedicated grinder for tungsten or a separate grinding wheel just for this purpose.
If you must use a standard grinder, clean it thoroughly and use a fresh spot on the wheel.
Question: What does AC balance control do on a TIG welder?
Answer: AC balance control (on AC TIG welders used for aluminum) adjusts the ratio of cleaning action to penetration. A higher cleaning setting gives a wider arc with more cleaning action but less penetration. A higher penetration setting gives a narrower, hotter arc with less cleaning but deeper penetration.
For a stable arc, you usually want a balanced setting unless you have a specific need.
Question: My TIG torch feels hot even when I’m not welding for long. Is this normal?
Answer: If you have a water-cooled torch, a bit of warmth is normal as the coolant circulates. If you have an air-cooled torch and it gets very hot quickly, it could mean you’re running too much amperage for the torch’s capacity, or there might be a restriction in the gas flow which is also used for cooling an air-cooled torch. Always match your amperage to what your torch is rated for.
Final Thoughts
Getting a stable TIG arc is all about paying attention to the details. You learned that checking your shielding gas, ensuring your tungsten is in good shape, and setting your power correctly are key. Simple things like gas flow, tungsten grind, and clean connections make a big difference.
Now you know how to troubleshoot and fix most common arc stability issues. Keep practicing these steps, and you’ll be welding with a smooth, consistent arc in no time.