Having your welding machine suddenly stop working can be frustrating, especially when you’re in the middle of a project. Many beginners find the “Welding Machine Overload Problem Solved” to be a common headache because it’s not always obvious why it happens. Don’t worry, this is a common issue and we have a simple, step-by-step plan to get you back to welding.
We’ll show you exactly what to look for and how to fix it easily.
Key Takeaways
- You will learn what causes a welding machine to overload.
- You will discover how to identify the signs of an overload.
- Simple checks to perform to fix the problem will be explained.
- Tips to prevent future overload issues will be provided.
- You will gain confidence in troubleshooting your welding equipment.
Understanding Welding Machine Overload
A welding machine overload happens when the device tries to pull more electrical power than it is designed to handle. Think of it like trying to plug too many big appliances into one small outlet; the circuit breaker trips. For welding machines, this overload can happen for a few reasons, and it’s often a safety feature designed to protect the machine from damage.
Beginners might not know what’s causing it, which makes the “Welding Machine Overload Problem Solved” seem like a big mystery.
Why Do Welding Machines Overload?
There are several common reasons your welding machine might overload. The most frequent culprit is drawing too much current for too long. Welding produces a lot of heat, and if the machine is running at its maximum capacity for an extended period, its internal components can get too hot.
This triggers a thermal cut-off switch. This switch is like a little guard inside your machine that shuts it off before it burns itself out.
Another reason is using the wrong power supply or extension cords. If the power source isn’t strong enough, or if the extension cord is too thin and long, it can’t deliver the required power efficiently. This leads to voltage drop, which can make the machine work harder and eventually overheat or trigger an overload.
Damaged or faulty components within the welding machine itself can also cause issues. Worn-out cables, loose connections, or internal electrical faults can disrupt the normal flow of electricity, leading to an overload condition.
Recognizing the Signs of Overload
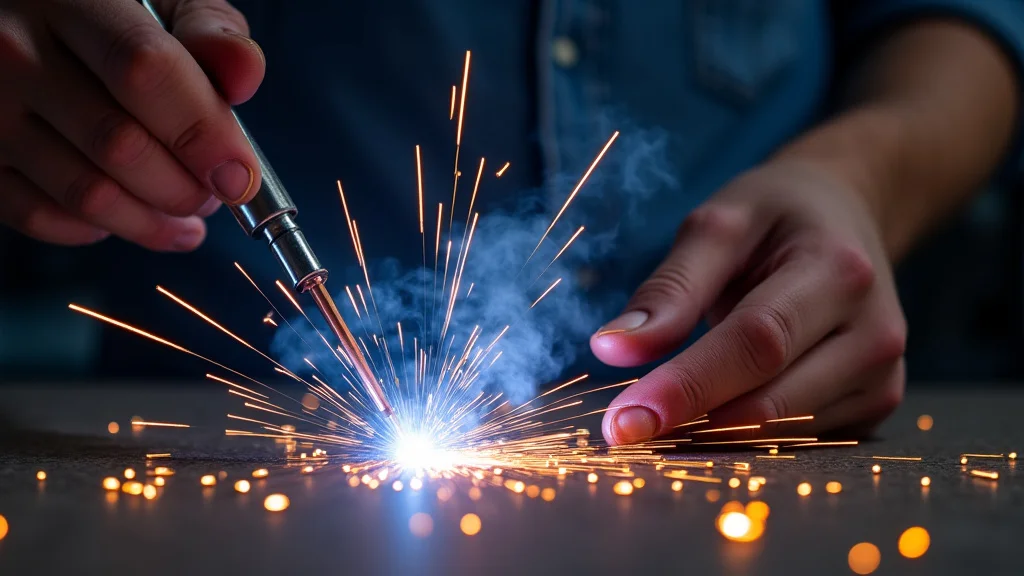
Spotting an overload is usually straightforward. The most obvious sign is that the welding machine simply stops working. You might notice that the welding power cuts out suddenly, even though you haven’t touched any controls.
Sometimes, you might hear a fan running loudly just before it shuts off, as the machine tries to cool itself down.
Many modern welding machines have indicator lights that will illuminate to show an overload or overheat condition. These lights are there to give you a clear signal that something isn’t right. You might also experience a loss of welding arc stability before the machine fully shuts down.
If your welds start looking inconsistent or the arc sputters unexpectedly, it could be an early warning sign.
Don’t ignore these signs. They are your machine’s way of telling you it needs a break or that there’s a problem that needs fixing. Paying attention to these early indicators can prevent more serious damage to your equipment.
Solving the Welding Machine Overload Problem: A Step-by-Step Guide
When your welding machine overloads, the first thing to do is not panic. Follow these simple steps to diagnose and solve the issue, helping you get your “Welding Machine Overload Problem Solved” quickly.
Step 1: Power Down and Cool Off
The immediate action is to turn off the welding machine. Unplug it from the power source. This is crucial because the machine is likely hot.
You need to give it ample time to cool down. Depending on how long it was running and how hot it got, this can take anywhere from 15 minutes to an hour or more. During this time, make sure it’s in a well-ventilated area so heat can dissipate effectively.
While it’s cooling, take a moment to check the ventilation ports on the machine. Make sure they aren’t blocked by dust, debris, or anything else. A blocked vent prevents the cooling fan from doing its job, which is a common reason for overheating.
Step 2: Check Your Power Source and Cords
Once the machine has cooled down, it’s time to examine your power setup. Ensure that the power outlet you’re using is rated for the amperage your welding machine requires. Using a circuit that’s already overloaded with other appliances can cause issues.
Inspect your extension cords, if you’re using one. Make sure it’s the correct gauge for the amperage and distance. A cord that’s too thin or too long will create resistance, leading to voltage drop and potentially causing the overload.
Look for any signs of damage, fraying, or melted insulation on the cord and its connectors.
Tip: If possible, try plugging your welder directly into a wall outlet on its own circuit to rule out power source issues.
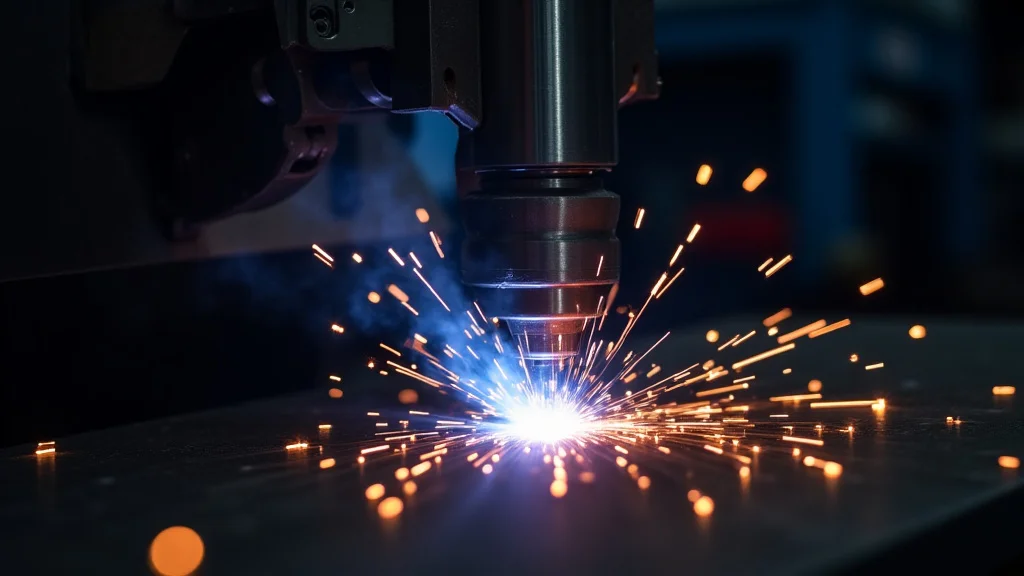
Step 3: Inspect the Welding Cables and Connections
Loose or damaged welding cables can cause a lot of resistance, generating excess heat. Check the connections where the welding cables attach to the machine and to the electrode holder or ground clamp. Make sure they are clean, tight, and free from corrosion.
Examine the welding cables themselves for any cuts, abrasions, or signs of overheating. The insulation should be intact. If the cables look worn or damaged, they should be replaced before you attempt to weld again.
Step 4: Assess Your Welding Technique and Duty Cycle
This is where your welding habits come into play. Every welding machine has a duty cycle. This is the percentage of time within a 10-minute period that the machine can operate at a given amperage without overheating.
For example, a 60% duty cycle at 100 amps means you can weld for 6 minutes at 100 amps and then the machine needs to cool down for 4 minutes.
If you’re consistently welding at maximum output or for long stretches without breaks, you might be exceeding the duty cycle. Try reducing the amperage slightly or taking longer breaks between welds. This is a very common reason for overload in both beginner and experienced welders pushing their machines.
Consider the thickness of the metal you are welding. Thicker metals require higher amperages and longer run times, which can quickly push a machine beyond its duty cycle.
Step 5: Check for Internal Issues (Advanced)
If you’ve gone through all the previous steps and your machine is still overloading, there might be an internal problem. This could be a faulty fan, a failing capacitor, or other internal electrical issues. If you are not comfortable working with the internal components of a welding machine, it’s best to take it to a qualified repair technician.
Safety First: Always unplug the welding machine and ensure all capacitors are discharged before opening the casing. Internal components can hold a dangerous electrical charge.
Preventing Future Overloads
Once you’ve successfully solved the overload issue, it’s wise to take steps to prevent it from happening again. Proactive measures are always better than reactive repairs.
Maintain Your Machine
Regular cleaning and maintenance are key. Keep the ventilation ports clear of dust and debris. Periodically check connections and cables for wear and tear.
Following the manufacturer’s maintenance schedule, if one is provided, can help catch potential problems early.
Understand Your Machine’s Limits
Know your welding machine’s duty cycle. When you buy a welder, look at its specifications for its duty cycle at different amperages. Don’t push it beyond these limits.
If your projects consistently require you to run the machine at its maximum capacity for extended periods, you might need a more powerful machine or a model with a higher duty cycle.
Use Appropriate Accessories
Always use power cords and extension cords that are rated for the amperage and voltage required by your welder. Using underrated cords is a common mistake that leads to voltage drops and potential overloads.
Frequently Asked Questions
Question: How long does a welding machine need to cool down after an overload?
Answer: The cool-down time varies. It can range from 15 minutes to over an hour, depending on how long the machine was running and how hot it got. Let it cool until it’s no longer hot to the touch.
Question: Can a dirty welding machine cause an overload?
Answer: Yes, dust and debris can block ventilation ports, preventing the cooling fan from working effectively. This leads to overheating and can trigger an overload.
Question: Is it safe to keep trying to weld if the machine keeps overloading?
Answer: No, it’s not safe. Continuously trying to use an overloaded machine can cause permanent damage to its internal components.
Question: What is a duty cycle in welding machines?
Answer: The duty cycle is the percentage of time a welding machine can operate within a 10-minute period at a specific amperage without overheating. For example, 60% at 100 amps means 6 minutes of welding and 4 minutes of rest.
Question: Should I try to fix a welding machine overload myself?
Answer: For simple issues like cooling down, checking cords, and understanding duty cycles, yes. If you suspect internal electrical problems, it’s best to consult a professional technician.
Final Thoughts
Fixing a welding machine overload is usually quite simple. You’ve learned that it often comes down to giving the machine time to cool, using the right power, and respecting its duty cycle. By following these straightforward steps, you can confidently get your welder working again and avoid future shutdowns.
Keep those connections clean and your machine’s vents clear. Happy welding!