Sometimes your welding machine acts up, and you get a Welding Machine Low Voltage Issue? Step Fix pop up. It can feel a bit confusing when you’re starting out with welding.
Don’t worry, though! This guide breaks down why this happens and gives you easy steps to sort it out. We’ll walk through how to get your welder running right again without any fuss, and then look at what else you can do to keep things working smoothly.
Key Takeaways
- You’ll learn common reasons why welding machines experience low voltage.
- We’ll show you simple steps to diagnose and fix low voltage problems.
- You’ll discover how to check your power source and connections.
- This guide helps you identify issues with the welding machine itself.
- You’ll get tips on how to prevent future voltage problems.
Understanding Welding Machine Low Voltage
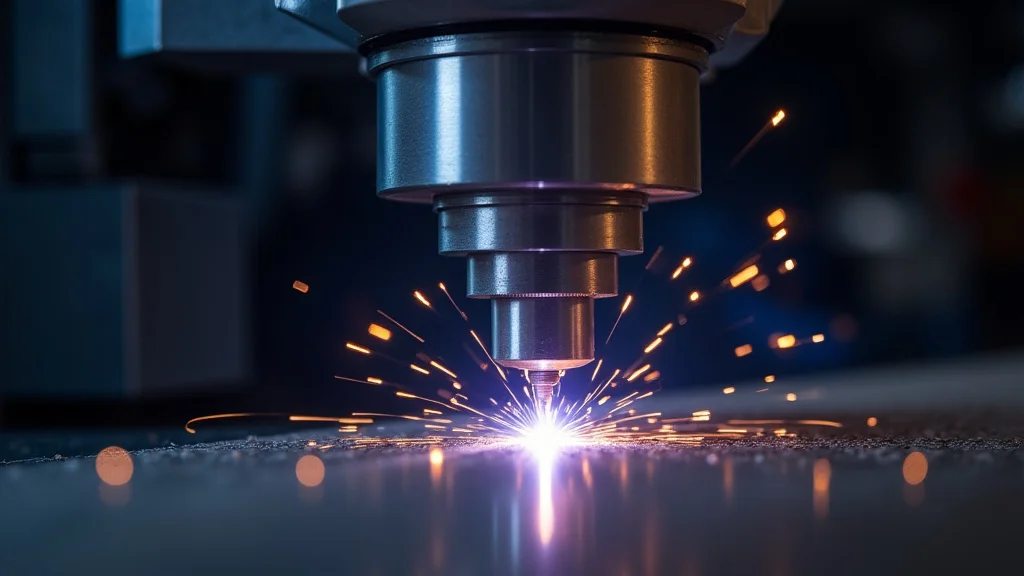
When your welding machine shows a low voltage issue, it means the electrical power going to your weld isn’t as strong as it should be. This can make your welds weak or just not happen at all. For new welders, figuring out why this happens can be a puzzle.
It’s like trying to get a car to start when it’s not getting enough gas. You need the right amount of power for the machine to do its job.
Why Does Low Voltage Happen?
Several things can cause your welding machine to have low voltage. It’s not always a big problem, and often it’s something simple you can fix yourself. Think of it like a house with dim lights; the electricity might be weak.
For a welder, this means the heat needed to melt metal isn’t there.
Power Source Problems
The most common reason for low voltage is often with the power source feeding your welder. This could be your wall outlet, extension cord, or even the breaker panel. If these aren’t supplying enough power, the welder won’t get what it needs.
The Wall Outlet and Extension Cords
Your standard household outlets might not be enough for some welding machines. Welders draw a lot of power. If you’re using a long or thin extension cord, it can act like a restrictor.
It makes the electricity harder to flow. This is like trying to drink a thick shake through a tiny straw. The thicker the cord and the shorter it is, the better the power flow.
Check the gauge of your extension cord. A lower gauge number means a thicker wire, which is better for carrying more power. Also, make sure the cord isn’t damaged, as cuts or worn spots can disrupt the flow.
Circuit Breakers and Fuses
Your home’s electrical system has circuit breakers or fuses to protect it from too much power. If a breaker trips, it cuts off power to that circuit. Sometimes, a breaker might not be fully tripped but is still making poor contact, leading to weak power.
A blown fuse will obviously stop power entirely.
If you suspect a breaker issue, you can try resetting it. If it trips again right away, there might be a bigger problem with the circuit or the machine drawing too much power.
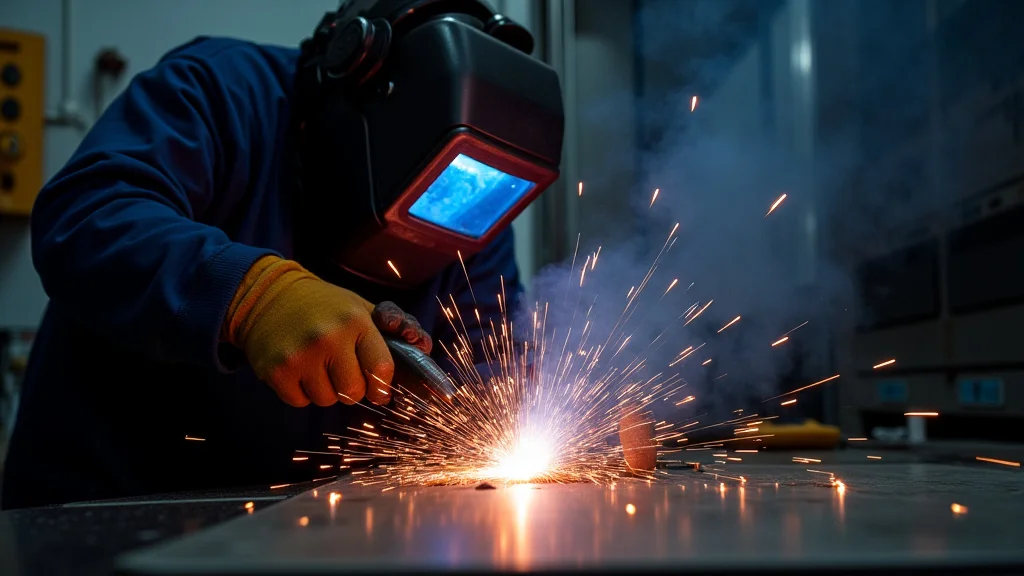
Issues with the Welding Machine Itself
Sometimes, the problem isn’t with where the power is coming from, but with the machine you’re using. Even new welders can have issues, and older ones might develop them over time.
Loose Connections
Inside and outside your welding machine, there are many connections where wires join. If any of these become loose, they can cause resistance and lower the voltage. This is like a kink in a garden hose; it stops the water flow.
This includes the ground clamp connection and the electrode holder connection. Make sure they are clean and tightly fastened. Dirt and rust can also create poor connections.
Internal Component Problems
Welding machines are complex. They have parts like transformers, rectifiers, and control boards. If any of these parts fail or start to wear out, they can affect the voltage output.
For example, a bad transformer might not be able to step down or up the voltage correctly.
These kinds of problems are harder for beginners to fix. They usually require a qualified technician to diagnose and repair.
Environmental Factors
Even the air around your welding machine can play a small role. Extreme temperatures or humidity can sometimes affect how electrical components work.
Temperature and Humidity
While less common, very hot or very cold conditions can sometimes lead to components not performing at their best. If your welder has been sitting in a damp garage or a hot shed, it’s worth letting it come to room temperature before using it.
Step-by-Step Fixes for Low Voltage
Now that you know some reasons for low voltage, let’s look at what you can do to fix it. We’ll start with the easiest things to check.
1. Check Your Power Source
Before touching the welder, confirm your electricity is strong. This is the most common culprit.
Verify the Outlet
Plug something else into the outlet you’re using for the welder. A simple lamp or a power tool can tell you if the outlet is working correctly. If those items also seem weak or don’t work, the problem is with the outlet or the circuit.
You might need an electrician.
Inspect Extension Cords
If you’re using an extension cord, unplug it and look for any signs of damage. Frayed wires, melted plastic, or deep cuts are all bad signs. If it looks worn,
Ensure the cord is rated for the amperage your welder uses. A cord too small for the job will overheat and cause voltage drop.
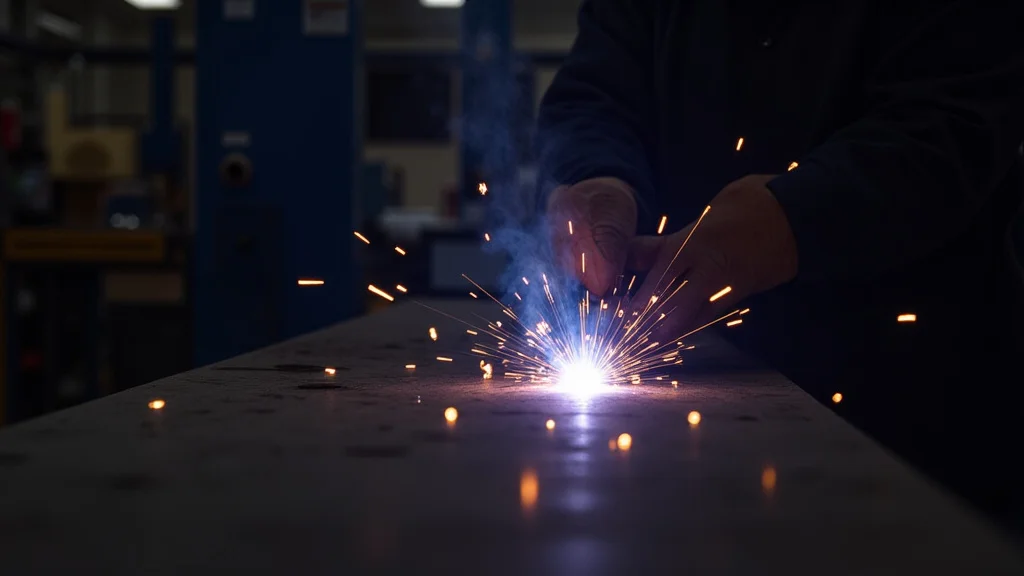
2. Inspect Welder Connections
Loose or dirty connections are a big cause of voltage loss. Take a few minutes to clean and tighten everything.
Ground Clamp
The ground clamp needs a solid connection to the metal you’re welding. Make sure the clamp itself is clean and that the cable is tightly secured to the clamp. Scrape away any paint, rust, or dirt from the surface where the clamp attaches.
A shiny metal surface is best.
Electrode Holder (or TIG Torch)
Similarly, check where your electrode holder or TIG torch connects to the welder’s cable. Ensure the connection is snug and free from corrosion. Dirty or loose connections here will also reduce power.
3. Examine the Welding Machine Settings
It sounds simple, but sometimes the settings on your welder are just not right for the task.
Amperage and Voltage Settings
Make sure you have the correct amperage set for the type and thickness of metal you’re welding. If your welder has separate voltage control, ensure it’s also set appropriately. Consult your welder’s manual for recommended settings.
Some machines have automatic voltage or amperage settings. If these are malfunctioning, it could lead to low output.
4. Check the Circuit Breaker
If your welder is plugged into a circuit with a breaker, check if it has tripped.
Locate your home’s electrical panel. Find the breaker that controls the outlet your welder is using. If it’s in the “off” position, flip it completely off and then back on.
If it trips immediately again, do not keep resetting it. This indicates a serious electrical issue that needs a professional.
5. Clean Your Welder
Dust and debris can build up inside your welding machine, especially around cooling fans. This can cause components to overheat, which can sometimes lead to voltage issues.
Unplug your welder and open any access panels if you’re comfortable doing so. Use compressed air to blow out dust. Be gentle and avoid touching any internal components directly.
When to Call a Professional
If you’ve gone through these steps and are still experiencing low voltage, it might be time to seek help. Some problems are beyond what a beginner can safely fix.
Internal electrical components that have failed, like a transformer or a rectifier board, require specialized knowledge and tools to diagnose and replace. Trying to repair these yourself could be dangerous and may cause more damage to the welder.
Contacting the manufacturer of your welding machine or a certified welding equipment repair service is the best course of action in these cases.
Frequently Asked Questions
Question: Why does my welding machine spark but not lay a good bead?
Answer: This often happens with low voltage. The machine is getting some power, but not enough to create a stable arc. Check your power source, connections, and settings first.
Question: Can a bad ground clamp cause low voltage?
Answer: Yes, absolutely. A poor ground connection creates resistance, which acts like a bottleneck for the electricity, leading to low voltage and weak welds.
Question: How do I know if my extension cord is too small?
Answer: If your extension cord feels warm or hot to the touch during use, or if your welder’s performance drops significantly when using it, it’s likely too small for the job. Check the cord’s gauge rating against your welder’s amperage requirements.
Question: Should I try to open up my welding machine to fix it?
Answer: It’s generally not recommended for beginners to open up their welding machines unless they have specific training. There are high-voltage components inside that can be dangerous. Stick to checking external connections and power sources.
Question: What is the difference between low voltage and low amperage?
Answer: Voltage is like the electrical “pressure,” while amperage is the “flow” or amount of current. Low voltage means there isn’t enough electrical pressure to sustain a strong arc, which can also affect the amperage available and the quality of your weld.
Final Thoughts
Dealing with a Welding Machine Low Voltage Issue? Step Fix can be a simple fix or a sign of a bigger problem. You’ve learned about checking your power source, inspecting all connections, and making sure your welder is set right.
By following these easy steps, you can often get your welder back to performing as it should. Keep these checks in mind, and you’ll be welding smoothly again soon!