Is your TIG welder not digging deep enough into your metal? Getting TIG Welder Poor Penetration Welds? Fix issues can be tricky, especially when you’re starting out.
It’s easy to feel stuck when your welds look weak or don’t hold like they should. But don’t worry! We’re going to break down exactly why this happens and how to solve it.
Get ready for a simple, step-by-step guide that will help you get solid welds every time.
Key Takeaways
- Understand the main reasons why TIG welds lack proper penetration.
- Learn how to adjust your welding machine settings for better depth.
- Discover the importance of filler metal and how to use it correctly.
- Identify how travel speed and torch angle affect weld penetration.
- Recognize the role of base metal preparation in achieving good welds.
- Get simple tips to troubleshoot and fix poor penetration issues.
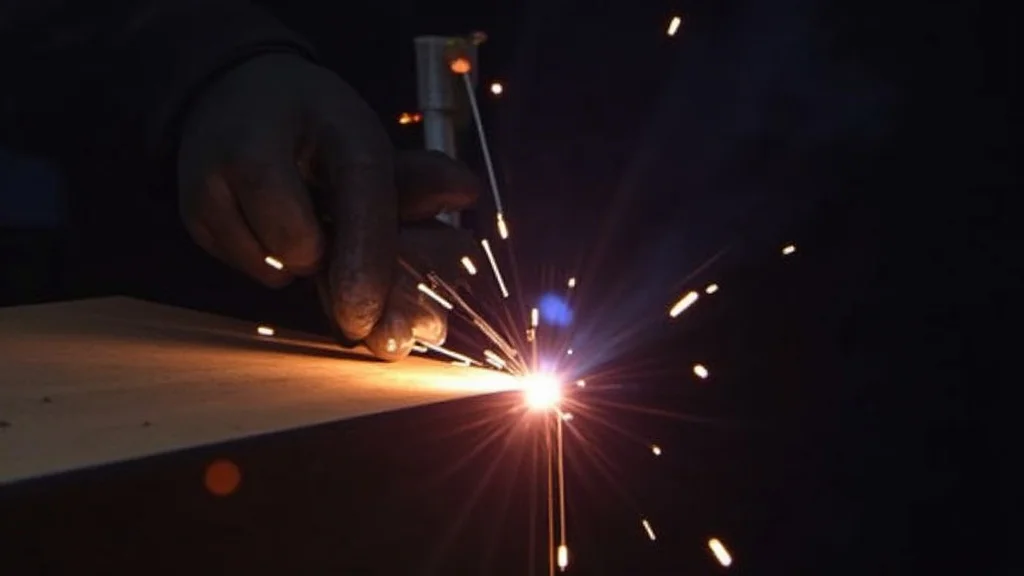
What is Weld Penetration and Why Does It Matter?
Weld penetration is how deep the molten metal from your weld goes into the base material. Think of it like how far a nail goes into wood. For a strong weld, you need the molten metal to fuse well with both pieces you’re joining.
If it doesn’t go deep enough, the weld might look okay on the surface, but it won’t be strong. It’s like gluing two pieces of paper together without letting the glue soak in; they’ll just pull apart easily.
Good penetration is super important for many reasons. It makes your welds strong and reliable. This is key for anything that needs to hold up under pressure, like a bike frame or a car part.
If a weld doesn’t penetrate well, it can fail when you least expect it. This can cause a lot of problems, from safety issues to costly repairs.
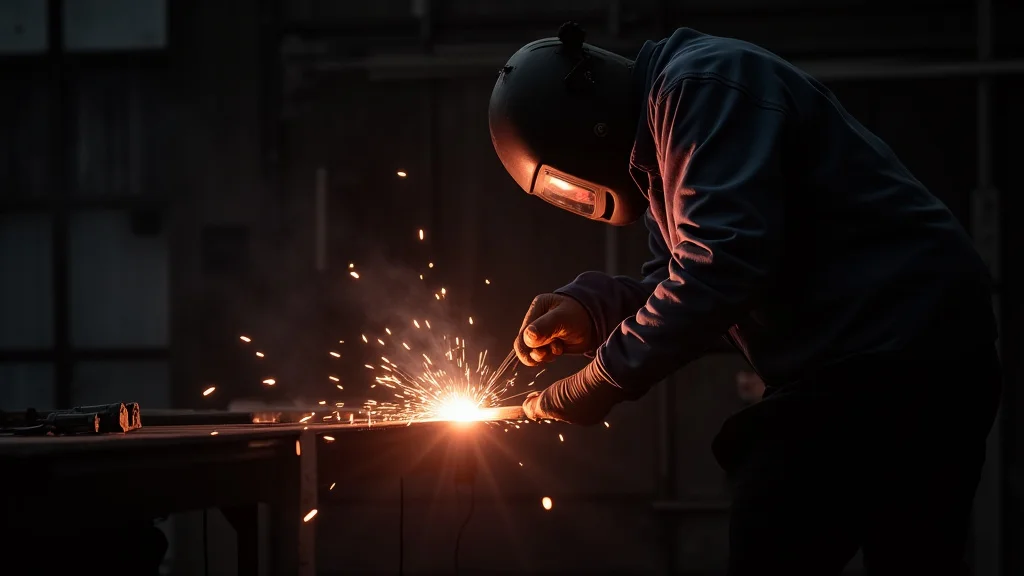
Common Causes of Poor TIG Weld Penetration
Many things can lead to your TIG welds not penetrating the metal properly. We’ll look at the most common ones so you can spot them and fix them.
1. Incorrect Amperage Setting
This is probably the most frequent reason for shallow welds. Amperage is like the heat your welder puts out. If you don’t have enough amperage, the metal won’t melt deep enough to fuse correctly.
Too low an amperage means you’re not melting enough base metal. The filler metal might just sit on top, creating a weak bead. It’s like trying to melt butter with a weak flashlight – it just won’t get hot enough.
On the other hand, too much amperage can burn through the metal, especially on thinner materials. This also leads to poor fusion, even though it’s a different kind of problem.
2. Wrong Filler Metal Diameter or Type
The filler metal is the material you add to help build the weld. Using the wrong size or type can really mess with penetration.
If your filler rod is too thick for the job, it can actually block the heat from reaching the base metal. It acts like a shield, keeping the arc from getting to where it needs to melt. Imagine trying to put a big log on a small campfire; it smothers the flames.
Also, some filler metals are designed for specific types of steel or metals. Using a filler that’s not compatible with your base metal can result in a weld that doesn’t bond well, leading to poor penetration.
3. Travel Speed is Too Fast
How quickly you move your TIG torch along the joint plays a big role. If you move too fast, the arc doesn’t have enough time to melt the base metal deeply.
It’s like painting a wall; if you rush, you’ll miss spots or leave thin, weak paint. A fast travel speed creates a narrow, shallow bead that might look good but lacks strength.
You need to give the heat and the molten puddle time to flow and fuse properly. This takes practice to get right.
4. Incorrect Torch Angle
The angle at which you hold your TIG torch can also affect how well the heat gets into the joint. TIG welding usually involves holding the torch at a slight angle, pointing it into the direction of travel.
If you hold the torch too upright or at the wrong angle, the heat might not be directed effectively into the root of the joint. This means the molten puddle won’t be deep enough.
A good rule of thumb is to angle the torch slightly into the direction you are welding, about 10-15 degrees. This helps push the molten metal and heat into the joint.
5. Poor Joint Preparation
How clean your metal is before you start welding is crucial. Dirt, rust, oil, paint, or any other contaminants on the surface can cause all sorts of welding problems, including poor penetration.
These contaminants can prevent the molten metal from properly fusing with the base metal. They can also introduce gases into the weld, creating porosity (small holes) and weak spots.
For TIG welding, especially on aluminum or stainless steel, a clean joint is absolutely essential. You need to remove any oxides or coatings.
6. Incorrect Gas Flow or Type
Your shielding gas, usually Argon for TIG welding, protects the molten weld pool from the air. If the gas flow is too low, the weld isn’t protected properly, which can affect fusion.
Too low a gas flow means the atmosphere can contaminate the weld, leading to a weaker bond and less penetration. It’s like trying to cook food without a lid on your pan; things can get burnt or dry out too quickly.
While this might not be the direct cause of poor penetration as much as other factors, a poorly shielded weld is inherently weaker and less likely to achieve good fusion depth.
7. Material Thickness and Type
The thickness of the metal you’re welding is a major factor. Thicker materials naturally require more heat and a different approach to achieve good penetration.
If you’re trying to weld thick steel with settings meant for thin steel, you’ll get poor penetration. You need enough amps to melt deep into the thicker section.
Different metals also behave differently. For example, aluminum melts at a lower temperature than steel, and it has a unique oxide layer that needs special attention. Stainless steel also has different welding characteristics than mild steel.
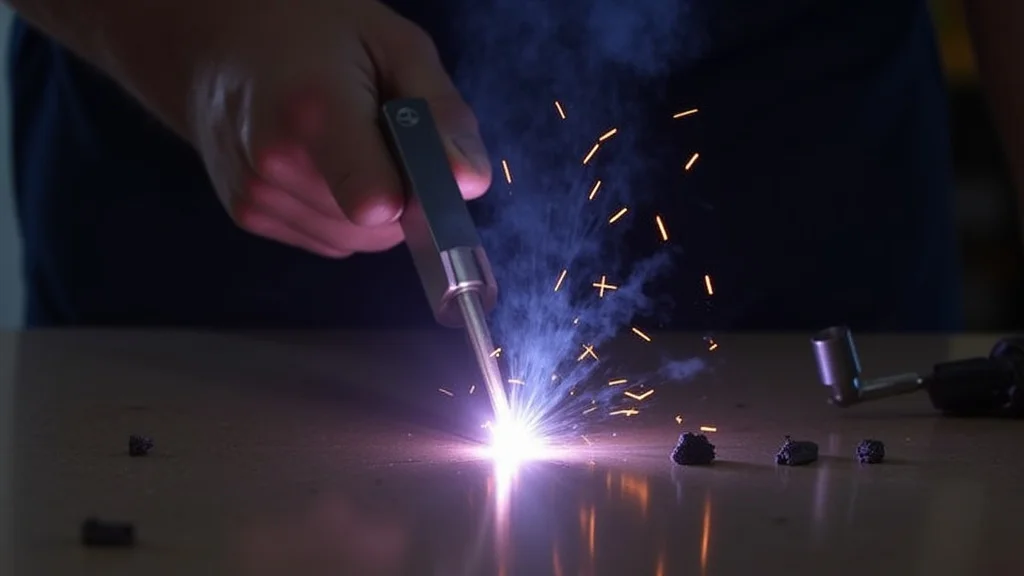
How to Fix TIG Welder Poor Penetration Welds
Now that we know the common problems, let’s look at how to fix them. These are simple adjustments you can make to your process.
1. Adjust Your Amperage
This is your first and most important adjustment. If your welds aren’t deep enough, you likely need more heat.
- Increase Amperage: Slowly turn up the amperage on your TIG welder. Make test welds on scrap pieces of the same material to find the sweet spot.
- Consider Material Thickness: For thicker metals, you’ll need significantly higher amperage. Look up welding charts or use a calculator if you’re unsure of the starting point.
- AC Balance (for Aluminum): If you’re welding aluminum on an AC machine, the AC balance setting controls how much cleaning action versus penetration you get. Adjusting this can help improve penetration on aluminum.
2. Choose the Right Filler Metal
The filler rod should complement your base metal and the thickness of the joint.
- Use a Smaller Diameter Rod: If your rod is too thick, try a thinner one. This allows the arc to reach the base metal more effectively.
- Match the Base Metal: Always use a filler metal that is recommended for the base metal you are welding. For example, use 308L for 304 stainless steel.
- Proper Feeding: Ensure you’re feeding the filler metal into the leading edge of the puddle, where the heat is most concentrated.
3. Control Your Travel Speed
Slow and steady often wins the race for good penetration.
- Slow Down: Move your torch more slowly along the joint. This gives the arc more time to melt the base metal.
- Watch the Puddle: Focus on the molten puddle. You want to see it wetting out or spreading onto the base metal.
- Consistent Speed: Try to maintain a consistent travel speed throughout the weld.
4. Optimize Your Torch Angle
The angle of your torch affects heat direction.
- Angle Forward: Angle your torch slightly in the direction of travel (10-15 degrees). This helps push the heat and molten metal into the joint.
- Maintain Consistency: Keep the torch angle consistent throughout the weld.
5. Thorough Joint Preparation
Cleanliness is paramount for good welds.
- Degrease: Use a solvent like acetone to remove oil and grease.
- Wire Brush/Grind: Use a stainless steel wire brush (dedicated for stainless!) or a grinding wheel to remove rust, scale, and oxides. For aluminum, a stainless steel brush is also recommended to avoid contamination.
- Bevel Edges: For thicker materials, consider beveling the edges of the joint. This creates a V-groove that allows the weld to penetrate deeper.
6. Ensure Proper Gas Flow
Your shielding gas is vital for a clean, strong weld.
- Check Flow Rate: Ensure your flow rate is set correctly for the size of your nozzle and the conditions. A common starting point is 15-25 CFH (Cubic Feet per Hour).
- Avoid Drafts: Weld in an area protected from wind or drafts, which can blow away the shielding gas.
- Check for Leaks: Make sure there are no leaks in your gas hose or connections.
7. Preheat the Material (When Necessary)
For certain metals or very thick sections, preheating can make a big difference.
- Thick Sections: Thick steel or aluminum might benefit from preheating to a certain temperature before welding. This helps reduce the temperature difference the arc has to overcome, promoting better fusion.
- Prevent Cracking: Preheating can also help prevent cracking in some materials.
Troubleshooting Common Scenarios
Let’s look at a couple of typical situations and how to fix them.
Scenario 1: Thin Sheet Metal Welding
You’re welding two thin pieces of steel, and the weld is blowing holes or not fusing properly.
- Problem: Too much amperage or travel speed is too slow.
- Fix:
- Lower the amperage significantly.
- Use a very small diameter filler rod or no filler rod at all (for some very thin applications).
- Increase your travel speed slightly.
- Use the “stitch welding” or “skip welding” technique to control heat.
Scenario 2: Thick Steel Butt Joint
You’re welding two thick plates of steel together, and the weld isn’t penetrating the root.
- Problem: Not enough amperage, filler rod too thick, or joint not prepared correctly.
- Fix:
- Increase amperage.
- Ensure the joint is properly beveled to create a deep V-groove.
- Use a filler rod appropriate for the joint size, but avoid one that’s too large.
- Slow down your travel speed.
- Ensure you’re getting good fusion on each pass, especially in the root. You might need multiple passes.
Frequently Asked Questions
Question: Why are my TIG welds looking like a stack of dimes but are not strong?
Answer: This often means the amperage is too high and you’re moving too fast, causing the bead to pile up without melting deep enough into the base metal. Slow down your travel speed and try reducing the amperage slightly while ensuring you are properly heating the base metal.
Question: I’m welding aluminum, and my TIG welds are not penetrating. What should I do?
Answer: For aluminum, ensure your base metal is perfectly clean. Also, adjust your AC balance setting on your machine; increasing the cleaning action might be needed, but you also need enough amperage to penetrate. Make sure you are using the correct Argon gas flow.
Question: Can using the wrong wire brush cause poor penetration?
Answer: Yes, if you use a carbon steel brush on stainless steel or aluminum, you can embed particles that contaminate the weld area. This contamination can hinder proper fusion and penetration. Always use a dedicated stainless steel brush for stainless steel and aluminum.
Question: How does the tungsten electrode affect penetration?
Answer: The size and condition of your tungsten electrode can indirectly affect penetration. If your tungsten is too small for the amperage, it can overheat and create a larger, less focused arc. If it’s contaminated or balled up, the arc might be unstable, leading to inconsistent heat and potentially poor penetration.
Question: Is it okay to have a little bit of excess weld material on top if it’s fused well underneath?
Answer: For some applications, a slightly convex bead might be acceptable, but the primary concern is the fusion depth. If the underlying weld is not fused deeply, the weld will be weak regardless of the surface appearance. Focus on achieving good penetration first, then refine your bead profile.
Final Thoughts
Fixing TIG Welder Poor Penetration Welds? Fix issues is all about understanding the basics. It comes down to dialing in your amperage, keeping your metal clean, and moving at the right pace.
You’ll get deeper, stronger welds by paying attention to these simple steps. Keep practicing and making small adjustments. You’ll soon be welding with confidence!