Are you new to TIG welding and seeing your arc jump around? It can be confusing when the TIG welder arc flickering issue? troubleshoot seems like a mystery.
Many beginners run into this, but don’t worry! We’ll walk through it simply, step by step, so you can fix it. We’ll cover what causes it and how to make your arc steady.
Let’s get your welding back on track with easy fixes.
Key Takeaways
- Learn the common reasons why a TIG welder’s arc might flicker.
- Discover simple checks for your power source and connections.
- Understand how gas flow impacts arc stability.
- Find out why tungsten and electrode issues cause flickering.
- Explore how to adjust your machine settings for a smoother arc.
- Gain confidence in fixing common TIG welding arc problems.
Why Does My TIG Welder Arc Flicker?
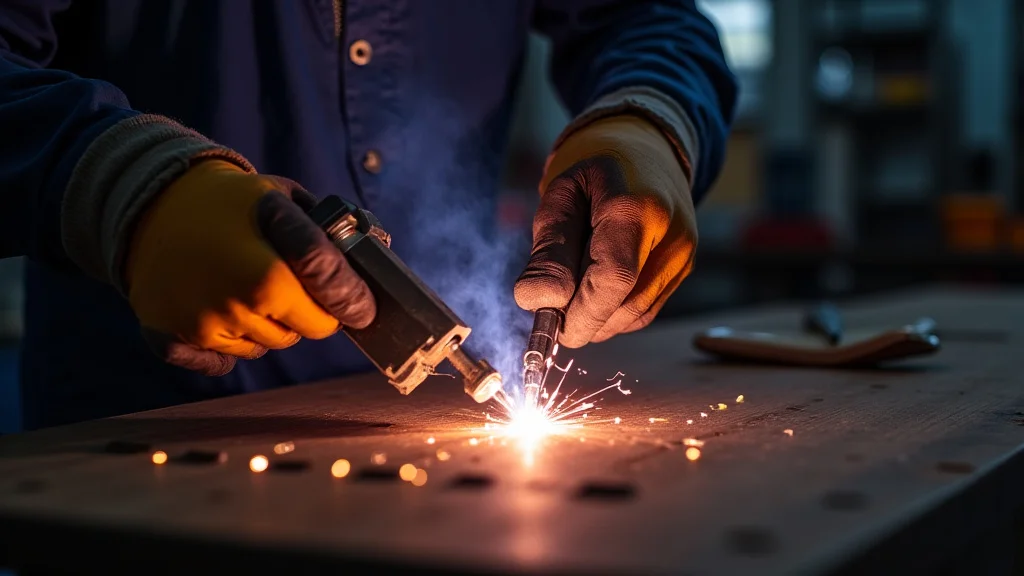
Seeing your TIG welder arc flicker can be frustrating, especially when you’re just starting out. This happens more often than you might think. The arc is the heart of TIG welding; it’s what melts your metal.
When it’s not steady, your welds won’t be either. It’s like trying to draw a straight line with a shaky hand. Several things can cause this, from simple power problems to issues with your welding setup.
Let’s break down the most common culprits so you can get your TIG welding back to normal.
Checking Your Power Source and Connections
The most common reasons for a flickering arc often stem from your power source and how everything is connected. Think of electricity like water flowing through pipes. If there’s a leak or a blockage, the flow isn’t smooth.
The same goes for your welding machine.
Power Supply Issues
First, make sure your TIG welder is getting enough power. If you’re using an extension cord, is it the right gauge? A cord that’s too thin can’t carry enough electricity, especially for longer distances.
This can cause voltage drops, making the arc unstable. Also, check if the power outlet itself is working correctly. Sometimes, a loose connection in your home’s wiring can cause problems.
Ground Clamp Connection
Your ground clamp is super important. It completes the electrical circuit. If the clamp isn’t making good contact with the metal you’re welding, or if the clamp itself is dirty or loose, the electricity can’t flow properly.
This often leads to a sputtering, flickering arc. Make sure the clamp is clean and firmly attached to a clean spot on your workpiece or welding table.
Loose Cables
Check all the cables connecting your TIG torch to your machine, and the ground clamp to your machine. Are they all plugged in tightly? Sometimes, vibration can loosen these connections over time.
A loose connection means inconsistent power delivery, and that means a flickering arc.
The Role of Shielding Gas
Shielding gas is vital for TIG welding. It protects your molten weld puddle and your tungsten electrode from the air. If the gas flow isn’t right, your arc will suffer.
This is another common area where the TIG welder arc flickering issue? troubleshoot can be solved.
Incorrect Gas Flow Rate
Too little gas means the air can get in and contaminate your weld. This causes a weak, sputtering arc. Too much gas can also be a problem.
It can create turbulence around the arc, making it unstable and messy. The correct flow rate depends on your machine, the type of gas, and the metal you’re welding. For most TIG welding, a good starting point is around 15-25 cubic feet per hour (CFH).
Leaky Gas Connections
Check all your gas connections. This includes the regulator on your argon tank, the hose connecting to your welder, and the connection at the torch. Even a small leak can mean you’re not getting enough gas to the weld area, or that the gas is blowing around erratically.
You can often hear a hissing sound if there’s a leak.
Wrong Type of Gas
For most TIG welding on steel, stainless steel, and aluminum, pure argon is the standard. If you accidentally use the wrong gas, like straight CO2 or a mix meant for other welding processes, it will definitely cause arc problems. Always double-check your gas cylinder label.
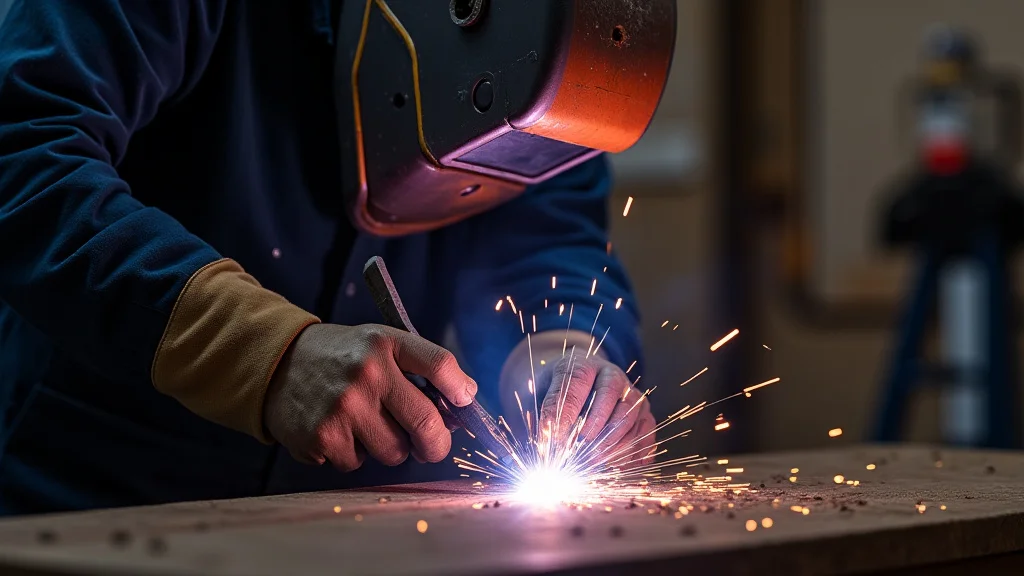
Tungsten and Electrode Issues
The tungsten electrode is what creates the arc. If it’s not in good shape, your arc will be all over the place.
Tungsten Contamination
This is a big one. If your tungsten touches the weld puddle or the filler metal, it gets contaminated. This contamination will make the arc unstable, often causing it to wander or become very erratic.
If this happens, you need to grind the tungsten to a clean point again. For DC welding, you want a sharp, pointed tip. For AC welding, especially on aluminum, you want a slightly rounded or blunted tip, often with a small flat end.
Incorrect Tungsten Grinding
The way you grind your tungsten matters. For DC welding, you should grind it lengthwise, creating a sharp point. Don’t grind it across the end.
Grinding across the end creates facets that can break off and contaminate the arc. For AC welding, a slightly balled or blunted tip is often preferred, but the grind should still be smooth and lengthwise.
Worn-Out Tungsten
Tungsten electrodes do wear down, especially if you’re welding for a long time or at higher amperages. If the tip is overly blunted, broken, or just looks rough, it’s time for a new electrode. A worn-out tungsten won’t create a focused, stable arc.
Wrong Tungsten Type
There are different types of tungsten electrodes (like pure, thoriated, ceriated, lanthanated). Each is best for different applications. Using the wrong type for your machine or metal can lead to arc instability.
For general-purpose DC welding, 2% ceriated or lanthanated tungstens are very popular and work well. For AC, pure or zirconium-containing tungstens are common.
Machine Settings and Adjustments
Your TIG welder has settings that directly affect the arc. Getting these right is key to a stable arc.
Amperage Control
Too high an amperage for the material thickness will cause the arc to be too wide and unstable, possibly burning through. Too low an amperage means you won’t get good penetration, and the arc might struggle to stay lit. Ensure your amperage is set appropriately for the metal you’re welding.
High-Frequency (HF) Start
Most TIG welders have a high-frequency start feature. This helps to initiate the arc without touching the tungsten to the workpiece. If your HF is set too low, the arc might have trouble starting or might flicker.
If it’s too high, it can interfere with the arc once it’s going. Experiment with the HF start settings on your machine.
AC Balance and Frequency (for AC welding)
If you’re welding aluminum or magnesium with AC, two settings are critical: AC balance and AC frequency.
- AC Balance: This controls the amount of cleaning action versus penetration. If the balance is too far one way, it can affect the arc.
- AC Frequency: This controls how narrow the arc is.
Higher frequencies make the arc more focused and stable. Most machines allow you to adjust this.
Adjusting these can significantly smooth out a flickering arc on aluminum.
Pulse Settings (if applicable)
Some TIG welders have a pulse function. While pulse welding can improve control, improper pulse settings can sometimes cause the arc to seem erratic if you’re not used to it. Ensure your pulse parameters (like pulse frequency, pulse width, and background amperage) are set appropriately for your task.
Troubleshooting Steps: A Simple Guide
Let’s put it all together into a simple checklist for when you face a flickering arc. This is a practical way to tackle the TIG welder arc flickering issue? troubleshoot.
1. Check the Basics First
Start with the easiest things to fix.
- Power Cord: Is it plugged in securely? Is it the correct gauge for the length?
- Ground Clamp: Is it tight on the metal? Is the metal clean where it’s clamped?
- Cables: Are all welding cables firmly attached to the machine and torch?
2. Inspect Your Torch and Consumables
Look closely at what’s actually making the arc.
- Tungsten Electrode: Is it clean and sharp (for DC) or properly shaped (for AC)? Is it the right type?
- Gas Lens: If you use one, is it clean and properly installed?
- Collet and Collet Body: Ensure these are clean and the correct size for your tungsten.
3. Verify Gas Flow
Make sure you have enough clean gas.
- Argon Tank: Is there enough gas in the tank?
- Regulator: Is it set to an appropriate flow rate (e.g., 15-25 CFH)?
- Connections: Are all gas line connections tight?
4. Review Machine Settings
Go back to your welder’s controls.
- Amperage: Is it suitable for the material thickness?
- HF Start: Try adjusting the HF start power.
- AC Settings (if applicable): Tweak the AC balance and frequency.
- Pulse Settings (if applicable): Reset pulse settings to a basic level or turn it off temporarily to test.
5. Test and Observe
Make one adjustment at a time. Weld a small test piece to see if the arc has improved. If not, go back to the checklist and try the next potential fix.
Frequently Asked Questions
Question: Why does my TIG arc start flickering after a few minutes of welding?
Answer: This can happen if your welding machine is overheating, or if there’s an intermittent connection that gets worse with heat. Check your power supply, ground clamp, and cable connections for any signs of heat damage or looseness.
Question: Can a dirty workpiece cause arc flickering?
Answer: Yes, absolutely. Dirt, oil, rust, or paint on the workpiece can cause the arc to be unstable and flicker. Always clean your metal thoroughly before welding.
Question: I’m welding aluminum and the arc is very wide and flickers. What should I do?
Answer: For aluminum, ensure you’re using AC mode. Check your AC balance and frequency settings. A higher frequency can make the arc more focused.
Also, make sure your tungsten is properly shaped for AC welding (slightly balled or blunted tip).
Question: My TIG arc seems to jump around randomly. What’s the main cause?
Answer: This is often caused by electromagnetic interference from other electrical devices nearby, poor grounding of your welder, or problems with the power supply itself. Ensure your welder is properly grounded and try turning off nearby electronics to see if it helps.
Question: Is it okay to use a long extension cord with my TIG welder?
Answer: It’s best to avoid long or thin extension cords. They can cause voltage drops and reduce the amount of power reaching your welder, leading to an unstable arc. Use the shortest, thickest gauge cord you can, or plug directly into a suitable outlet.
Final Thoughts
Fixing a flickering TIG arc is about systematically checking the basics. You learned that power connections, gas flow, tungsten condition, and machine settings all play a big role. By working through these simple steps, you can identify the cause.
Don’t get discouraged. Most flickering issues are easily resolved with a few checks. Keep practicing these troubleshooting methods, and soon you’ll have a steady, reliable arc for all your TIG welding projects.
You’ve got this!