If you’re new to stick welding, you might be frustrated when your welding rod keeps breaking. This Stick Welder Electrode Breaking Issue? Fix is a common hurdle for many beginners.
It can feel like a simple problem, but it has a few easy answers. We’ll walk you through exactly what causes this and how to stop it. Get ready for smoother welds!
Key Takeaways
- You’ll learn the main reasons why stick welding electrodes break.
- Discover how electrode angle affects your welds.
- Understand the impact of amperage on rod breakage.
- Learn how to choose the right electrode for your project.
- Find out how proper arc length prevents rod snapping.
- Get simple tips for a better welding experience.
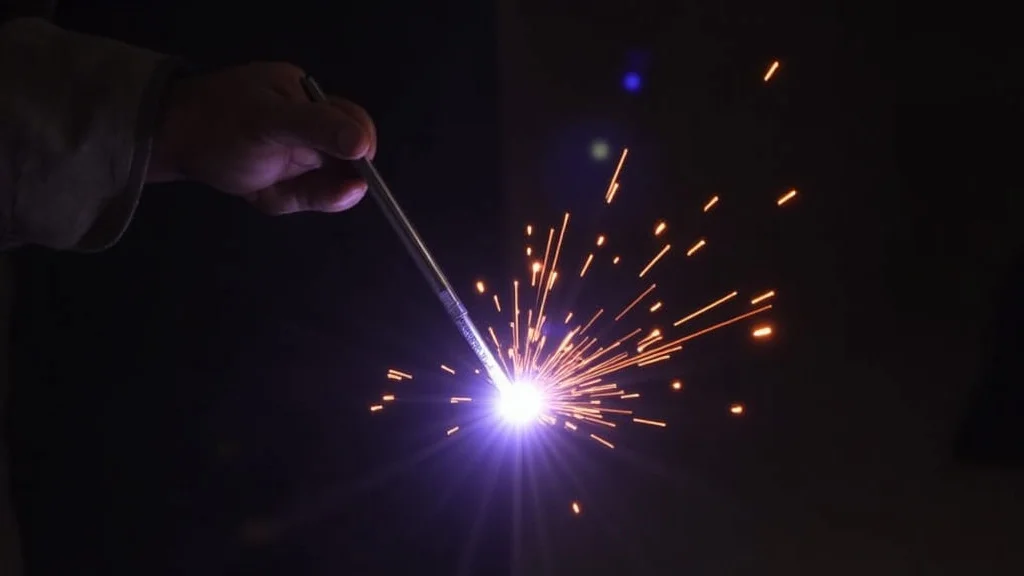
Why Your Stick Welder Electrode Keeps Breaking
It’s no fun when your welding rod snaps off. This is a super common problem for folks just starting out with a stick welder. You’re trying to make a nice weld, and then snap!
The electrode breaks. This usually happens because of a few basic things that are easy to fix. Let’s look at why this happens and how to make it stop.
Understanding Electrode Angle
The way you hold your welding rod makes a big difference. If you tilt your stick welder electrode too much, it can bend and then break. Imagine trying to bend a thin stick – if you bend it too far, it snaps.
The same thing happens with a welding electrode. You want to hold it at a slight angle, usually about 15 to 20 degrees, in the direction you are welding. This keeps the force on the rod steady.
Too much angle puts stress on the rod, and it will break. Keep it steady and at a good tilt.
The Role of Amperage
Amperage is the amount of electrical power you’re using. If your amperage is too high for the type of electrode you’re using, it can cause problems. Too much heat melts the electrode too quickly.
This makes the tip soft and more likely to bend and break. It’s like trying to melt a candle too fast with a very hot flame; it gets messy and doesn’t work well. You need the right amount of heat.
Not enough, and the weld won’t stick. Too much, and the rod breaks. Always check the electrode’s recommended amperage range.
This is usually printed on the electrode’s wrapper or box. Using the correct amperage helps keep the rod from overheating and breaking.
Choosing the Right Electrode
Not all welding electrodes are the same. They come in different sizes and types, and each is meant for different jobs. Using the wrong size electrode can lead to issues.
If you use an electrode that’s too thin for the amperage you’re using, it will get hot very fast and break. If you’re welding thick metal, you might need a larger diameter electrode. For thinner metal, a smaller one is often better.
Also, different types of electrodes are made for different metals and welding positions. For example, some are better for welding flat, while others are designed for vertical or overhead work. Using an electrode not suited for your task can make it more likely to break.
Common Electrode Types and Their Uses
Here’s a quick look at some common stick welding electrodes:
| Electrode Type | Common Uses | Notes |
|---|---|---|
| 6010 | Deep penetration, welding dirty or rusty metal, all positions | Can be “hotter” and harder to control for beginners. |
| 6011 | Similar to 6010 but works better with AC machines, all positions | Good for general repairs. |
| 6013 | Easy to use, good for general fabrication, all positions | A good choice for beginners due to its stable arc. |
| 7018 | High-quality welds, structural work, flat and horizontal positions | Requires a dryer environment and good technique. |
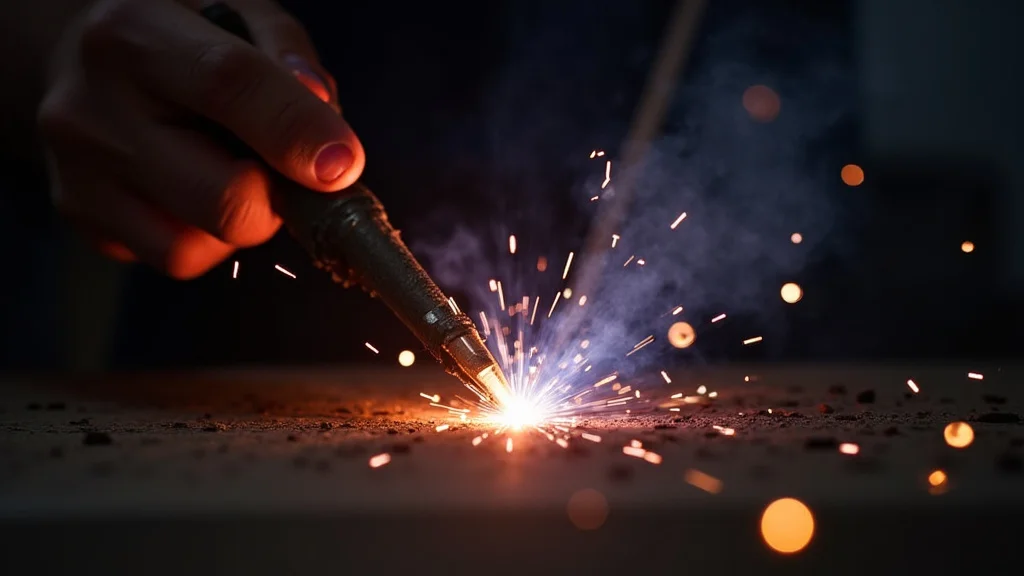
Arc Length Matters
The distance between the tip of your electrode and the metal you’re welding is called arc length. If your arc length is too long, the weld pool can cool too much, and the electrode might not melt evenly. This can lead to a weak weld and can also make the electrode more prone to breaking.
If the arc is too short, you might “stick” the electrode to the metal, which also causes problems and can lead to breakage. You want a short, stable arc. Aim for an arc length that is about the same as the diameter of the electrode you are using.
This is often called “half the diameter.” A consistent, short arc is key for good welds and preventing breakage.
Technique and Movement
How you move the electrode is also important. If you move too fast, you won’t get good fusion, and the electrode might not melt properly. If you move too slowly, you can overheat the area and the electrode.
The goal is to maintain a steady rhythm. For most basic stick welding, you’ll want to move in a straight line or with a slight zig-zag or weaving motion. The specific movement depends on the electrode type and the weld you’re making.
Learning the right technique takes practice. Focus on keeping your speed consistent and your angle correct. This steady movement helps the electrode melt and transfer metal smoothly.
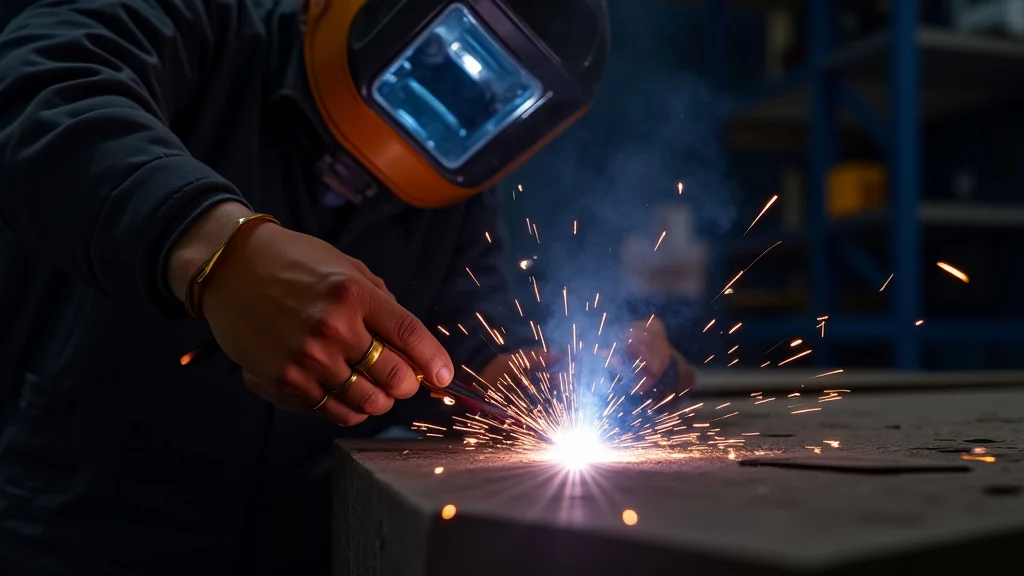
Checking Your Equipment
Sometimes, the problem isn’t just your technique. Your welding equipment can also play a role. Make sure your ground clamp is making good contact with the metal.
A poor ground connection can cause the arc to be unstable, leading to inconsistent heat and potential electrode breakage. Also, ensure your electrode holder is in good condition and is securely holding the electrode. A loose holder can cause jerky movements and make it harder to maintain a stable arc.
Inspect your cables for any damage as well. Good equipment makes a big difference.
Environmental Factors
Believe it or not, where you’re welding can matter too. If you’re welding outside on a windy day, the wind can blow the shielding gas away from the weld. This shielding gas protects the molten metal from the air.
Without it, you can get a porous weld and it can also affect how the electrode burns, sometimes leading to breakage. Try to weld in a calm area or use a windbreak if you’re outdoors. Humidity can also affect some types of electrodes, especially 7018, making them perform differently.
Troubleshooting Common Breakage Scenarios
Let’s look at some specific times your electrode might break and what to do:
Scenario 1: Electrode Breaks Right Away
If the electrode breaks as soon as you try to strike an arc, it’s often an amperage issue. Your amperage might be set too low. The arc isn’t strong enough to melt the electrode and the base metal to start the weld.
Try increasing the amperage slightly. Also, make sure you’re using the correct striking technique. A quick tap or a gentle scratch is usually all that’s needed.
Scenario 2: Electrode Breaks After a Few Seconds
If it breaks after a short time welding, it could be your arc length or angle. If you’re holding the electrode too far from the metal (long arc), it can start to bend or break as it tries to melt unevenly. If your angle is too steep, it puts too much pressure on the rod.
Try to shorten your arc and adjust your angle to be about 15-20 degrees in the direction of travel. Also, check if your amperage is too high, melting the rod too fast.
Scenario 3: Electrode Bends Before Breaking
When the electrode bends, it often means you’re pushing it too hard into the metal or your amperage is too high. Pushing can cause it to buckle. If the amperage is too high, the tip melts and softens, making it easy to bend under the welding pressure.
Try to let the electrode do the work. Don’t force it. Adjust your amperage down if the rod is melting too quickly and becoming soft.
Practice Makes Perfect
The most important thing is practice. Like learning any new skill, stick welding takes time and repetition. Don’t get discouraged if you’re breaking electrodes.
Every broken rod is a chance to learn what went wrong. Keep trying different settings and techniques. Watch how the rod behaves.
The more you weld, the more you’ll get a feel for the right arc length, angle, and speed. Soon, breaking electrodes will become a rare problem.
Frequently Asked Questions
Question: How do I fix an electrode that’s sticking to the metal?
Answer: If your electrode sticks, it usually means your amperage is too low or your arc length is too short. Try increasing the amperage slightly. If it still sticks, give it a quick, sharp twist or a light tap to break it free without damaging your weld too much.
Then, readjust your settings.
Question: What’s the best amperage setting for a beginner?
Answer: The best amperage depends on the electrode size and type. Always check the recommended range on the electrode packaging. For a common 1/8 inch (3.2mm) electrode like a 6013, you might start somewhere between 70 and 100 amps.
It’s best to do a test weld on scrap metal and adjust from there.
Question: Should I use a long or short arc length?
Answer: You should aim for a short arc length. A good rule of thumb is to keep the arc length about the same as the diameter of the electrode you’re using. A long arc makes it harder to control the weld and increases the chance of breakage.
Question: Why do my welds look bumpy when the electrode doesn’t break?
Answer: Bumpy welds can happen for several reasons. Your travel speed might be too fast, not allowing the metal to flow properly. Or, your electrode angle might be off.
Ensure you’re moving at a consistent pace and holding the electrode at the correct angle in the direction of travel.
Question: Can welding on different types of metal affect electrode breaking?
Answer: Yes, the type of metal and its thickness can matter. Thicker metals usually require higher amperage and potentially larger electrodes, which behave differently. Welding on thin metal requires lower amperage and a lighter touch to avoid burning through and causing issues that can indirectly lead to breakage.
Final Thoughts
Fixing the Stick Welder Electrode Breaking Issue? Fix comes down to a few key things. You need the right electrode angle, a steady arc length, and the correct amperage for your situation.
Choosing the right electrode for the job and practicing your movement also play big parts. Don’t let a few snapped rods get you down. Each weld is a learning step.
Keep these tips in mind, and you’ll be welding with more confidence and fewer breaks.