It’s a common problem when you’re new to welding: your welding machine just isn’t striking a proper arc. You might be trying to get a project done, but that stubborn machine just won’t cooperate. Don’t worry, this happens to many people starting out!
It can feel frustrating, but the fixes are usually simple. We’ll walk through exactly why this happens and how to fix it, step by step. Get ready to learn the basics so you can get welding again.
Key Takeaways
- You will learn the most common reasons why a welding machine might not strike an arc.
- Understand how to check basic connections and power sources.
- Learn about the importance of electrode and material preparation.
- Discover how settings on your machine affect arc starting.
- You will find simple troubleshooting steps to fix the issue quickly.
Why Isn’t My Welding Machine Striking a Proper Arc?
When you’re excited to start welding, and your machine just won’t spark, it’s a real letdown. A welding machine not striking a proper arc is one of the most frequent headaches for new welders. You’ve got your gear ready, your project laid out, and then… nothing.
It’s not a sign you’re doing something wrong; it’s just part of learning. Many things can prevent that nice, clean arc from forming. Let’s look at the usual suspects.
Checking the Basics: Power and Connections
The first things to check are always the simplest. If your welding machine isn’t striking a proper arc, start with the power source. Is the machine plugged in?
This sounds obvious, but it’s easily overlooked when you’re eager to weld. Make sure the plug is firmly seated in the outlet.
Next, check the power cord itself. Look for any signs of damage, like cuts or fraying. A damaged cord can prevent power from reaching the machine, stopping it from working correctly.
If you find damage, do not use the cord. It needs to be replaced by a qualified person.
Your outlet is also important. Is it a type that can handle the power your welder needs? Many smaller welders use standard outlets, but some larger ones need special, higher-amperage circuits.
Check your welding machine’s manual for its power requirements.
Make sure the circuit breaker for the outlet hasn’t tripped. If it has, try resetting it. If it trips again immediately, there might be a problem with the outlet, the wiring, or the welder itself, and you might need an electrician to look at it.
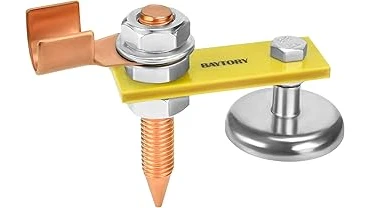
Ground Clamp Connection
A proper ground connection is absolutely vital for welding. The ground clamp completes the electrical circuit. Without a good ground, the electricity can’t flow properly to create an arc.
This is a very common reason for a Welding Machine Not Striking Proper Arc.
Here’s what to check with your ground clamp:
- Is it attached securely? The clamp should be attached firmly to the metal you are welding. Don’t clamp it to paint, rust, or dirt. These are insulators and will prevent a good electrical connection.
- Is the metal clean? You need to clamp onto bare metal. If the surface is dirty, painted, or rusty, take a wire brush or grinder to it to expose clean metal. This ensures a solid connection.
- Is the clamp itself in good condition? Check the clamp for any damage or loose wires. The connection point where the cable meets the clamp should be tight and free of corrosion.
- Is the cable secure? Make sure the ground cable is plugged in tightly to the welding machine.
A loose or dirty ground clamp is one of the top culprits when your arc won’t start. Always ensure it has a clean, solid connection to your workpiece.
Electrode Holder and Electrode Issues
The electrode holder, also called the stinger, is where you hold the welding rod. The electrode (welding rod) itself is what melts to create the weld. Problems here can stop your arc before it even begins.
Electrode Holder:
- Check that the electrode is inserted correctly and held firmly in the holder.
- Inspect the holder for any damage or wear.
Electrode (Welding Rod):
- Is it the right type? Different welding processes and metals require specific types of electrodes. Using the wrong one can make striking an arc very difficult, or impossible. For example, using an AC rod on a DC-only machine, or vice-versa, can cause issues.
- Is it old or damaged? Some electrodes can become brittle or lose their flux coating over time, especially if stored improperly. If the coating is chipped or uneven, it might not strike well.
- Is it the correct size for your machine and settings? Larger electrodes need more power to melt and create an arc.
For beginners, using the recommended electrodes for their machine and the type of metal they are welding is key. Always refer to your welding machine’s manual and electrode packaging for guidance.
Welding Machine Settings
Modern welding machines have various settings that affect how they operate. If your machine isn’t striking a proper arc, your settings might be off. This is especially true for machines that allow you to adjust amperage and voltage.
Amperage: This controls the heat of the arc. If your amperage is set too low, there might not be enough electricity to initiate the arc. For most common welding rods, you’ll need a certain minimum amperage to get started.
- Too Low: Not enough power to break through surface contaminants and start the arc.
- Too High: Can cause excessive spatter and make arc starting difficult or result in a very unstable arc.
Consult your welding machine’s manual or the electrode manufacturer’s recommendations for the correct amperage range for the electrode size and type you are using.
Polarity: Most welders have a polarity setting (DCEN, DCEP, or AC). Using the wrong polarity for your electrode and material can prevent a proper arc. For instance, some electrodes are designed specifically for DC Straight Polarity (DCEN).
Welding Mode: Some machines have different welding modes (e.g., Stick, TIG, MIG). Ensure you are in the correct mode for the type of welding you intend to do. If you’re using stick welding rods, you need to be in “Stick” or “SMAW” mode.
When troubleshooting, try setting your machine to the recommended settings for a common electrode size and type. This is often a good starting point to see if your settings were the issue.
Surface Preparation of the Metal
The metal you are trying to weld must be clean for a good arc to form. Even a thin layer of rust, paint, oil, or grease can act as an insulator, preventing the electricity from flowing correctly. This is why a Welding Machine Not Striking Proper Arc can happen even when everything else seems okay.
Before you start welding, always prepare your metal surface:
- Clean the area: Use a wire brush to remove loose rust and mill scale.
- Grind if necessary: For thicker rust or paint, you might need to use an angle grinder with a flap disc or grinding wheel to get down to bare, shiny metal.
- Wipe it down: After brushing or grinding, wipe the area with a clean cloth, perhaps with a degreaser if there’s oil or grease.
A clean surface ensures the electrode can make good contact with the metal and that the electricity can flow freely to initiate the arc.
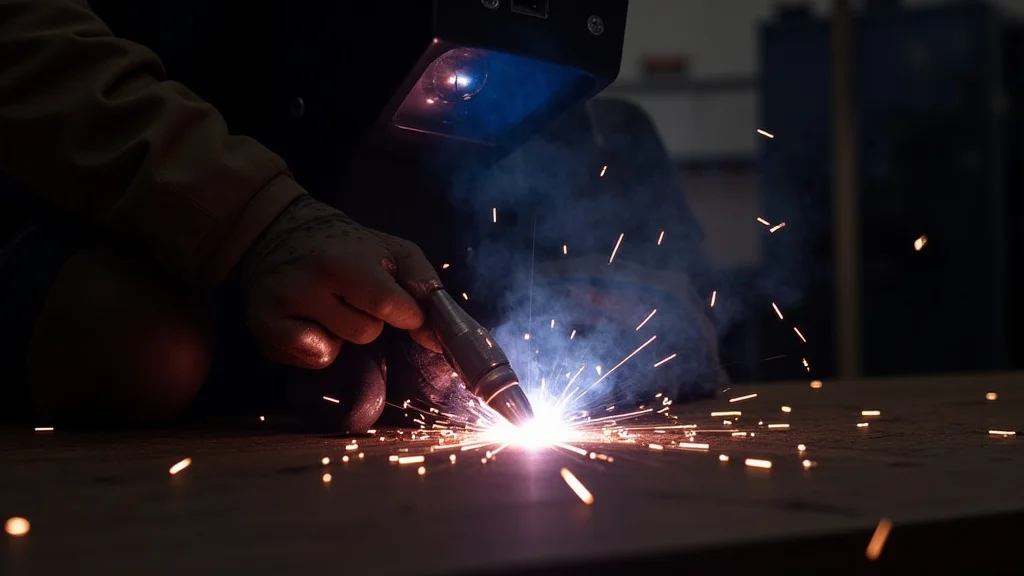
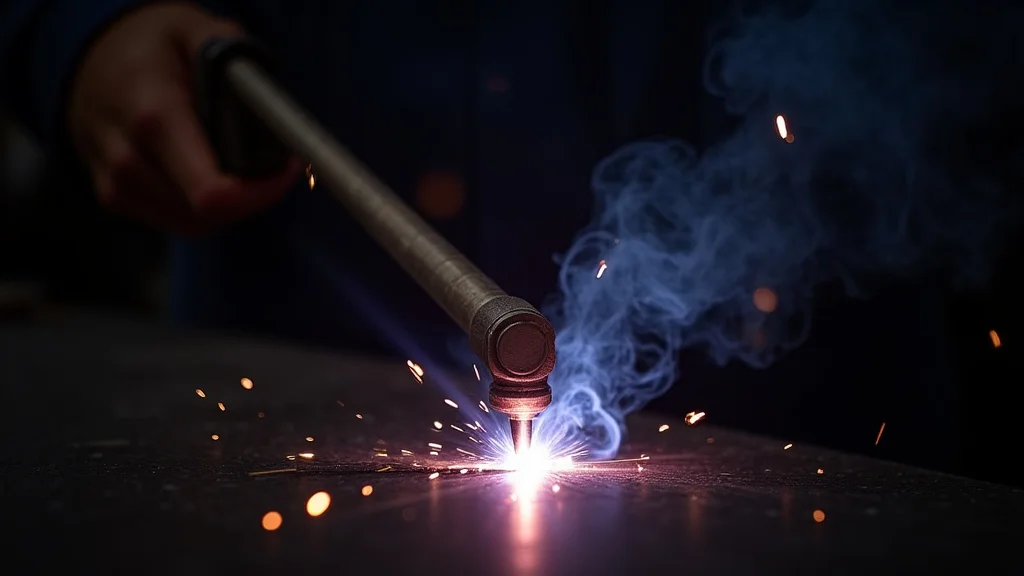
Electrode Technique for Starting the Arc
How you attempt to start the arc also plays a big role. There are two common ways to strike an arc: the “scratch start” and the “tap start.”
Scratch Start: This is like striking a match. You gently drag the tip of the electrode across the metal surface, just like you would scratch a match on the side of a box. As soon as you see a spark, lift the electrode slightly to establish the arc.
Tap Start: With this method, you quickly tap the electrode onto the metal surface and then immediately lift it a short distance away. This is a bit like tapping a pencil on a desk and then lifting it.
Common Mistakes When Starting:
- Scratching too hard or too long: This can wear down the electrode without starting an arc.
- Not lifting quickly enough: If you hold the electrode on the metal for too long after contact, it can stick.
- Holding the electrode too far away: You need to be close enough for the electricity to jump the gap.
- Moving too fast or too slow: Experiment to find the right speed.
Practice these techniques on a scrap piece of metal. You’ll quickly get a feel for the right pressure and timing needed to strike an arc consistently.
Environmental Factors
Sometimes, what’s going on around you can affect your welding. These are less common reasons for a Welding Machine Not Striking Proper Arc, but they can still be a factor.
Moisture: Welding in a very damp environment or with a wet electrode can cause problems. Make sure your electrodes are kept dry. If they feel damp, try drying them out in a low-temperature oven (follow manufacturer recommendations).
Wind: Strong winds can blow away the shielding gas (provided by the flux on stick electrodes or from a gas bottle on MIG/TIG) and disrupt the arc, making it hard to start and maintain. If possible, try to weld in a sheltered area or use a windbreak.
Troubleshooting Steps Summary
If your welding machine is not striking a proper arc, here’s a quick checklist to go through:
- Check Power: Is the machine plugged in? Is the power cord undamaged? Is the outlet working and supplying enough power? Has the breaker tripped?
- Verify Ground Clamp: Is the ground clamp attached to clean, bare metal? Is it tight? Is the cable connected securely to the machine?
- Inspect Electrode: Is it the correct type, size, and in good condition?
- Review Machine Settings: Is the amperage correct for the electrode? Is the polarity set correctly? Is the machine in the right welding mode?
- Prepare Metal Surface: Is the welding area free of rust, paint, oil, and other contaminants?
- Practice Starting Technique: Try both scratch and tap methods on scrap metal.
- Consider Environment: Is it too wet or windy?
By systematically going through these steps, you can usually pinpoint why your welding machine isn’t striking a proper arc.
Frequently Asked Questions
Question: What is the most common reason a welding machine won’t strike an arc?
Answer: The most common reasons are a poor ground connection or an incorrectly set amperage that is too low for the electrode being used. Ensuring clean metal for the ground clamp is also critical.
Question: Can I use any welding rod with my machine?
Answer: No, you must use the correct type and size of welding rod (electrode) recommended for your specific welding machine and the type of metal you are welding. Check your machine’s manual and the rod packaging.
Question: My welding machine is new, why won’t it strike an arc?
Answer: Even new machines can have issues. Double-check all your connections, especially the ground clamp. Ensure the settings are correct for your chosen electrode and that the metal surface is clean.
Question: What does it mean if my electrode sticks to the metal?
Answer: This usually means the amperage is too low, the arc was not initiated quickly enough, or the ground connection is poor. Try increasing the amperage slightly or adjusting your arc-starting technique.
Question: How do I clean the metal surface for welding?
Answer: You should clean the area where you will be welding with a wire brush to remove loose rust and scale. For paint, grease, or heavy rust, you may need to use an angle grinder to get down to bare metal. Wipe the area clean afterward.
Final Thoughts
When your welding machine isn’t striking a proper arc, it usually comes down to a few key areas. You’ve learned that checking your power source and ensuring a solid, clean ground connection are your first steps. We also covered how the type and condition of your electrode, along with the machine’s settings like amperage and polarity, play a big role.
Don’t forget the importance of preparing your metal surface by cleaning off any rust or paint. Practicing your arc-starting technique is essential. By addressing these common issues systematically, you’ll be able to get that arc to strike reliably and start welding with confidence.
Keep practicing, and you’ll master it.