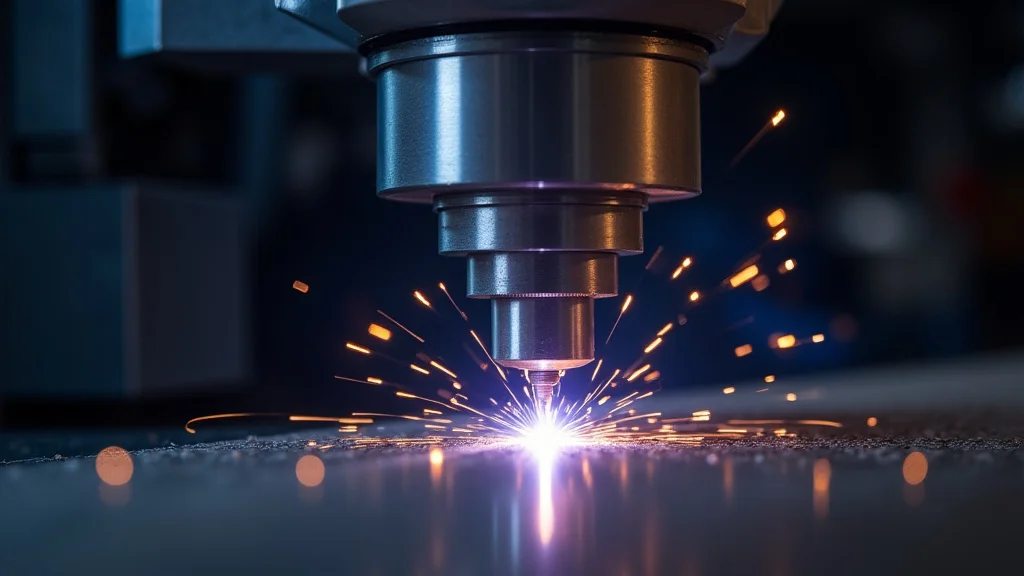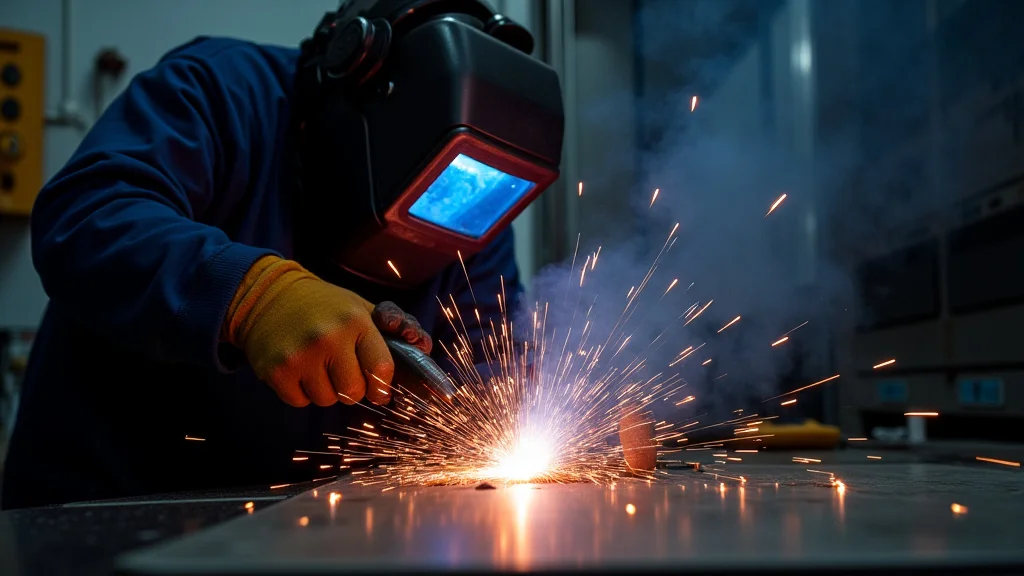
It’s frustrating when your welding machine suddenly stops working, especially when you’re in the middle of a project. Many beginners find troubleshooting these machines tricky because there are several reasons why they might quit. Don’t worry, though!
This guide breaks down How to Fix a Welding Machine That Stops Working with simple, step-by-step fixes you can do yourself. We’ll look at the most common problems and how to solve them so you can get back to welding quickly.
Key Takeaways
- You’ll learn the most frequent reasons why welding machines fail.
- Discover simple checks for power and connection issues.
- Understand how to inspect and clean essential components.
- Find out what to do if circuit breakers or fuses are the problem.
- Learn when it’s time to seek professional help for your welding machine.
Common Reasons Your Welding Machine Stops Working
Power Supply Issues
The most basic reason a welding machine stops is a lack of power. It might sound too simple, but many issues trace back to the plug, cord, or power source itself. Always start here when your welder suddenly goes silent.
No power means no welding, so this is the first place to check.
Check the Power Cord and Outlet
Is the machine plugged in all the way? Sometimes, a vibration can loosen the plug. Give it a firm push to ensure it’s seated securely.
Next, check the outlet. Is it working? You can test this with another appliance, like a lamp or a drill.
If the outlet isn’t providing power, the problem is with your building’s electrical system, not the welder.
Inspect the Power Cord
Look closely at the power cord for any signs of damage. Are there cuts, nicks, or exposed wires? Damaged cords are a safety hazard and can prevent the machine from working.
If you see any damage, do not use the welder until the cord is repaired or replaced by a qualified person.
Circuit Breakers and Fuses
Welding machines often have internal circuit breakers or fuses to protect them from power surges or overloads. When these trip or blow, the machine will shut down to prevent damage.
Resetting Circuit Breakers
Many welding machines have a visible circuit breaker switch, usually on the back or side. If it has tripped, it will be in a different position (often pushed out). Simply push it back in to reset it.
If it trips again immediately, there might be a more serious internal issue, or you could be drawing too much power for the circuit.
Replacing Fuses
Some machines use fuses instead of breakers. These are small, cylindrical components, often with a wire inside that breaks when too much current flows. You’ll need to locate the fuse holder (check your machine’s manual if you’re unsure).
Carefully remove the blown fuse and
Overheating
Welding generates a lot of heat. If a machine gets too hot, it has a built-in safety feature that will shut it down to prevent damage to its internal components. This is called thermal overload protection.
Allowing the Machine to Cool Down
If your welder stopped working and you see a “thermal overload” indicator light, the simplest fix is to just wait. Unplug the machine and let it sit for at least 15-30 minutes, or longer if it was running for a very long time. Ensure good airflow around the machine while it cools; don’t cover the vents.
Checking Ventilation
Make sure the machine’s air vents are not blocked. Dust, debris, or positioning the welder too close to a wall can restrict airflow. Periodically clean the vents with compressed air to remove buildup that can cause overheating.
Proper ventilation is key to preventing this common issue.
Dirty or Corroded Connections
Good electrical connections are vital for a welding machine to function correctly. Dirt, rust, or corrosion on connection points can impede the flow of electricity.
Cleaning Welding Leads and Clamps
Inspect the welding leads (the cables connecting your machine to the electrode holder and the work clamp). Check both ends where they connect to the machine and where they connect to the accessories. Look for any signs of dirt, grease, or corrosion.
Use a wire brush or fine-grit sandpaper to clean these connections thoroughly. A clean connection ensures good electrical contact.
Checking the Work Clamp
The work clamp is critical. It needs to make solid contact with the metal you’re welding. Ensure the clamp is clean and that the surface it’s attached to is free of paint, rust, or grease.
A poor connection here can make it seem like the machine isn’t working, even if it’s producing voltage.
Faulty Consumables
The parts you use to weld, like electrodes or welding wire, can also cause problems if they’re not right or are damaged.
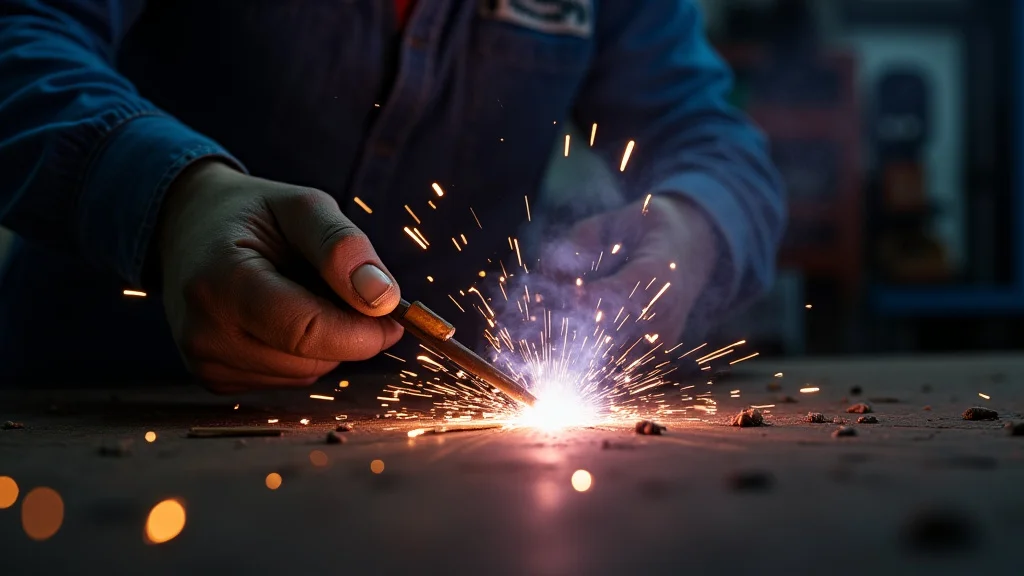
Electrode Holder Issues (Stick Welding)
If you’re stick welding, ensure the electrode is properly seated in the electrode holder. If the holder itself is loose or damaged, it won’t make good contact with the electrode, preventing an arc. Check for any signs of wear or damage on the jaws of the holder.
Wire Feed Problems (MIG Welding)
For MIG welders, a common issue is a jammed or malfunctioning wire feed system. If the wire isn’t feeding, you won’t get a weld. Check the wire spool to make sure it’s feeding smoothly.
Inspect the drive rollers and the liner inside the MIG gun for any kinks or blockages.
Internal Component Failure
Sometimes, the problem is more complex and involves a part inside the machine that has failed. This is more likely if you’ve tried all the simpler fixes without success.
Capacitor Issues
Capacitors are like small energy storage units in your welder. If a capacitor fails, it can stop the machine from working. These are often large, cylindrical components inside the welder.
Replacing them requires caution due to stored energy, so this is usually a job for a professional.
Rectifier or Transformer Problems
The rectifier converts AC power to DC power (if applicable to your machine), and the transformer steps up or down the voltage. If either of these major components fails, the welder will not function. These are complex and expensive parts to replace, indicating a significant repair need.
Control Board or Wiring Faults
Modern welders have electronic control boards that manage various functions. If this board malfunctions, it can cause the entire machine to stop working. Loose or broken internal wiring can also cause intermittent or complete power loss.
Troubleshooting Flowchart
When your welding machine stops, follow these steps. This helps you identify the issue logically.
- Check Power Source: Is it plugged in? Is the outlet working?
- Inspect Cords: Any damage to the power cord or welding leads?
- Reset Breakers/Check Fuses: Look for tripped breakers or blown fuses.
- Cool Down: Has the machine overheated? Let it rest.
- Clean Connections: Ensure work clamp and lead connections are clean and tight.
- Check Consumables: Is the electrode seated? Is the MIG wire feeding?
- Seek Professional Help: If the above steps don’t work, it’s likely an internal issue.
When to Call a Professional
While many common welding machine problems can be fixed with simple maintenance, some issues are beyond the scope of a DIY repair. If you’ve gone through the basic checks and your welder still isn’t working, it’s probably time to call in an expert.
Signs It’s Time for Professional Repair
- Repeated Breaker Tripping: If a circuit breaker keeps tripping immediately after being reset, it suggests an electrical short or a significant overload issue within the machine.
- No Power at All (After Checking Source): If you’ve confirmed the outlet is good and the machine is plugged in securely, but there’s absolutely no sign of life (no lights, no fan), it could be a faulty power switch or internal power supply issue.
- Strange Noises or Smells: Any unusual buzzing, popping sounds, or the smell of burning components is a serious indicator that something has failed internally and could be a fire hazard.
- Visible Damage to Internal Components: If you’ve opened the machine casing (and are qualified to do so safely) and see burnt wires, damaged capacitors, or other obvious signs of failure, do not attempt to fix it yourself.
- If You’re Unsure or Uncomfortable: Electrical repairs can be dangerous. If you don’t have experience with electronics or feel uneasy about the repair process, it’s always safer to let a professional handle it.
Frequently Asked Questions
Question: My welding machine turns on, but I can’t strike an arc. What could be wrong?
Answer: This often means there’s a problem with the connection to your work piece or the electrode. Ensure your work clamp is securely attached to clean metal. For stick welding, make sure the electrode is firmly seated in the holder.
For MIG, check that the MIG gun is properly connected and the wire is feeding.
Question: My MIG welder’s wire feed stops working. What should I do?
Answer: First, check the wire spool to make sure it’s not tangled or running out. Next, inspect the drive rollers for any dirt or wear that might be causing slippage. Look through the MIG gun’s liner for any kinks or blockages.
Sometimes, the tension on the drive rollers needs adjustment.
Question: My welding machine smells like burning plastic. Is it safe to use?
Answer: No, absolutely not. A burning smell indicates that an internal component is overheating or has failed. This is a serious safety hazard, and you should immediately unplug the machine and stop using it.
Do not attempt to fix it yourself; take it to a qualified repair shop.
Question: How often should I clean my welding machine?
Answer: It’s a good idea to clean your welding machine regularly, especially the air vents and connections, depending on how often you use it and the environment. A light cleaning every few months, or more often if you weld in dusty conditions, can prevent overheating and ensure good electrical contact.
Question: Can I use a higher amperage fuse if the current one keeps blowing?
Answer: Never use a fuse with a higher amperage rating than what the machine specifies. This can lead to serious internal damage to the welder and create a fire risk. If a fuse repeatedly blows, it indicates an underlying problem that needs to be diagnosed and fixed.
Final Thoughts
When your welding machine stops working, don’t panic. Many common issues are simple to fix with a basic check. You can often get back to welding by simply ensuring power is connected, checking for tripped breakers, allowing the machine to cool, and keeping connections clean.
Understanding these basics for How to Fix a Welding Machine That Stops Working saves you time and money. For more complex problems, it’s always best to consult a professional. Keep your welder maintained, and it will serve you well.