Is your stick welder arc acting up? Many beginners find a weak arc frustrating. It can make welding harder than it needs to be.
But don’t worry! We’ve got simple steps to help you fix it. Let’s get your arc strong again and make welding easier.
Key Takeaways
- You will learn the most common reasons for a weak stick welding arc.
- Discover how to check your welding machine settings.
- Understand the role of welding electrodes in arc performance.
- Learn about the importance of a clean workpiece.
- We will cover how electrical connections can affect your arc.
- You will get simple solutions to get your arc back to normal.
Why Your Stick Welder Arc Might Be Weak
A weak stick welding arc is a common issue. It can feel like the welder just doesn’t have enough power. This makes it hard to start and keep the weld going.
For new welders, it’s a big hurdle. They might think they’re doing something wrong, but often it’s a simple fix.
Understanding the Stick Welding Arc
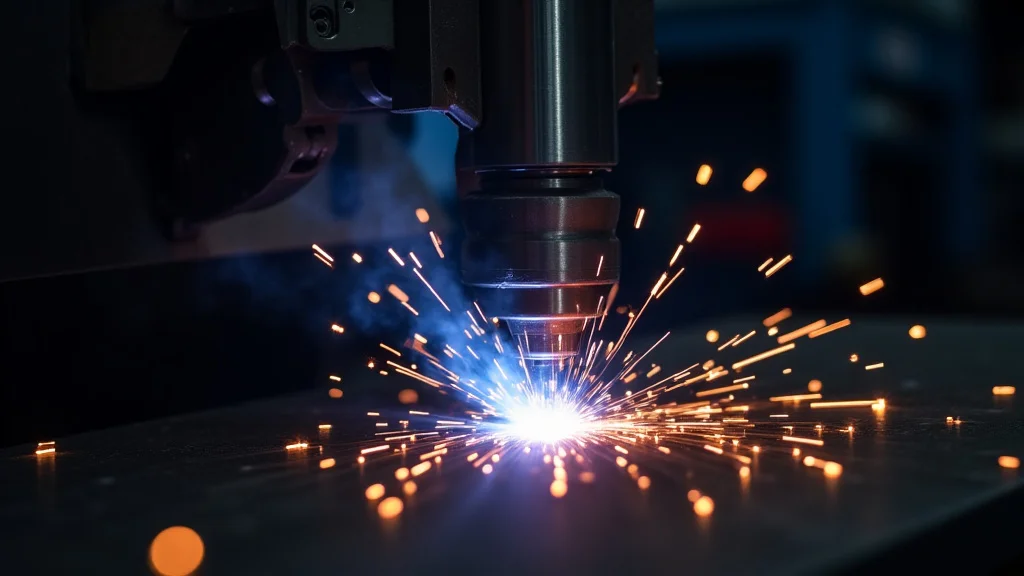
The arc is the spark that melts the metal. It happens when electricity jumps from the electrode to the workpiece. This creates heat.
A strong arc is steady and consistent. It makes a nice, smooth sound. A weak arc is often sputtery and unstable.
It might even be hard to see.
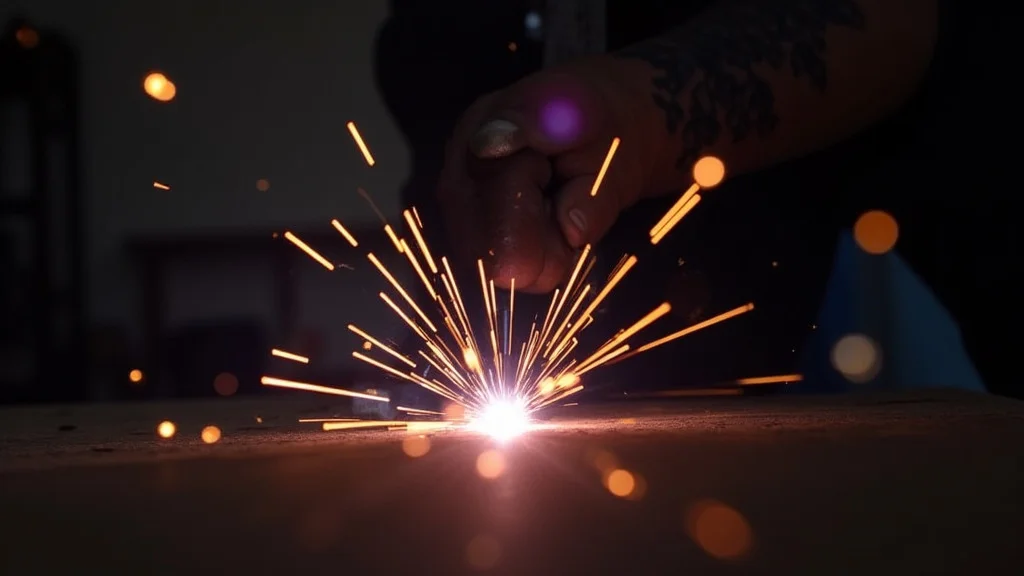
When the arc is weak, the electrode doesn’t melt properly. This means the metal doesn’t melt well either. It leads to bad welds that aren’t strong.
You might see lots of sparks or not enough heat. Fixing this is key to good welding.
Common Causes for a Weak Arc
There are several reasons why your arc might be weak. Let’s look at the most likely ones. We will start with the easiest things to check.
Incorrect Machine Settings
Your welding machine has settings that control the power. These are usually amperage and sometimes voltage. If these are set too low, your arc will be weak.
It’s like trying to run a powerful machine on a low battery.
Amperage Settings
Amperage is the amount of electrical current. More amperage means more heat. Each welding electrode has a recommended amperage range.
This is usually printed on the electrode’s wrapper or in its specifications. If you are welding with a large electrode, you need more amperage. If you are using a small electrode, you need less.
For example, a 1/8 inch 6013 electrode might run best between 70 and 120 amps. If you set your machine to 50 amps for this electrode, the arc will be very weak. You won’t get enough heat to melt the metal properly.
Voltage Settings (Less Common on Simple Machines)
Some advanced welding machines have voltage control. Voltage is the electrical pressure. While amperage is more critical for arc strength in stick welding, very low voltage can also contribute to a weak arc.
Most simple stick welders don’t have separate voltage controls; it’s often tied to the amperage.
Wrong Electrode Type or Size
Not all welding electrodes are the same. They are made for different types of metal and welding positions. Using the wrong type can cause problems.
Also, using an electrode that is too large or too small for the job can affect the arc.
Electrode Classification
Electrodes have numbers, like 6013, 7018, or 6011. These numbers tell you a lot about the electrode. The first two numbers (like 60 or 70) often indicate the tensile strength of the weld in thousands of pounds per square inch.
The last two numbers tell you about the coating and the type of current to use.
For a strong arc and good penetration, you often want an electrode that’s suited for the task. For general purpose welding, 6013 is common. For higher strength welds, 7018 is better.
If you’re welding rusty metal, 6011 might be a good choice.
Electrode Diameter
The diameter of the electrode is important. A thicker electrode needs more amperage to run properly. If you try to run a 1/8 inch electrode at the same amperage as a 3/32 inch electrode, the arc will be weaker.
Always check the recommended amperage range for the specific electrode diameter you are using.
Electrode Condition
The condition of your welding electrodes can really affect the arc. Electrodes can go bad. This can make them hard to strike an arc with.
It also makes the arc unstable and weak.
Moisture in Electrodes
Many stick welding electrodes, especially the low-hydrogen types like 7018, are sensitive to moisture. If they absorb water from the air, the arc can become spattery and weak. The coating on the electrode can also degrade.
This leads to poor performance and a less stable arc.
To prevent this, store your electrodes in a dry place. Keep them in their original sealed containers. If you suspect your electrodes have absorbed moisture, you might need to “rebake” them in a special electrode oven.
For most hobbyists, this means getting new, dry electrodes.
Damaged Electrodes
If the coating on an electrode is chipped, cracked, or missing in places, it can cause problems. The arc might be unstable, and you might get a weaker weld. Always use electrodes that look good and have a full coating.
Poor Electrical Connections
Welding machines rely on good electrical connections. If any of the connections are loose or dirty, the electricity can’t flow properly. This means less power reaches the electrode, resulting in a weak arc.
Ground Clamp
The ground clamp is very important. It connects your welding machine to the metal you are welding. If the clamp is loose, dirty, or not making good contact with the metal, the circuit is incomplete.
This will cause a weak or non-existent arc.
Make sure the ground clamp is clean. It should be clamped firmly to a clean spot on your workpiece. If you are welding on painted or rusty metal, you need to clean a small area where the clamp will attach.
This ensures a solid electrical path.
Electrode Holder Connection
The electrode holder, also called the stinger, grips the electrode. The connection between the electrode holder and the welding cable needs to be secure. A loose connection here can also reduce the power going to the arc.
Cable Condition
Check your welding cables. They should be in good condition. There should be no cuts, nicks, or damage to the insulation.
Damaged cables can cause power loss. Also, ensure the connections at both the welding machine and the electrode holder are tight.
Workpiece Issues
What you are welding on matters too. The surface of your workpiece can impact how well the arc starts and performs.
Dirty or Rusty Surfaces
As mentioned with the ground clamp, dirt, rust, paint, or grease on your workpiece can interfere with the electrical connection. This can lead to a weak arc. You need to clean the area where you are welding.
For best results, use a wire brush or grinder to get down to clean metal.
Thin Metal
If you are trying to weld very thin metal, it can seem like the arc is weak. This is because the thin metal heats up very quickly. You might need to use a lower amperage setting and a smaller electrode.
Also, quick, short welds might be needed to avoid burning through.
Incorrect Polarity
Stick welding machines can run on Direct Current (DC) or Alternating Current (AC). For DC, there are two types of polarity: DC Electrode Positive (DCEP or Reverse Polarity) and DC Electrode Negative (DCEN or Straight Polarity). Using the wrong polarity for your electrode can cause a weak or unstable arc.
Reading the Electrode Specifications
Each electrode has a recommended polarity. This information is crucial. If you use DCEN with an electrode that requires DCEP, the arc will likely be weak, and you’ll get poor penetration.
Likewise, using the wrong polarity for AC can also cause issues.
For example, 6013 electrodes often run well on AC or DCEP. 7018 electrodes typically run best on DCEP. Always check the packaging or the electrode data sheet.
Environmental Factors
Sometimes, the environment where you are welding can play a role, though usually less so for a weak arc compared to arc stability issues.
Long Extension Cords
If you are using a very long extension cord with your welder, it can cause voltage drop. This means less power is getting to the machine. This can make the arc weaker.
It’s best to use the shortest, heaviest gauge extension cord possible if you must use one.
Troubleshooting Steps for a Weak Arc
Now that we know the common causes, let’s go through a step-by-step process to fix a weak stick welding arc.
Step 1: Check Your Machine Settings
This is the first and easiest thing to do. Look at the amperage dial or display on your welder. Compare it to the recommended amperage range for the electrode you are using.
Action
If the amperage is too low, turn it up. If you’re unsure of the exact setting, start by increasing it by 10-20 amps and see if the arc improves. Always consult the electrode packaging for guidance.
Step 2: Inspect Your Electrodes
Take a close look at the electrodes you are using. Are they clean? Is the coating intact?
Do they look old or damaged?
Action
If the electrodes look rusty, damp, or the coating is peeling, they are likely the problem. Try a new pack of electrodes from a reputable brand. Make sure they have been stored in a dry environment.
For sensitive electrodes like 7018, using them directly from a sealed, unopened container is best.
Step 3: Verify Your Electrical Connections
This is critical. A good electrical path is a must.
Action
- Make sure the ground clamp is tight and clean.
- Scrape a small area of clean metal on your workpiece where the clamp will attach.
- Check that the cable is securely connected to the ground clamp.
- Ensure the electrode holder connection is tight.
- Inspect the welding cables for any damage.
Step 4: Prepare Your Workpiece
A clean surface makes a big difference.
Action
Use a wire brush or grinder to remove all paint, rust, grease, or any other contaminants from the welding area and where the ground clamp attaches. You need clean metal for the arc to form properly and for good weld quality.
Step 5: Confirm Polarity
Make sure you’re using the right polarity for your electrode.
Action
Check the electrode packaging. If your machine is set to AC and the electrode needs DC, or if you’re using DC and have the wrong polarity (positive or negative), switch it to the recommended setting. Refer to the electrode’s instructions.
Step 6: Test and Adjust
After checking these items, try striking an arc again. Listen to the sound. Watch the arc.
Is it more stable? Does it seem stronger?
Action
You may need to make small adjustments to your amperage. If the arc is still weak, try increasing the amperage a little more. If it’s too hot or spattery, you might need to turn it down slightly.
Finding the sweet spot is key.
Advanced Checks (If Issues Persist)
If you’ve gone through all the basic steps and still have a weak arc, there might be a deeper issue with your equipment.
Internal Machine Problems
Occasionally, the welding machine itself might have an internal problem. This could be an issue with the power source, internal wiring, or control components.
Action
If you suspect an internal problem, it’s best to take your welding machine to a qualified repair technician. Trying to fix internal electrical issues yourself can be dangerous if you don’t have the proper knowledge and safety equipment.
Damaged Welding Cables
While we checked for visible damage, internal damage to cables can sometimes occur without being obvious on the outside. This can happen from repeated bending or stretching.
Action
If you have spare welding cables, try swapping them out to see if that resolves the weak arc issue. Ensure any new cables are of the correct gauge and length for your machine.
Frequently Asked Questions
Question: Why does my stick welder arc feel weak when I try to start it?
Answer: A weak starting arc is often due to low amperage settings, dirty workpiece surfaces, poor ground connection, or using electrodes that have absorbed moisture. Ensure your machine is set to the correct amperage for the electrode, and clean your workpiece and ground connection thoroughly.
Question: I’m using the right amperage, but the arc still sputters and is weak. What else could it be?
Answer: If the amperage seems correct and the arc is still unstable, check the condition of your electrodes. Electrodes that have absorbed moisture can cause sputtering and a weak arc. Also, double-check your ground clamp connection and ensure it’s making good contact with clean metal.
Question: Can the type of metal I’m welding on affect my arc strength?
Answer: Yes, very dirty, rusty, or painted metal can prevent a good electrical connection. This makes the arc weak. Always clean the welding area and the area where your ground clamp attaches to bare, clean metal for a strong arc.
Question: My welding machine is old. Could that be why my arc is weak?
Answer: Older machines can sometimes develop internal issues that reduce their power output, leading to a weak arc. However, before assuming the machine is faulty, go through all the basic troubleshooting steps like checking settings, electrodes, and connections.
Question: What is the most common mistake beginners make that causes a weak arc?
Answer: The most common mistake is setting the amperage too low for the electrode being used, or not having a clean, solid connection for the ground clamp. Both reduce the power available for a strong arc.
Final Thoughts
Fixing a weak stick welder arc is usually straightforward. It often comes down to checking your machine settings, making sure your electrodes are good, and ensuring all your electrical connections are clean and tight. Prepare your workpiece well and use the right electrode for the job.
With these simple steps, you can get your arc back to being strong and reliable. Keep practicing, and you’ll be welding like a pro before you know it!