Getting TIG welding just right can be tricky, especially when the heat spreads out all over the place instead of staying put. This problem, often called How to Fix Uneven Heat Distribution in TIG Welding, is super common for folks just starting out. Don’t worry, though!
We’ll break down exactly what causes this and how to fix it, step by simple step. What you’ll learn next will make your welds look way better.
Key Takeaways
- Understand why TIG welds get hot in some spots and not others.
- Learn how to adjust your torch angle for better heat control.
- Discover how filler metal choice affects heat.
- See how gas flow can help manage heat.
- Grasp the importance of travel speed for even heating.
- Know how to pick the right TIG settings for different metals.
Why Heat Spreads Out in TIG Welding
TIG welding is a great process, but it needs precision. One of the biggest headaches for new welders is when the heat doesn’t go where you want it. This means some parts of your weld are super hot, almost melting through, while other parts are barely warm.
This uneven heating makes for weak, ugly welds. It’s like trying to toast bread unevenly – some parts are burnt, and others are still soft.
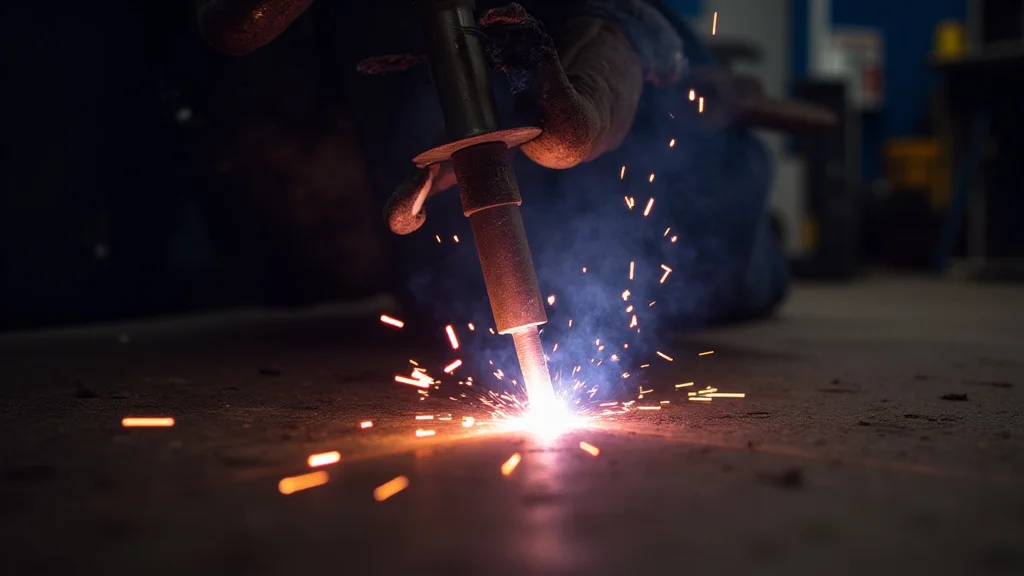
This happens for a few main reasons. The arc from your TIG torch is like a tiny, super-hot flame. Where that flame hits the metal is where most of the heat goes.
If you move the torch wrong, or if the metal itself is odd, the heat can spread out weirdly. Think of it like pouring water on a flat surface versus a tilted one – it flows differently.
This uneven heat can cause problems like burn-through (making a hole), lack of fusion (the metal doesn’t join properly), or distortion (the metal bends and warps). Fixing this is key to making strong, good-looking welds every time.
Understanding the TIG Arc and Heat
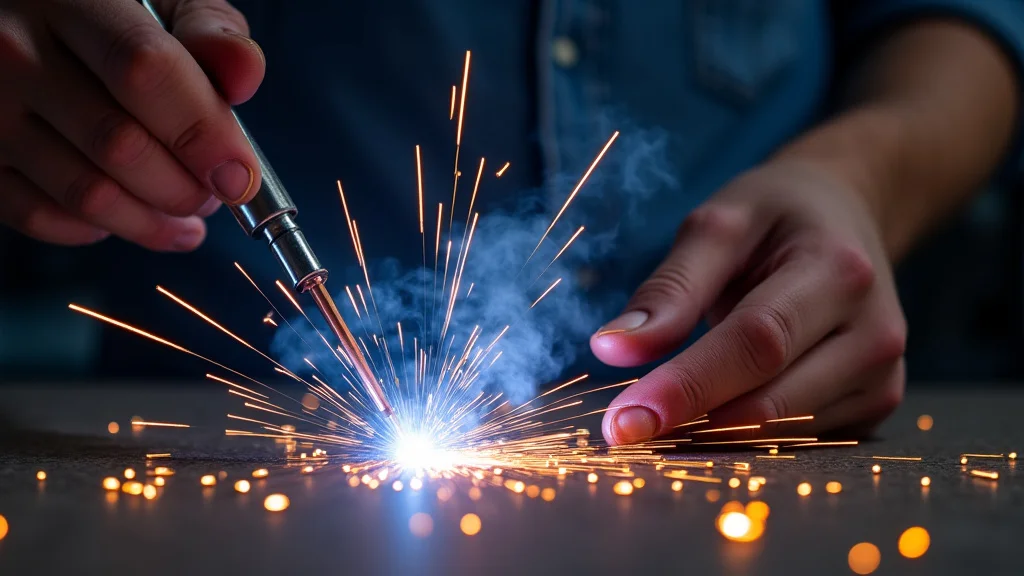
The TIG arc is created when electricity jumps from the tungsten electrode to the metal you’re welding. This arc is incredibly hot, often reaching thousands of degrees Fahrenheit. The shape and focus of this arc are what determine where the heat is concentrated.
When you’re TIG welding, the arc is like a pencil drawing on paper. The tip of the pencil is the concentrated heat. If you hold the pencil straight and steady, you get a clean line.
If you tilt it or wobble it, the line can get messy and wide.
The heat from the arc transfers into the base metal. This heat then spreads out through the material. How quickly and how far it spreads depends on the metal’s thickness, its type, and how long the arc is held in one spot.
Controlling this heat transfer is the core of good TIG welding.
Common Causes of Uneven Heat Distribution
Several factors can lead to uneven heat. Let’s look at the most common ones:
Torch Angle
The angle at which you hold your TIG torch makes a big difference. If you hold the torch straight up and down (perpendicular to the metal), the heat is focused directly below it. This is usually what you want.
However, if you tilt the torch too much, either forward or backward, the arc will spread out more. A backward tilt can cause the arc to hit the tungsten electrode itself, which isn’t good for the tungsten and can spread the heat strangely. A forward tilt can make the heat go too far ahead of where you’re welding, leading to preheating and potential issues.
Travel Speed
How fast you move your torch across the metal is super important. If you move too slowly, the heat has too much time to build up in one spot. This can cause that spot to get excessively hot, leading to burn-through or warping.
On the flip side, moving too fast means not enough heat gets into the metal. This results in a shallow weld that might not penetrate properly, leading to weak joints. You need a steady, consistent speed to allow the heat to melt the metal just enough to create a good fusion zone.
Filler Metal Application
If you’re using filler metal, how and when you add it matters. If you dip the filler rod into the molten puddle too often or at the wrong angle, you can disrupt the arc and the heat flow. This disruption can cause the heat to splash or spread unpredictably.
Also, the size and type of filler rod can affect heat. A thicker rod might carry more heat into the puddle, while a thinner rod might not add as much. Adding filler too early or too late can also create cold spots or hot spots.
Arc Length
The distance between your tungsten electrode and the metal surface is called the arc length. A short arc length (electrode very close to the metal) creates a concentrated, intense heat. This is often good for precise welding.
A long arc length (electrode further away) spreads the heat out more. This can be useful for bridging larger gaps or for applications where you want a wider heat-affected zone. However, a consistently long arc can lead to uneven heating and reduced weld quality because the arc is less stable.
Metal Thickness and Type
Different metals and different thicknesses behave differently with heat. Thinner metals heat up and cool down much faster than thicker metals. They also have a lower melting point, making them more prone to burn-through if too much heat is applied.
Different metals have different thermal conductivity. For example, aluminum conducts heat much more easily than steel. This means heat will spread out faster in aluminum, requiring different heat control techniques.
Stainless steel can also be tricky because it retains heat, leading to potential warping.
How to Fix Uneven Heat Distribution: Step-by-Step
Now that we know why uneven heat happens, let’s talk about how to fix it and get those smooth, consistent welds.
1. Master Your Torch Angle
Always aim to hold your TIG torch as close to perpendicular (90 degrees) to the surface of the metal as possible. This focuses the arc directly where you want it. Practice moving the torch in a straight line while keeping it upright.
If you’re welding a corner or an edge, you’ll need to adjust slightly, but try to keep the torch angle consistent relative to the welding direction. Think of it like drawing a straight line with a ruler; you keep the pencil straight.
2. Control Your Travel Speed
Finding the right travel speed is all about practice. You want to move just fast enough so that the heat doesn’t build up too much, but slow enough to ensure good fusion. A good starting point is to aim for a bead that’s about as wide as it is high.
Watch the puddle. If the puddle is getting too large and runny, you’re moving too slow. If the puddle is small and the metal isn’t melting much, you’re moving too fast.
Try to keep the puddle size consistent as you move.
3. Add Filler Metal Effectively
When adding filler metal, try to dip it into the leading edge of the molten puddle. This helps ensure the filler metal melts smoothly into the weld. Avoid plunging the rod deep into the puddle or wiggling it around excessively, as this can disrupt the arc and heat flow.
Ideally, the filler rod should enter the puddle at a slight angle, complementing the torch angle. This creates a smooth, consistent bead without introducing excessive heat or turbulence.
4. Maintain a Consistent Arc Length
Keep the arc length short and consistent. This means keeping the tungsten electrode a small, steady distance from the workpiece. A good rule of thumb is to keep the arc length roughly the same as the diameter of your tungsten electrode.
A short, stable arc provides a concentrated heat source, which is easier to control. If you find yourself struggling to keep a consistent arc length, it might be time to check your torch grip and practice your hand steadying techniques.
5. Adjust Your Amperage Settings
The amperage setting on your TIG welder controls the amount of heat. For thinner metals, you need lower amperage. For thicker metals, you need higher amperage.
If you have uneven heat, your amperage might be too high or too low for the material you’re working with.
Experiment with your amperage. If you’re getting burn-through, turn it down. If the metal isn’t melting enough, turn it up.
Many welders use charts that suggest starting amperage settings for different metal thicknesses and types.
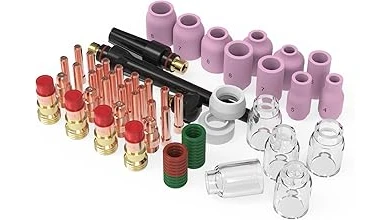
6. Use the Right Tungsten Electrode and Gas
The type of tungsten electrode you use can slightly influence heat. For DC welding (steel, stainless steel), 2% thoriated or ceriated tungsten are common. For AC welding (aluminum), pure or zirconiated tungsten are often used.
Your shielding gas, usually pure argon, also plays a role. Ensure your gas flow rate is set correctly. Too little gas won’t protect the weld puddle, leading to contamination and potential heat issues.
Too much gas can create turbulence, blowing the heat around. A typical flow rate for TIG is around 15-25 cubic feet per hour (CFH).
7. Consider Heat Sinks for Thin Metals
When working with very thin metals, you might need to use a heat sink. A heat sink is a piece of material (often copper or aluminum) placed behind the weld area. It absorbs some of the heat, preventing it from spreading too much and causing burn-through.
8. Practice Different Welding Positions
Welding in different positions (flat, horizontal, vertical, overhead) can affect heat distribution. Gravity plays a role. For instance, in overhead welding, heat naturally wants to rise, which can help keep it concentrated.
In vertical welding, heat can drip down.
You’ll need to adjust your travel speed and torch angle slightly depending on the position to compensate for these effects.
Comparing Techniques for Heat Control
Let’s look at how different approaches to heat control can impact your welds.
| Technique | Effect on Heat | When to Use |
|---|---|---|
| Short Arc Length | Concentrates heat, intense melting | Precision welding, thin metals, root passes |
| Long Arc Length | Spreads heat, wider heat-affected zone | Bridging gaps, thicker materials (with caution) |
| Fast Travel Speed | Less heat input, shallow penetration | Very thin metals (risk of no fusion), quick tack welds |
| Slow Travel Speed | More heat input, deep penetration (risk of burn-through) | Thicker metals, filling larger joints |
| Forward Torch Angle | Heat ahead of puddle, preheating | Rarely used intentionally, can cause issues |
| Perpendicular Torch Angle | Focused heat, controlled melting | Most common and recommended TIG technique |
Frequently Asked Questions
Question: Why does my TIG weld look like a blob in one spot and a thin line in another?
Answer: This usually means your torch angle or travel speed is inconsistent. Try to keep your torch perfectly straight and move at a steady pace. Watch the puddle; it should be a consistent size.
Question: I keep burning through thin metal. What am I doing wrong?
Answer: You’re likely using too much amperage or moving too slowly. Try lowering your amperage, using a shorter arc, and moving your torch a bit faster. Sometimes a heat sink can help too.
Question: How can I make my welds look smoother and less lumpy?
Answer: Smooth welds come from consistent heat and filler metal application. Make sure your torch angle is steady, your travel speed is even, and you dip your filler rod smoothly into the leading edge of the puddle.
Question: Does the type of metal I’m welding affect heat distribution?
Answer: Yes, absolutely. Thinner metals melt faster, and different metals like aluminum and stainless steel conduct heat differently than mild steel. You’ll need to adjust your settings and technique for each type.
Question: What’s the best way to practice controlling heat?
Answer: The best way is to practice on scrap pieces of the same metal you’ll be welding. Try different settings and techniques, and pay close attention to the weld puddle. Repetition builds muscle memory and heat control.
Final Thoughts
Fixing uneven heat distribution in TIG welding is all about control. You control the arc, the speed, and how you add filler. Keeping your torch straight and moving at a steady pace is key.
Lowering amperage for thin metals and increasing it for thick ones helps a lot. Practicing on scrap pieces lets you see how different settings affect the weld puddle. Mastering these simple steps will lead to stronger, cleaner welds and give you more confidence with your TIG welder.