Ever tried to weld with a TIG machine and gotten nowhere? It’s super common for new welders, and honestly, even experienced ones run into this problem. You flick the switch, you try to start your arc, and.
nothing. It can be really frustrating when you just want to make something. But don’t worry, this isn’t as hard as it looks.
We’re going to walk through a simple, step-by-step TIG Welder Not Striking Arc? Step Fix that anyone can follow. Once we figure out why your TIG welder isn’t sparking, you’ll be welding in no time.
Let’s get your machine firing up!
Key Takeaways
- You will learn the most common reasons a TIG welder fails to strike an arc.
- We will cover simple checks for power, gas, and consumables.
- Troubleshooting torch issues, ground clamps, and machine settings will be explained.
- You’ll get practical steps to identify and fix your arc striking problem.
- This guide aims to get you welding again with confidence.
Why Won’t My TIG Welder Strike an Arc?
It’s a puzzling situation. You’re all set up, ready to make some clean TIG welds, but your torch just isn’t creating that initial spark. This can happen for a bunch of reasons, and for beginners, it’s often a mystery.
The good news is, most of the time, the fixes are pretty straightforward. We just need to follow a process of elimination.
Checking the Power Basics
Before we even think about the torch, let’s make sure the machine is getting power. This sounds obvious, but it’s the first step.
Is the Welder Plugged In?
Seriously, check the plug. Make sure it’s firmly seated in the outlet. Sometimes, it can come loose.
Also, ensure the outlet itself is working. You can test this with another appliance, like a lamp.
Circuit Breaker Issues
Welders use a lot of power. If the circuit breaker for your welding outlet has tripped, your welder won’t get the juice it needs. Look for a tripped breaker in your main electrical panel and reset it if necessary.
If it trips again immediately, you might have a bigger electrical problem or the welder is drawing too much power for that circuit.
Voltage Settings
Some TIG welders have selectable voltage inputs. Make sure your welder is set to the correct voltage for the outlet you’re using (e.g., 120V or 240V). Using the wrong setting can prevent it from starting or even damage the machine.
Gas Flow: The Unseen Helper
TIG welding relies on shielding gas, usually Argon, to protect the weld pool. If the gas isn’t flowing, it won’t just affect weld quality; it can sometimes play a role in starting the arc.
Is the Gas Cylinder Open?
Check your Argon cylinder valve. It needs to be fully open. You should be able to hear gas hissing when you open it slightly.
Regulator Settings
Your gas regulator controls the flow rate. Make sure it’s set to a suitable flow rate, usually around 15-25 cubic feet per hour (CFH) for TIG welding. The pressure gauge should indicate that gas is available.
Gas Line Leaks
Inspect the gas hose connecting your cylinder to the welder. Look for any cracks, kinks, or loose connections. A leak means gas isn’t reaching the torch.
You can test for leaks by applying a soapy water solution to connections; bubbles will appear if there’s a leak.
Torch Solenoid Valve
Inside your welder is a solenoid valve that controls gas flow to the torch. If this valve isn’t working, gas won’t come out when you press the torch switch. This is a less common issue but can happen.
Consumables: The Tiny but Mighty Parts
The parts at the end of your TIG torch are critical for creating the arc. If they’re not right, nothing will happen.
Tungsten Electrode Issues
The tungsten electrode is what the arc actually comes from. It needs to be the right type, properly prepared, and seated correctly.
- Type: Ensure you’re using the correct type of tungsten for your application (e.g., Pure, 2% Thoriated, Ceriated, Lanthanated). Different types are used for AC vs. DC welding.
- Sharpening: For DC welding, the tungsten should be ground to a sharp point. For AC welding, it’s usually balled at the tip. A dull or improperly shaped tungsten can struggle to initiate an arc.
- Seating: The tungsten must be securely clamped in the collet and extend the correct amount from the torch cup. Too little or too much sticking out can cause problems.
Collet and Collet Body
The collet holds the tungsten. If the collet is worn, damaged, or the wrong size for your tungsten, it won’t grip it properly. The collet body connects the collet to the gas lens or nozzle.
Gas Lens and Nozzle
While not directly involved in striking the arc, a clogged or damaged gas lens or nozzle can affect gas flow and indirectly contribute to arc starting issues by disrupting the gas shield. Ensure they are clean and free of debris.
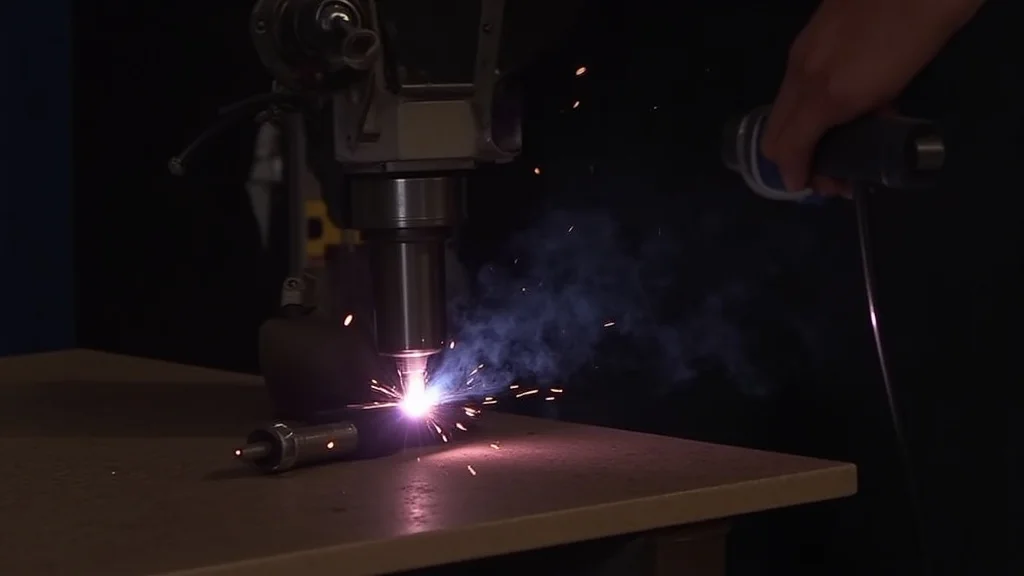
Torch and Cable Connections
The torch is your direct link to the welding arc. Any issues here can prevent it from working.
Torch Handle and Switch
Ensure the torch is securely connected to the welder. Check the torch switch itself. If it’s broken or not making contact, the welder won’t know you’re trying to start an arc.
Power Cable
The power cable carries the welding current to the torch. Inspect it for any damage, cuts, or worn insulation. A damaged cable can interrupt the flow of power.
Gas Hose Connection
As mentioned earlier, a loose or leaking gas hose connection at the torch can prevent gas flow, which might be part of the problem.
Ground Clamp: Completing the Circuit
For any arc welding, a complete circuit is essential. The ground clamp is a vital part of this.
Proper Connection to Workpiece
The ground clamp must be firmly attached to the workpiece or a clean metal surface directly connected to the workpiece. Any paint, rust, or dirt can act as an insulator, preventing the circuit from being completed.
Clean Metal Contact
Ensure the jaws of the ground clamp are making good, clean contact with the metal. If necessary, clean the surface where the clamp attaches with a wire brush.
Ground Clamp Condition
Check the ground clamp itself. Is it damaged? Are the leads securely attached?
A faulty ground clamp won’t carry the current effectively.
Machine Settings and Modes
Your TIG welder has various settings that need to be correct for it to function as expected.
Amperage Setting
While you need to set amperage for welding, if it’s set to zero, you won’t get an arc. Make sure you have a reasonable amperage selected for starting.
Polarity (DC Welding)
For DC welding, you need to set the correct polarity. For most metals like steel and stainless steel, you’ll use DC Electrode Negative (DCEN), also called straight polarity. For aluminum or magnesium, you’ll use AC.
- DCEN (Electrode Negative): The tungsten is negative, the workpiece is positive. This provides deeper penetration.
- DCEP (Electrode Positive): The tungsten is positive, the workpiece is negative. This is rarely used for TIG and can damage the tungsten quickly.
If you have DCEN selected but are trying to weld aluminum, it won’t strike properly. Likewise, if you’re welding steel and have AC selected, it might behave strangely.
AC Balance and Frequency (AC Welding)
If you are trying to weld aluminum and are using AC mode, settings like AC balance and frequency can influence arc stability. Incorrect settings can make arc initiation difficult.
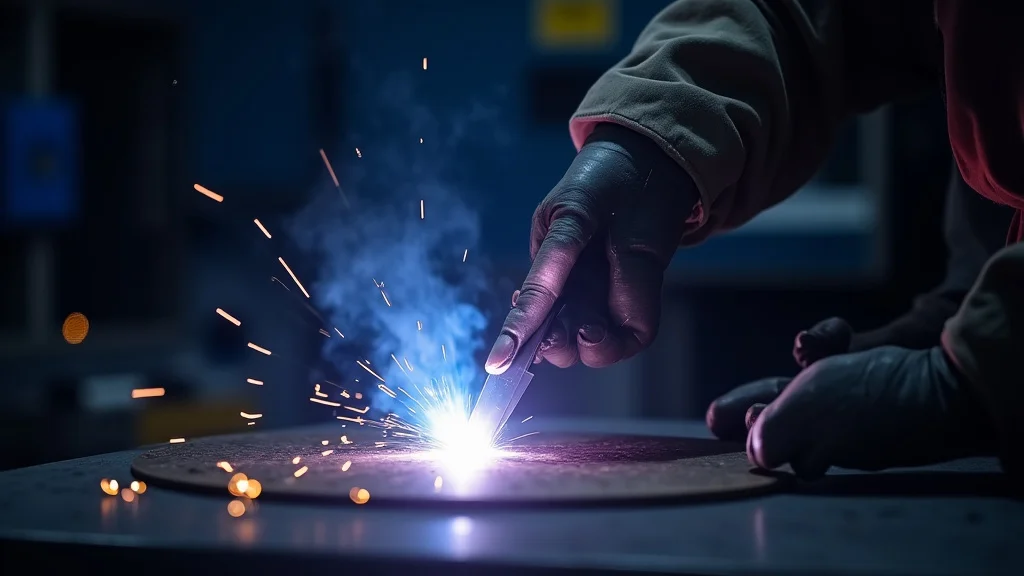
High-Frequency (HF) Start
Most TIG welders have a high-frequency start feature. This HF unit creates a high-voltage spark to initiate the arc without the tungsten touching the metal. Check if this feature is enabled.
If it’s off, you’ll have to use scratch start or lift start, which require physical contact.
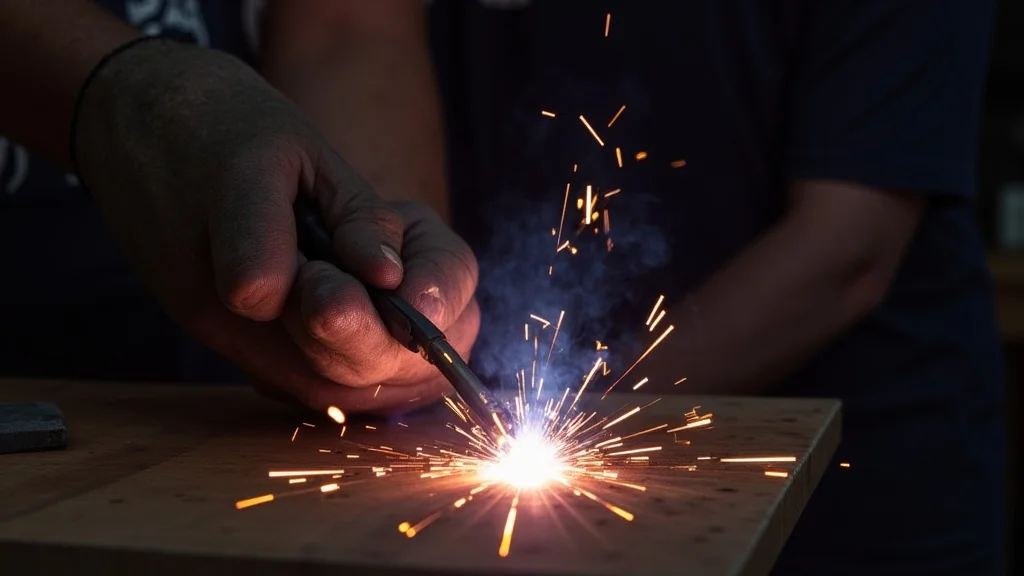
Lift Start or Scratch Start
If your machine doesn’t have HF start, or it’s turned off, you’ll need to use lift start or scratch start.
- Scratch Start: This involves briefly touching the tungsten to the workpiece and quickly pulling it away, much like striking a match.
- Lift Start: You touch the tungsten to the workpiece, then lift it slightly. The machine senses the contact and then initiates the arc when you lift.
If you’re expecting HF start and are using scratch or lift, it won’t work as you expect.
Troubleshooting High-Frequency Start
The HF start is a common culprit for no-arc issues when using HF machines.
Is HF Enabled?
Make sure the HF start setting on your welder is turned on. Some machines have a dedicated switch or menu option for this.
HF Intensity
The intensity of the HF spark might be too low. Some welders allow you to adjust this. If it’s too low, it won’t jump the gap effectively.
HF Component Failure
The HF start circuit is a component within the welder. Like any electronic part, it can fail. If all other checks are good, the HF unit itself might need servicing.
Other Potential Issues
Sometimes, the problem is a bit more obscure.
Internal Welder Faults
While less common, there could be an internal fault within the TIG welder itself. This could involve wiring issues, faulty circuit boards, or other components. If you’ve gone through all the external checks and still have no arc, it might be time to consult the manual or a qualified technician.
Contaminated Tungsten
If the tungsten tip has become contaminated with bits of filler metal or workpiece material, it can lead to poor arc starting. It might need to be re-ground or a fresh piece used.
Step-by-Step TIG Welder Not Striking Arc? Step Fix
Let’s put it all together in a simple checklist. Work through these steps calmly.
Step 1: The Power Check
Confirm the welder is plugged in and the outlet is live. Check your circuit breaker. Ensure the welder’s input voltage setting matches your outlet.
Step 2: Gas System Check
Open the Argon cylinder valve. Verify the regulator shows pressure and is set to an appropriate flow rate. Listen for gas when you press the torch button. Check gas hose connections for leaks.
Step 3: Torch and Consumable Inspection
Examine the tungsten electrode. Is it the right type and properly ground/balled? Is it clamped securely by the collet and extending the right amount?
Check the collet and collet body for damage. Ensure the nozzle is clear.
Step 4: Ground Clamp Connection
Make sure the ground clamp is tightly secured to a clean metal surface on your workpiece or welding table. The contact area should be free of paint, rust, and dirt.
Step 5: Machine Settings Review
Verify your amperage setting is above zero.
Confirm the correct polarity is selected for the metal you are welding (DCEN for steel, AC for aluminum). If using AC, ensure balance and frequency are reasonable.
If your welder has HF start, make sure it’s enabled. If you expect HF and it’s not working, check the intensity setting.
Step 6: Test the Torch Switch
Press the torch trigger. Listen for gas flow. If you have HF start, watch for a spark. If you have no gas and no spark, revisit steps 1-4.
Step 7: Attempt to Strike Arc
If you are using HF start:
- Position the torch tip near the workpiece (but not touching).
- Press the trigger. You should see an HF spark and then the arc should establish as you bring the tungsten closer or touch.
If you are using scratch or lift start:
- Gently touch the tungsten to the workpiece.
- If using scratch start, quickly pull it away.
- If using lift start, lift the tungsten slightly off the workpiece.
- You should hear the arc establish.
Step 8: Address Specific Issues
If the arc still doesn’t strike:
- No gas, no spark: Likely a power issue (Step 1), a faulty torch switch, or an internal problem.
- Gas flows, but no spark (HF welder): Could be HF start disabled, low HF intensity, or a faulty HF unit (Step 5).
- Gas flows, arc doesn’t establish (scratch/lift): Could be poor ground connection (Step 4), contaminated tungsten (Step 3), or insufficient amperage (Step 5).
Frequently Asked Questions
Question: Why does my TIG welder only spark when I touch the metal?
Answer: This usually means your High-Frequency (HF) start is either turned off or not working correctly. Your welder is resorting to a touch-start method. Make sure HF start is enabled in your welder’s settings.
Question: I have Argon gas flowing, but the arc won’t start. What could be wrong?
Answer: Even with gas, the circuit needs to be complete. Double-check your ground clamp connection to ensure it’s making good contact with clean metal. Also, inspect the tungsten and torch to make sure they are properly set up.
Question: My TIG welder used to strike an arc, but now it doesn’t. Did something break?
Answer: It’s possible. The most common reasons for a sudden failure are a tripped circuit breaker, a loose ground clamp, or a problem with the torch itself, like a damaged switch or a worn tungsten. Start with the simple checks first.
Question: Can I weld aluminum without High-Frequency start?
Answer: Yes, you can. You would need to use a lift-start or scratch-start method. However, initiating and maintaining a stable arc on aluminum can be much more challenging this way, and it’s generally not recommended for beginners.
Question: What happens if I select the wrong polarity for TIG welding?
Answer: Selecting the wrong polarity can lead to poor arc performance, difficulty starting the arc, rapid tungsten wear, and incorrect weld penetration. For steel, you almost always want DC Electrode Negative (DCEN). Aluminum requires AC.
Final Thoughts
When your TIG welder won’t strike an arc, it’s usually due to a few common, fixable issues. We’ve walked through checking power, gas, your torch consumables, the ground clamp, and your machine’s settings. By following these steps, you can systematically find the problem.
Most of the time, it’s a simple connection or a setting adjustment. You’ve got this. Getting your welder to spark is the first step to great welds!