Getting started with welding can feel a bit tricky, especially when you’re learning How to Set Up a MIG Welder for Beginners. Many people find the initial setup confusing, with all the wires, gas, and settings. But don’t worry!
This guide will walk you through each step very simply. We’ll make setting up your welder easy and quick. Let’s get your welder ready for action.
Key Takeaways
- You will learn the basic parts of a MIG welder.
- Setting up the gas and wire is explained simply.
- Understanding the welder’s controls becomes clear.
- Proper safety steps are covered to keep you safe.
- Getting ready to weld is made easy to follow.
Understanding Your MIG Welder
What is a MIG Welder?
MIG welding, which stands for Metal Inert Gas welding, is a popular choice for beginners. It’s also known as Gas Metal Arc Welding or GMAW. This type of welder uses a continuously feeding wire electrode to join metal parts.
An electric arc forms between the wire and the metal you’re welding. This arc melts both the wire and the metal, creating a strong bond as they cool down. A shielding gas flows from the welder’s gun to protect the molten weld pool from the air.
This gas prevents impurities from getting into your weld, which helps make it stronger and cleaner.
Why is MIG Welding Great for Beginners?
MIG welding is often recommended for new welders because it’s relatively easy to learn. Unlike some other welding methods, MIG doesn’t require you to hold electrodes or make complex motions with your hands. The wire feeds automatically, and the shielding gas is handled by the machine.
This means you can focus more on controlling the heat and the speed of your weld. It’s a forgiving process that allows you to get good results fairly quickly. With a little practice, you’ll be making neat welds.
Essential MIG Welder Components
Before you start setting up, it’s good to know the main parts of your MIG welder. Each part plays a key role in making a weld. Knowing what each piece does will help you set things up correctly and use your welder safely.
The Welder Unit
This is the main box. It houses the power source, which provides the electricity for the arc. It also has controls to adjust voltage and wire speed.
Some units also have features like thermal overload protection to prevent the machine from overheating.
The Welding Gun
This is the part you hold. It carries the welding wire and the shielding gas to the workpiece. The gun has a trigger that starts the wire feed and the electric arc.
It also has a nozzle that directs the shielding gas. The tip inside the gun makes electrical contact with the wire. You’ll need to change these tips as they wear out.
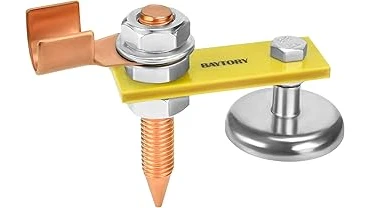
The Ground Clamp
This clamp connects your welder to the metal you are working on. It’s very important for completing the electrical circuit. Without a good connection, the electricity can’t flow properly, and you won’t be able to weld.
Always make sure the clamp is attached to clean metal for the best results.
The Wire Feeder
Inside the welder or attached to it, this mechanism pushes the welding wire from the spool through the gun. You can usually adjust the speed at which the wire feeds. This speed is set along with the voltage to control the heat of your weld.
The Gas Cylinder
This cylinder holds the shielding gas. Common gases for MIG welding include pure argon or a mix of argon and carbon dioxide (often called C25). The gas flows through a hose from the cylinder to the welder and then to the gun.
It protects the weld from air.
The Wire Spool
This is where the welding wire is stored. It usually sits inside the welder or on a bracket on the outside. The wire is fed from the spool to the weld.
You’ll need to choose the right type and size of wire for the metal you’re welding.
Setting Up Your MIG Welder: A Step-by-Step Guide
Now that you know the parts, let’s get them all connected and ready. Setting up correctly is key to making good welds and staying safe.
Step 1: Connecting the Ground Clamp
First, find a clean spot on the metal you plan to weld. Scrape away any paint, rust, or grease with a wire brush. Attach the ground clamp firmly to this clean metal.
A good ground connection is essential for the electricity to flow properly. If the connection is poor, your welds won’t be good, and the machine might not work right.
Step 2: Installing the Wire Spool
Open the side panel of your welder where the wire spool usually goes. Place the spool of welding wire onto the spindle. Make sure the wire is unwinding in the correct direction.
You want it to feed smoothly towards the wire feeder. Some welders have a brake on the spindle to stop the spool from unwinding too fast.
Step 3: Threading the Welding Wire
This step requires a bit of care. You need to feed the wire from the spool through the wire feeder and into the welding gun. Locate the drive rollers in the wire feeder.
You might need to adjust the tension on these rollers. They should be tight enough to grip the wire but not so tight that they damage it. Thread the wire through the guide tubes and into the welding gun.
You might need to remove the contact tip from the gun first to make it easier. Once threaded, re-install the tip.
Step 4: Connecting the Gas Cylinder
Attach the gas hose from the cylinder to the inlet port on your welder. Make sure the connection is secure. Open the valve on the gas cylinder slowly.
You’ll need to use a regulator that’s attached to the cylinder to control the gas flow. The regulator will have a gauge that shows the pressure in the tank and another gauge that shows the flow rate. Set the flow rate according to your welder’s manual or the wire manufacturer’s recommendation.
For most common setups, a flow rate of 15-25 cubic feet per hour (CFH) is a good starting point.
Step 5: Setting Up the Welder Controls
Your welder will have controls for voltage and wire speed. These are often called “heat” settings. Think of voltage as controlling the arc length and heat, while wire speed controls the amount of wire going into the weld, which affects the penetration and bead size.
For beginners, it’s best to start with recommended settings. Check your welder’s manual or look for charts that suggest settings based on the thickness of the metal you’re welding and the type of wire you’re using. You’ll likely have a dial or knobs for these adjustments.
Voltage Settings
Voltage determines how “hot” your arc is. Higher voltage means a hotter arc and a wider, flatter weld bead. Lower voltage creates a narrower, more concentrated arc and a more convex weld bead.
Wire Speed Settings
Wire speed controls how fast the wire is fed into the weld. This directly impacts the amperage (the amount of current). Faster wire speed means higher amperage and deeper penetration.
Slower wire speed means lower amperage and less penetration.
Step 6: Checking Everything Over
Before you strike an arc, take a moment to double-check all your connections. Is the ground clamp secure? Is the wire feeding smoothly?
Is the gas flowing? Are the controls set to a reasonable starting point? A quick review can save you a lot of frustration.
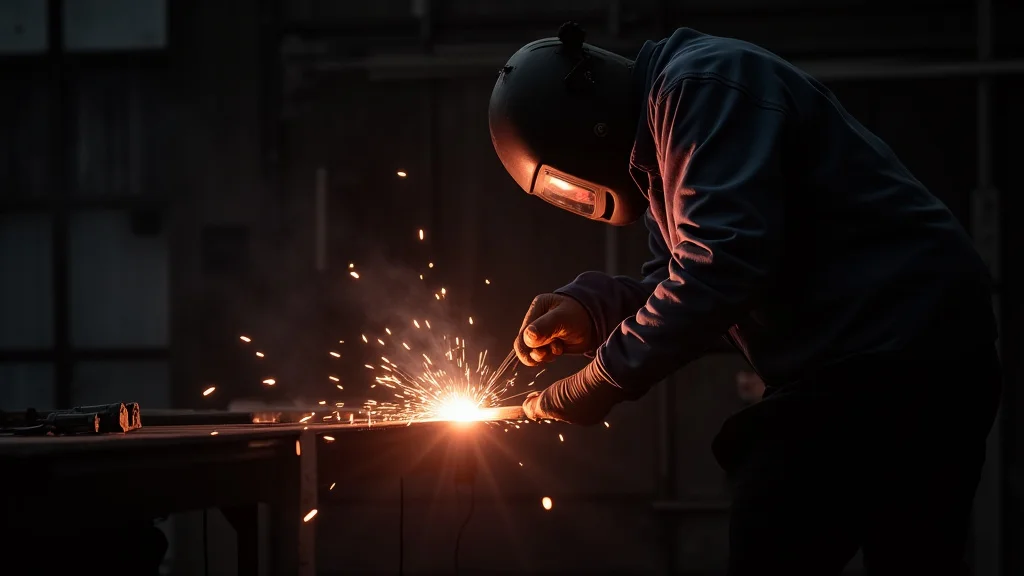
Safety First!
Welding involves heat, sparks, and fumes. Safety should always be your top priority. Never skip safety precautions.
Personal Protective Equipment (PPE)
- Welding Helmet: This is essential. It has a special lens that protects your eyes from the bright light and harmful UV rays. Make sure the shade of the lens is appropriate for MIG welding.
- Welding Gloves: These protect your hands from heat, sparks, and sharp metal edges.
- Flame-Resistant Clothing: Wear long sleeves and pants made of natural fibers like cotton or leather. Avoid synthetic materials, as they can melt.
- Safety Glasses: Wear these under your welding helmet to protect your eyes from flying debris when you’re not welding.
- Safety Shoes: Sturdy, closed-toe shoes are a must.
Work Area Safety
- Ventilation: Always weld in a well-ventilated area. Fumes from welding can be harmful. If you can’t get good airflow, consider using a fume extractor.
- Fire Hazards: Clear your work area of any flammable materials like rags, solvents, or wood. Keep a fire extinguisher nearby.
- Secure Workpiece: Make sure the metal you’re welding is stable and won’t move.
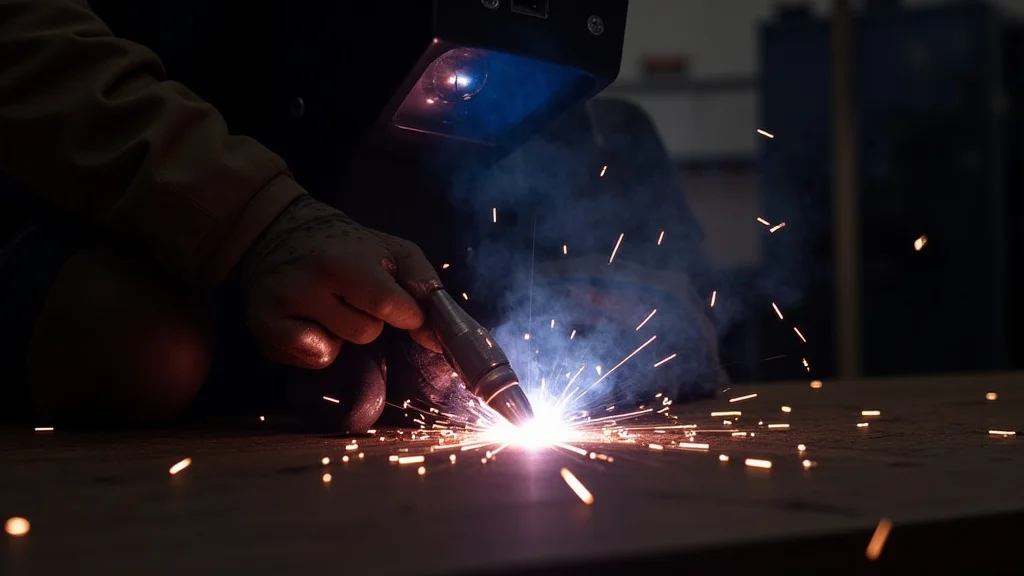
Making Your First Welds
With everything set up and safety in place, you’re ready to make your first weld. Start with some scrap metal of the same type and thickness you plan to work with.
Practicing Your Technique
Hold the welding gun at a slight angle, usually about 10-15 degrees, pointing in the direction you are moving. Keep a consistent distance between the tip of the gun and the metal. This is called your “stick-out.” A good stick-out is usually about 1/4 to 1/2 inch.
Start the arc by pressing the trigger. You should see the metal start to melt and a molten puddle form. Move the gun smoothly across the metal.
Aim for a steady bead that’s not too wide or too narrow. Listen to the sound of the arc; a nice, consistent sizzle is usually a good sign.
Troubleshooting Common Issues
- Sputtering Arc: This could be caused by a dirty contact tip, incorrect gas flow, or a poor ground connection.
- Spatter: Too much spatter might mean your voltage or wire speed is too high. It can also be from a dirty workpiece or a poor ground.
- Porosity: Small holes in your weld usually mean the shielding gas wasn’t protecting the weld properly. Check your gas flow and make sure there’s no draft.
- Lack of Fusion: If the weld doesn’t seem to stick well, you might not be using enough heat (voltage and wire speed) or the metal might be dirty.
Adjusting Settings for Different Metals
As you get more comfortable, you’ll learn to adjust your settings for different types and thicknesses of metal. This is where the real art of welding comes in.
Steel Thickness
Thinner metal needs less heat. You’ll want to use lower voltage and wire speed settings to avoid burning through. Thicker metal requires more heat.
You’ll increase both voltage and wire speed. Many welders have charts or a dial that gives you suggested settings for different metal thicknesses.
Type of Metal
While steel is common, MIG welding can also be used on aluminum and stainless steel. However, these metals often require different types of wire, different shielding gases (like pure argon for aluminum), and specific machine settings. For instance, aluminum wire is softer and might need different drive rolls in the wire feeder.
Frequently Asked Questions
Question: What is the best shielding gas for beginners with a MIG welder?
Answer: For general steel welding, a 75% Argon / 25% CO2 mix (often called C25) is very popular for beginners. It offers a good balance of performance and cost.
Question: How do I prevent my MIG gun tip from getting clogged?
Answer: Keep your contact tip clean. You can do this by using a wire brush or chipping away hardened spatter. Also, ensure your shielding gas is flowing correctly to prevent spatter from sticking.
Question: My welds look like bacon. What am I doing wrong?
Answer: “Bacon” welds, meaning wavy and inconsistent beads, often come from inconsistent travel speed or arc length. Try to maintain a steady pace and keep the distance between the gun tip and the metal the same.
Question: Do I need to preheat the metal before MIG welding?
Answer: For most common steel welding jobs, preheating isn’t necessary. However, for very thick steel or certain types of metals, preheating might be recommended to prevent cracking.
Question: How often should I change the contact tip in my MIG gun?
Answer: Contact tips wear out with use. You’ll notice poor weld quality or difficulty maintaining a consistent arc when the tip is worn. It’s a good idea to have spare tips on hand and replace them when you see signs of wear.
Final Thoughts
Learning How to Set Up a MIG Welder for Beginners might seem like a lot at first. But by breaking it down into simple steps, you can see it’s quite manageable. You’ve learned about the main parts of your welder, how to connect them all correctly, and the essential safety gear.
We’ve covered setting the voltage and wire speed for a good start. Remember to practice on scrap metal. Keep those settings in mind and adjust them as you go.
You’ll get better with every weld. Enjoy building and creating!