It’s frustrating when your welding machine won’t start a welding arc. This problem, often summed up as “Why Is My Welding Machine Not Striking Arc?”, can be a real headache, especially if you’re new to welding. You might feel stuck, wondering what went wrong.
Don’t worry, this is a common hurdle many beginners face. We’ll walk through the simple steps to figure out the issue and get you welding again. Let’s find out what’s causing this problem so you can fix it.
Key Takeaways
- You’ll learn the most common reasons a welding machine won’t strike an arc.
- We’ll explain how to check your power source and connections.
- You will discover the importance of proper ground clamp setup.
- We’ll cover how electrode selection impacts arc initiation.
- You’ll get tips on checking your welding machine’s settings.
- We’ll help you troubleshoot potential machine malfunctions.
Why Is My Welding Machine Not Striking Arc? Common Causes and Simple Fixes
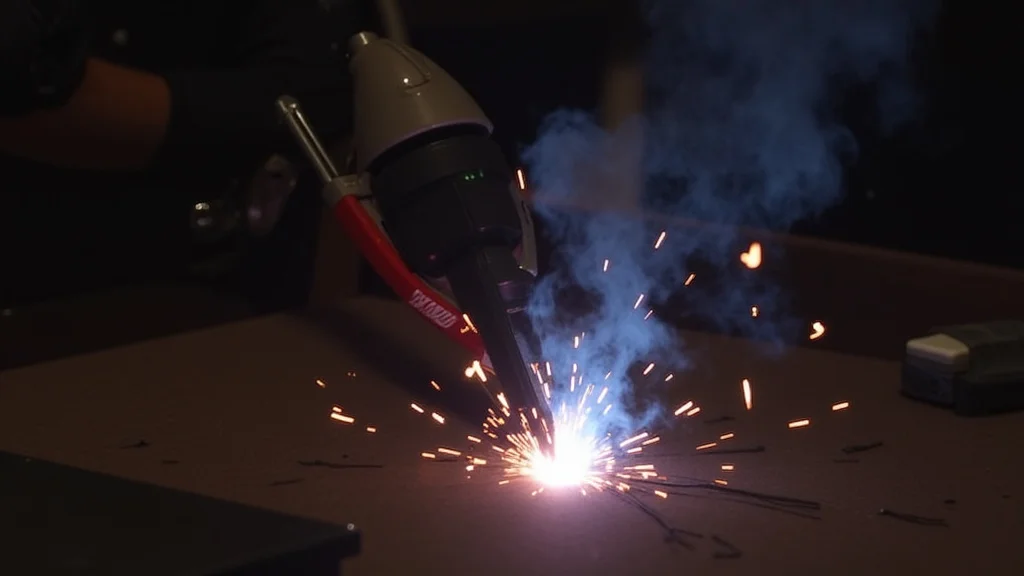
Staring at a welding machine that refuses to spark an arc can be disheartening. If you’re asking yourself, “Why Is My Welding Machine Not Striking Arc?”, you’re not alone. This is a frequent puzzle for anyone starting out in welding.
Many things can prevent that crucial first spark. Let’s break down the common culprits and how to easily fix them.
Power Supply Problems
The most basic reason your welding machine might not be working is a lack of power. Think of it like trying to turn on a lamp without plugging it in. Your welding machine needs electricity to function.
Checking the Outlet and Plug
First, make sure your welding machine is plugged into a working electrical outlet. Test the outlet with another device, like a lamp or a drill. If the outlet doesn’t work, the problem isn’t with your welder, but with the power supply.
Check your home’s circuit breaker or fuse box. A tripped breaker or a blown fuse will cut off power.
Next, look at the power cord and plug on your welding machine. Are there any visible signs of damage? Frayed wires, cuts, or bent prongs can prevent electricity from flowing.
If you see damage, stop using the machine immediately. A damaged cord is a safety hazard and needs to be repaired or replaced by a professional.
Voltage and Amperage Requirements
Welding machines often have specific voltage and amperage needs. A small hobby welder might run on standard household 120V, while larger industrial machines require 240V or even higher. Ensure your power source matches your machine’s requirements.
Trying to run a high-demand machine on a low-voltage circuit won’t work and could damage the equipment.
Also, check if the circuit you’re using can handle the amperage draw of your welder. If the circuit is overloaded, the breaker will trip. You might need a dedicated circuit for your welding machine, especially if it’s a powerful model.
Consult your welding machine’s manual for its exact power needs.
The Ground Clamp Connection
The ground clamp is a vital part of the welding circuit. It provides the return path for the electricity. If the ground clamp isn’t making good contact, the arc won’t form.
Proper Placement and Contact
Your ground clamp needs to be attached to a clean, bare metal surface on the workpiece or welding table. Rust, paint, grease, or dirt act as insulators, preventing a solid electrical connection. Before attaching the clamp, scrape away any coating from the metal where the clamp will sit.
Use a wire brush or sandpaper for this. A strong, tight connection is essential.
Ensure the clamp itself is in good condition. Look for bent or broken jaws, loose connections, or damaged cables. A clamp that doesn’t grip tightly won’t make good contact.
Sometimes, the cable connection to the clamp can become loose over time. Check that the cable is securely fastened to the clamp body.
Is the Ground Clamp Attached?
It sounds simple, but sometimes the ground clamp is simply not attached. Double-check that the cable is firmly connected to the welding machine’s ground terminal and that the clamp is secured to your workpiece. This mistake is more common than you might think, especially when you’re in a hurry.
Electrode Issues
The electrode, or welding rod, is what actually melts to create the weld. If the electrode is wrong for the job or in bad condition, it can prevent arc formation.
Correct Electrode for Your Machine and Material
Different welding processes use different types of electrodes. For stick welding (SMAW), you have various types of coated electrodes (like 6013, 7018). For MIG welding (GMAW), you use a spool of wire.
For TIG welding (GTAW), you use a non-consumable tungsten electrode.
Using the wrong type of electrode for your welding machine or the material you’re welding is a common problem. For example, trying to use a MIG wire on a stick welder won’t work. Even within stick welding, some electrodes are easier to strike an arc with than others.
Read your machine’s manual and understand which electrodes are compatible.
Electrode Condition
Electrodes, especially flux-coated ones for stick welding, can become damaged or contaminated. Old electrodes might have absorbed moisture, which can affect their performance and make them hard to start. They can also become bent or have their coating chipped.
For MIG welding, the wire on the spool can become tangled, creating a bird’s nest that prevents it from feeding smoothly. This can stop the welding process before an arc even forms. Check that the wire feeds freely from the spool.
Machine Settings
Your welding machine has controls that dictate how it operates. Incorrect settings are a frequent cause of arc starting problems.
Amperage Setting
The amperage setting determines the heat of the weld. If the amperage is set too low, it might not be enough to ignite the arc. For starting, you usually need a higher amperage.
Consult your welding machine’s manual or electrode packaging for recommended amperage ranges. Then, set your machine accordingly.
Polarity
Polarity refers to the direction of electrical current flow. Different welding processes and electrode types require specific polarities. For example, some stick electrodes run on DC (Direct Current) with positive polarity (DCEP), while others run on DC with negative polarity (DCEN).
MIG welding also has specific polarity requirements, and TIG welding typically uses DCEN for steel.
If the polarity is set incorrectly, you might struggle to strike an arc, or the arc will be unstable. Check your machine’s manual and the electrode specifications to ensure you have the correct polarity selected.
Wire Feed Speed (for MIG)
In MIG welding, the wire feed speed (WFS) works in conjunction with the voltage. If the WFS is too low, the wire might not reach the workpiece with enough speed to create a consistent arc. If it’s too high, the wire might burn back to the contact tip.
You need to find the right balance between WFS and voltage for your specific wire size, material thickness, and gas type. A good starting point is usually recommended in the welding machine’s manual or on the wire spool packaging.
Contact Tip or Nozzle Issues (for MIG)
For MIG welding, the contact tip and nozzle are crucial for a good arc. These parts can cause problems if they aren’t in good shape.
Worn or Dirty Contact Tip
The contact tip is what the welding wire passes through, and it’s also what transfers the electrical current to the wire. Over time, the inside of the tip can become enlarged by the wire, or spatter can build up inside it. A worn or dirty contact tip can restrict wire flow and prevent good electrical contact.
This can make it very difficult to strike an arc. Always ensure your contact tip is clean and the correct size for the wire you are using. Replace the contact tip if it looks worn or damaged.
Clogged Nozzle
The nozzle directs the shielding gas to the arc. If welding spatter builds up inside the nozzle, it can obstruct gas flow. This can lead to poor shielding, which affects arc stability and makes it hard to start.
Keep the nozzle clean by using a nozzle anti-spatter spray and regular cleaning.
Welding Machine Malfunctions
While less common than the other issues, sometimes the welding machine itself might have an internal problem.
Internal Connections
Inside the welding machine, various wires and components connect to create the welding circuit. If one of these internal connections becomes loose or corroded, it can interrupt the power flow and prevent arc striking. This is more likely to happen with older or heavily used machines.
Component Failure
Electronic components within the welder can fail over time. This could be anything from a capacitor to a circuit board. If a critical component fails, the machine may not be able to generate the necessary voltage or current to start an arc.
These issues usually require professional repair.
Troubleshooting Steps When Your Welding Machine Won’t Strike an Arc
When you encounter the frustrating situation of asking, “Why Is My Welding Machine Not Striking Arc?”, follow these steps logically:
- Check Power Source: Ensure the machine is plugged in, the outlet works, and breakers are not tripped.
- Inspect Cords and Plugs: Look for any damage to the power cord or extension cords.
- Verify Ground Clamp: Make sure the ground clamp is securely attached to clean, bare metal on the workpiece.
- Examine Electrodes/Wire: Ensure you are using the correct type and that the electrode or wire is in good condition and feeding properly.
- Review Machine Settings: Double-check amperage, polarity, and wire feed speed (for MIG) against recommended values.
- Inspect MIG Components: For MIG, check the contact tip for wear or spatter and ensure the nozzle is clear.
- Listen to the Machine: Does the fan run? Are there any unusual noises?
Frequently Asked Questions
Question: What is the most common reason a stick welder won’t strike an arc?
Answer: The most common reason is a poor connection with the ground clamp. Ensure it’s clamped to clean, bare metal.
Question: Can old welding rods cause arc starting problems?
Answer: Yes, old or moisture-exposed welding rods can be harder to strike an arc with, especially for stick welding.
Question: My MIG welder wire is feeding, but no arc. What should I check?
Answer: Check your contact tip for build-up or wear, and ensure the polarity is set correctly for your wire and gas.
Question: How do I know if my welding machine has enough power?
Answer: Check the machine’s manual for its voltage and amperage requirements. Ensure your power outlet and circuit can provide that power.
Question: I’m new to welding and my arc keeps going out. What’s wrong?
Answer: This could be a combination of factors. Ensure your ground is solid, your amperage is appropriate, and you’re holding the electrode at the correct angle and distance from the workpiece.
Final Thoughts
When your welding machine won’t strike an arc, don’t get discouraged. Most issues are simple fixes. You’ve learned how power supply, ground clamp, electrodes, and machine settings all play a role.
By systematically checking each of these common areas, you can pinpoint the problem. Keep your equipment clean, use the right settings, and make sure your connections are solid. You’ll be back to making quality welds in no time.