It’s a common puzzle for new welders: Why Is My Welding Machine Not Reaching Full Power? This can be a bit frustrating when you’re just starting out. You expect your machine to perform at its best, but sometimes it seems to be holding back. Don’t worry, though!
We’ll walk through some simple checks and fixes that can get your welding power back up to par. Get ready to learn what might be causing this issue and how to solve it step-by-step.
Key Takeaways
- You’ll learn about common reasons your welding machine might seem weak.
- We will cover how power settings and connections affect output.
- You’ll discover simple troubleshooting steps anyone can follow.
- This guide will help you get the most out of your welding equipment.
- We will explain how to check for issues with your welding leads.
- You’ll find tips on keeping your machine in good working order.
Understanding Welding Power
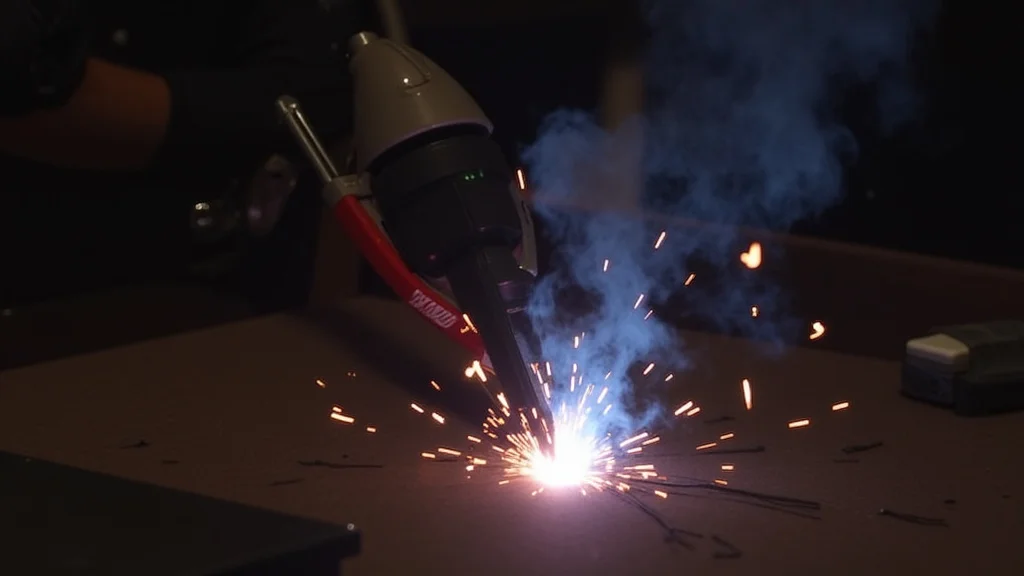
Welding machines deliver electrical power to create a strong bond between metal pieces. This power is measured in amps, which is like the strength of the electrical flow. When a welding machine isn’t reaching its full power, it means it’s not sending out enough amps.
This can make your welds weak, uneven, or just not stick properly.
Think of it like a garden hose. If the water pressure is low, the water doesn’t spray very far or very hard. A welding machine is similar.
If the “power pressure” (amperage) is low, the arc won’t be hot or strong enough to melt the metal like it should.
Several things can cause this power drop. Some are very simple, like a loose cable. Others might be a bit more involved, but still fixable.
Knowing what to look for is the first step to solving the problem.
Common Culprits for Low Welding Power
Let’s look at the most frequent reasons why your welding machine might not be performing at its peak.
Power Source Issues
Your welding machine needs a steady and strong electrical supply to work correctly. If the source providing the power isn’t up to par, the machine can’t give you full output.
Input Voltage
Most welding machines run on standard household power (like 120V) or higher power outlets (like 240V). If you’re using a machine designed for 240V on a 120V circuit, it simply won’t have enough power. Even on the correct voltage, if the supply is weak or inconsistent, the machine will struggle.
Check the label on your welding machine. It will tell you the voltage it needs. Make sure your outlet and breaker are rated for that voltage and the amperage the machine draws.
A breaker that’s too small might trip, or an old, faulty outlet could reduce power.
Extension Cords
Using extension cords can be a major power thief. Long or thin extension cords create resistance. This resistance causes the voltage to drop before it even reaches your welding machine.
The further away your machine is from the power outlet, the more voltage you can lose.
If you must use an extension cord, use the shortest one possible and one that is heavy-duty (thick gauge wire). A cord that’s too thin is like trying to push a lot of water through a tiny straw – it slows everything down.
Connection Problems
The electrical path from your machine to the metal you’re welding is critical. Any weak link in this chain can reduce the power.
Loose Cables
This is a super common issue. Your welding machine has two main cables: the electrode holder or gun cable, and the ground clamp cable. If either of these connections to the machine is loose, it can cause a poor electrical connection.
This means less power gets through.
Always make sure these cables are screwed in tight, or clamped down securely if they have a different connection type. Give them a good tug to be sure they are seated properly.
Dirty or Corroded Connections
Metal needs clean surfaces to conduct electricity well. If the ends of your welding cables, the terminals on your machine, or the places where you clamp your ground are dirty or rusty, they won’t make good contact. This creates resistance and cuts down on power.
Clean all connection points with a wire brush. You want to see shiny metal. This includes where the ground clamp attaches to the workpiece, the clamps themselves, and the plugs that go into your welder.
Ground Clamp Issues
The ground clamp is just as important as the electrode holder. It completes the electrical circuit. If it’s not making a good, solid connection, the power flow will be weak.
Poor Workpiece Contact
The ground clamp needs to be attached to the metal you are welding. But it’s not enough to just clip it on. It needs to be clamped onto a clean, bare metal surface of the workpiece itself, or something directly and securely attached to it.
Painting, rust, dirt, or even thick coatings can prevent a good electrical connection.
Always scrape away any paint, rust, or debris to expose clean metal before attaching the ground clamp. Make sure the clamp is tight and has good surface area contact.
Incorrect Ground Clamp Placement
The ground clamp should be as close as possible to where you are welding. A long, winding path for the electricity to travel adds resistance. The closer the ground, the more direct the path, and the stronger the power delivery.
Welding Lead Problems
The cables that carry the electricity are called leads. These can develop issues over time.
Damaged Leads
Welding leads can get cut, abraded, or have their insulation worn away. If the internal wires are exposed or broken, the electrical current can be interrupted or reduced. This is a safety hazard too, so it’s important to check your leads regularly.
Inspect the entire length of both your electrode lead and your ground lead for any signs of damage. Look for nicks, cuts, melted spots, or areas where the outer rubber is torn. If you find damage, the lead may need to be replaced.
Internal Wire Breakage
Sometimes, the wires inside the lead can break without the outer insulation showing obvious damage. This can happen from bending, twisting, or stress over time. This internal breakage increases resistance and reduces power.
You might notice this if a section of the lead feels stiff or kinked. Gently flexing the lead while checking power output can sometimes reveal where a break is, but it’s not always obvious.
Machine Settings and Internal Issues
Sometimes, the problem isn’t with your setup but with the machine itself or how it’s set.
Incorrect Amperage Setting
This might sound obvious, but double-check your amperage settings. If you have your machine set too low for the type of metal you’re welding or the thickness of your electrode, you won’t get full power. Consult a welding chart for recommended settings for your specific project.
Overheating and Thermal Overload
Most welding machines have a thermal overload protection system. If the machine gets too hot from prolonged use, it will reduce its power output or shut off completely to prevent damage. This is a safety feature.
If your machine feels unusually hot, or if the power suddenly drops after welding for a while, it might be overheating. Let it cool down completely. Make sure the cooling fans are not blocked and that the machine is in a well-ventilated area.
Duty Cycle
Welding machines have a “duty cycle.” This is the percentage of time within a 10-minute period that the machine can weld at a certain amperage. For example, a 60% duty cycle at 100 amps means you can weld for 6 minutes out of every 10 minutes at 100 amps. If you try to weld continuously for longer than its duty cycle allows, the machine will start to reduce power to cool down.
If you’re welding for long periods without breaks, you might be exceeding the duty cycle, leading to a perceived loss of power.
Internal Component Failure
In rarer cases, there might be an issue with the internal components of the welding machine itself. This could be anything from a faulty capacitor to a problem with the rectifier or transformer. These issues are usually not fixable by the user and require professional repair.
If you’ve checked all the external factors and settings, and your machine still isn’t producing full power, it’s time to consider professional service.
Troubleshooting Steps: A Practical Guide
Let’s go through a simple, step-by-step process to diagnose why your welding machine isn’t reaching full power.
Step 1: Check Your Power Source
Start with the very beginning of the power flow.
- Verify the voltage of your outlet. Is it the correct voltage for your welder?
- Check your circuit breaker. Is it the correct amperage for the machine? Is it tripping?
- If using an extension cord, bypass it completely and plug the welder directly into the wall outlet if possible. If power is restored, the extension cord is likely the problem.
Step 2: Inspect All Connections
Loose or dirty connections are prime suspects.
- Turn off and unplug your welder.
- Unscrew or unclamp both welding leads from the back of your machine. Ensure the metal contact points are clean and shiny.
- Tighten them securely.
- Check the electrode holder or torch connection to its cable. Make sure it’s tight.
Step 3: Examine the Ground Clamp
A good ground is essential for full power.
- Inspect the ground clamp itself. Are the jaws clean and free of corrosion?
- Clean the area on your workpiece where you’ll attach the ground clamp. Scrape away paint, rust, and dirt to expose bare metal.
- Attach the ground clamp firmly to the bare metal. Ensure good surface contact. Try moving it to a different spot if you suspect the initial spot is not making good contact.
Step 4: Inspect Welding Leads
Look for physical damage.
- Carefully examine the entire length of both the electrode lead and the ground lead.
- Look for any cuts, nicks, abrasions, or melted spots in the insulation.
- Gently flex the cables, especially near the connectors, to feel for any stiffness that might indicate internal breaks.
Step 5: Review Machine Settings and Operation
Make sure you’re using the machine correctly.
- Double-check the amperage and voltage settings on your welder. Consult a welding chart for the right settings for your material and electrode.
- Consider the duty cycle. Are you welding for extended periods without breaks? Let the machine cool down if it feels hot.
- Ensure the cooling vents on your machine are clear and unobstructed.
When to Seek Professional Help
If you’ve gone through all these steps and your welding machine still isn’t performing at full power, it might be time to call in the experts. Internal issues are usually beyond a simple fix. A qualified welding equipment repair shop can diagnose and repair more complex problems.
Frequently Asked Questions
Question: My welding machine’s power seems weak, but the lights are on. Does that mean it’s broken?
Answer: Not necessarily. The lights indicate the machine is receiving power, but weak welding output can be caused by many things besides a completely broken component. Loose connections, ground issues, or incorrect settings are common culprits.
Question: Can a dirty welding tip cause low power?
Answer: For some types of welding, like MIG welding, a dirty or worn contact tip can restrict the wire feed and affect the arc. However, for basic stick welding, the tip isn’t directly involved in power delivery in the same way; it’s more about the connection at the electrode holder.
Question: How often should I clean my welding machine’s connections?
Answer: It’s a good idea to clean your connections regularly, especially if you use your machine frequently or in dusty environments. Before each welding session is a good habit, or at least once a week if you weld often.
Question: I’m using a generator. Could that be the problem?
Answer: Yes, absolutely. Generators must be rated to provide enough continuous wattage and the correct voltage for your welding machine. Some generators also have “clean power” features that are better for sensitive electronics like modern welders.
Question: My welder is old. Can age itself cause power loss?
Answer: Older machines can sometimes experience gradual power loss due to component wear, but often the primary causes are still loose connections, dirty contacts, or damaged cables, which can happen regardless of age.
Final Thoughts
When your welding machine feels like it’s not giving its all, remember that simple fixes are often the answer. Check your power source, make sure all your connections are clean and tight, and give your ground clamp good contact. Inspect your leads for any wear and tear.
Correcting these common issues can bring your welding power back to where it should be, letting you create strong, reliable welds. Keep these checks in mind, and you’ll be welding like a pro in no time.