It’s common for folks new to TIG welding to wonder, “Why Is My TIG Weld Arc Inconsistent?” The arc can seem jumpy or unstable, making it hard to get a smooth, clean weld. This can be frustrating when you’re just starting out. But don’t worry!
We’ll break down the common reasons for this and give you simple steps to fix it. Let’s get your arc steady and your welds looking great.
Key Takeaways
- Proper tungsten preparation is key to a stable arc.
- Correct gas flow prevents arc contamination.
- Consistent filler metal addition is vital for uniformity.
- Maintaining the correct arc length makes a big difference.
- Machine settings play a big role in arc stability.
- Hand movement directly impacts weld quality and arc consistency.
Understanding TIG Weld Arc Inconsistency
What Makes the TIG Arc Unstable?
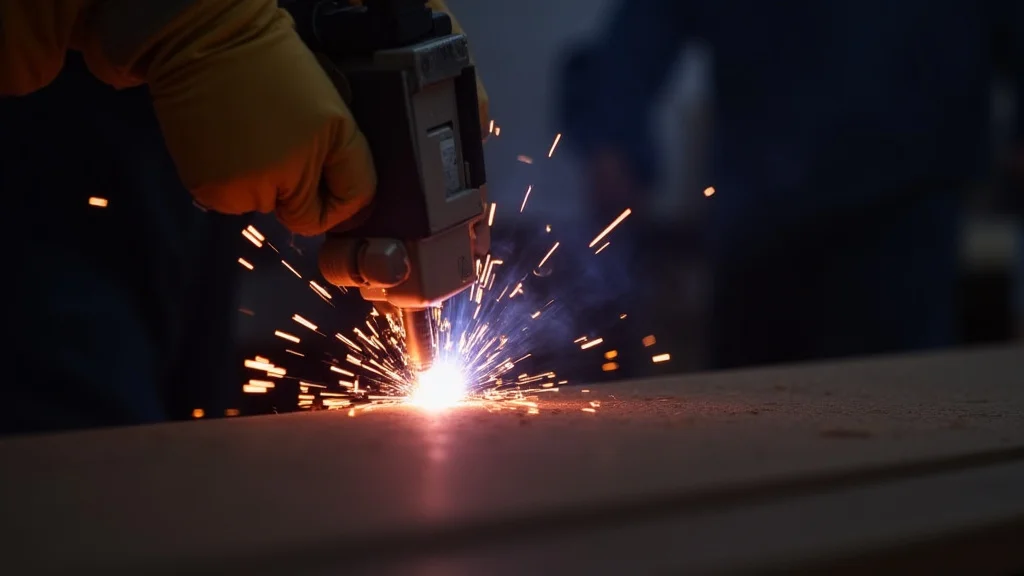
A TIG weld arc is a stream of electricity that jumps from your tungsten electrode to the metal you’re welding. When this stream is steady, you get a nice, clean bead. But if it’s jumpy, flickery, or unstable, your welds will look messy and might not be strong.
Many things can cause this. It’s often a combination of small issues that add up. Beginners usually struggle because they’re still learning how all the different parts of TIG welding work together.
It takes practice to get a feel for it.
The Role of Tungsten
Your tungsten electrode is super important for a stable arc. Think of it as the tip of your welding “pen.” If the tip is not right, your writing will be messy. The same happens with TIG welding.
A common problem is not sharpening the tungsten correctly. It should be ground to a point, but not too sharp. A blunted or rounded tip will make the arc spread out and become unstable.
It can also cause tungsten to break off into your weld, which is bad.
Different types of tungsten work best for different metals and jobs. Using the wrong kind can also lead to arc issues. Always check what type of tungsten is recommended for the metal you are welding.
Tungsten Preparation Steps
Grinding your tungsten is a skill. You need to use a dedicated grinder for tungsten, not one you use for metal. This keeps the tungsten clean from other metal particles.
Grind it lengthwise, from the tip towards the collet. This makes a nice, smooth point. The angle of the point matters.
For most jobs, a long, tapered point is good. For AC welding on aluminum, a slightly blunter tip is sometimes better.
Make sure the tungsten is clean before you put it in the torch. If it gets contaminated, you might need to re-grind it.
Shielding Gas: Your Arc’s Protective Bubble
TIG welding uses a shielding gas, usually Argon, to protect the hot weld puddle and the tungsten from the air. Air has oxygen and nitrogen, which can make your weld weak and brittle.
If your gas flow is too low, the air gets into your weld. This can make the arc sputter and the weld look dirty. You might see porosity, which are tiny holes in the metal.
If the gas flow is too high, it can create turbulence. This turbulence can actually pull air into the weld zone, causing the same problems. It can also blow the molten metal away from where you want it.
Gas Flow Rate
The right gas flow rate depends on a few things:
- The size of your torch cup. Larger cups need more gas.
- The welding environment. If there’s a breeze, you might need more gas.
- The type of metal you’re welding.
A good starting point for a standard setup is often around 15-20 cubic feet per hour (CFH). Always check your flowmeter and adjust as needed. You should be able to hear the gas flowing smoothly when you press the torch button.
Arc Length: The Gap That Matters
Arc length is the distance between the tip of your tungsten and the surface of the metal you are welding. This is one of the most critical factors for a stable arc and a good weld.
If your arc length is too long, the electricity has to travel further. This makes the arc spread out, become less focused, and harder to control. The heat also spreads out more, which can lead to a wider, flatter bead that might not be as strong.
If your arc length is too short, the tungsten can touch the weld puddle. This is a big problem. It can contaminate the tungsten and the weld, make the arc unstable, and even cause the tungsten to break off.
Maintaining Consistent Arc Length
For most TIG welding, you want a short, consistent arc length. Imagine the arc as a tiny lightning bolt. You want it to be focused and controlled.
A good rule of thumb is to keep the arc length roughly the same as the diameter of your tungsten electrode. So, if you’re using a 1/16-inch tungsten, keep the arc around 1/16-inch.
This takes practice. You need to develop a feel for the right distance. As you move your torch along the weld, try to keep that distance consistent.
This is where good hand-eye coordination comes in.
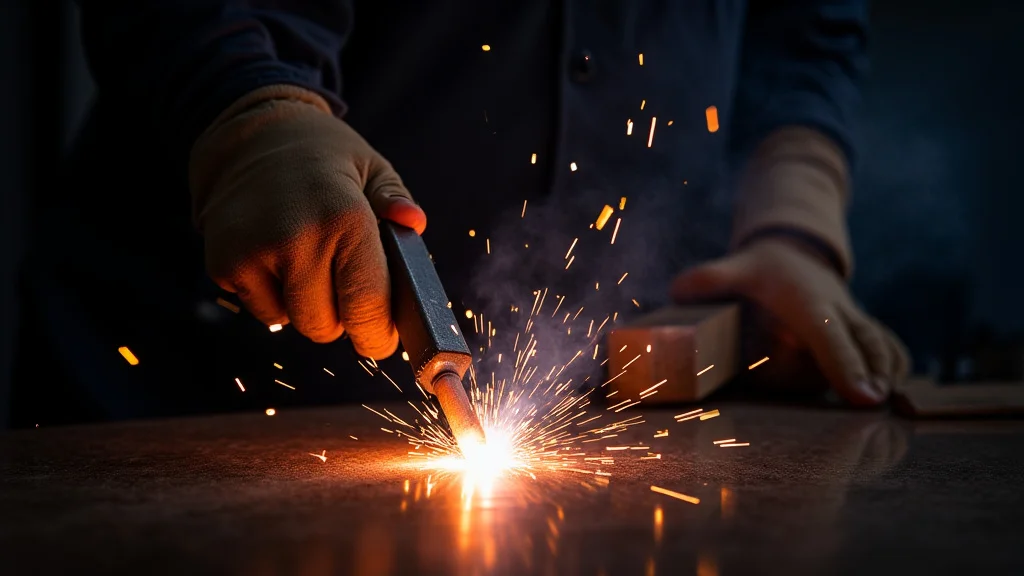
Filler Metal: Adding Strength and Shape
When you add filler metal, you’re adding material to build up your weld bead. How you add it affects the arc and the final weld.
If you add filler metal too fast, you can cool down the weld puddle and disrupt the arc. If you add it too slowly or not at all, you won’t build up the weld properly, and the arc might wander.
The filler rod should be dipped into the leading edge of the weld puddle, just behind the arc. You don’t want to touch the tungsten with the filler rod. This will contaminate both and cause sputtering.
Proper Filler Metal Technique
You want to feed the filler rod smoothly and consistently into the puddle. Don’t just jam it in there. Let the arc and the puddle do the work.
The filler rod should match the base metal you are welding. Using the wrong filler metal can cause problems with the weld’s strength and appearance.
Try to keep the filler rod tip clean. If it gets oxidized, it can introduce impurities into your weld.
Machine Settings: The Power Behind the Arc
Your TIG welder has many settings that affect the arc. Getting these right is important for stability.
Amperage is the amount of electrical current. Too low, and you won’t have enough heat to melt the metal properly. Too high, and you’ll blow through the metal or create a messy puddle.
AC/DC Balance (for AC welding) affects the cleaning action on aluminum. If it’s not set right, you can get a fuzzy arc.
Frequency (on some machines) can make the arc more focused or wider. Higher frequencies can help with arc stability.
Pulsing is another feature. Pulsing can help control heat and create a nice, uniform bead, which can make the arc seem more consistent because the overall weld is more controlled.
Finding the Right Settings
Machine settings are often a starting point. You’ll need to adjust them based on the metal thickness, the type of metal, and your welding speed.
Always start with recommended settings for your material. Then, make small adjustments as you weld. If the arc is unstable, check your amperage first.
Is it too high or too low for the material?
Read your welder’s manual. It will have valuable information on how to set it up for different jobs.
Movement and Technique: Your Hands Make the Difference
Even with everything else set correctly, how you move your hands and torch makes a big impact.
You need to move the torch smoothly and at a consistent speed. If you move too fast, the metal won’t melt enough. If you move too slow, you’ll build up too much heat and risk blowing through.
You also need to coordinate your torch hand with your filler hand. They need to work together to create a steady bead.
Developing Good Habits
Practice is key here. Try welding on scrap pieces of metal. Focus on keeping your torch moving at a steady pace and maintaining that short arc length.
Watch videos of experienced TIG welders. Pay attention to how they move their hands and how they feed the filler rod.
Some people find it helpful to use a consistent grip on the torch. Others use their arm or wrist to guide the movement.
Troubleshooting Common Arc Issues
Let’s look at some specific problems and what might be causing them.
Sputtering Arc
This is when the arc seems to jump around and make a crackling sound. It can be caused by:
- Contaminated tungsten or filler metal.
- Too much or too little shielding gas.
- Arc length is too long.
- Dirt or contaminants on the base metal.
- Wrong AC balance on aluminum.
Fuzzy or Wide Arc
This arc doesn’t seem focused. It might be:
- Tungsten not ground to a fine point.
- Arc length is too long.
- Shielding gas is blowing around too much (too high a flow rate).
- Not enough amperage for the material thickness.
Arc Won’t Start or Stays Weak
This could be:
- Machine is not turned on or plugged in correctly.
- Amperage is set too low.
- Loose connections on your torch or ground clamp.
- Faulty torch or ground cable.
Frequently Asked Questions
Question: What is the most common reason for a TIG arc to be inconsistent for beginners?
Answer: The most common reason is inconsistent arc length. Beginners often struggle to maintain a steady, short distance between the tungsten and the workpiece, leading to a jumpy arc.
Question: How does tungsten preparation affect the arc?
Answer: A properly sharpened and clean tungsten provides a stable, focused arc. A dull, rounded, or dirty tungsten will cause the arc to spread out, become unstable, and lead to poor weld quality.
Question: Is shielding gas important for arc stability?
Answer: Yes, very important. The shielding gas protects the arc and the weld puddle from air contamination. If the gas flow is incorrect (too much or too little), it can cause the arc to sputter or become unstable.
Question: What is a good starting arc length for TIG welding?
Answer: A good starting point is a short arc length, roughly the same as the diameter of your tungsten electrode. For example, if you’re using a 1/16-inch tungsten, aim for a 1/16-inch arc gap.
Question: Can machine settings cause arc inconsistency?
Answer: Absolutely. Incorrect amperage, AC balance, or frequency settings can all contribute to an unstable TIG arc. It’s important to set your machine according to the material and thickness you are welding.
Final Thoughts
Fixing an inconsistent TIG arc is all about paying attention to the details. Start with your tungsten preparation; a sharp, clean point is your foundation. Ensure your shielding gas is flowing just right, creating a clean bubble.
Keep that arc length short and steady – it’s like holding your pen at the right distance. Your torch and filler hand movements need to be smooth and controlled. When you adjust your machine settings, make small changes and see how they affect the arc.
Practice these steps on scrap metal. You’ll soon find that stable, beautiful TIG welds are within your reach.

Leave a Reply