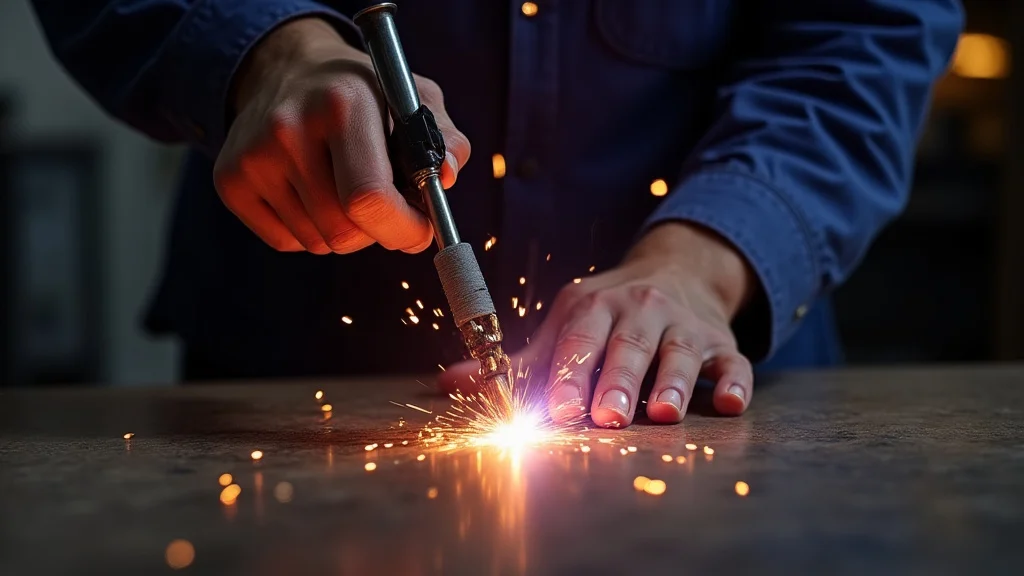
It’s frustrating when your MIG welder trigger gets stuck. This is a pretty common thing that happens, especially when you’re just starting out with welding. You’re ready to make a great weld, and then suddenly, you can’t even get the gun to start feeding wire!
Don’t worry, it’s usually not a big problem, and we can fix it. This guide will show you exactly what to do, step by step, to get that trigger working again smoothly. Let’s look at what causes this and how to solve it easily.
Key Takeaways
- A stuck MIG welder trigger is often caused by simple debris or wear.
- Checking the trigger switch and its wiring is a primary step in troubleshooting.
- Contact tip issues, like being too tight or clogged, can prevent trigger function.
- Wire feeding problems, such as kinks or incorrect tension, can mimic a stuck trigger.
- Regular maintenance is key to preventing future trigger issues.
- Understanding these common causes helps beginners fix their equipment quickly.
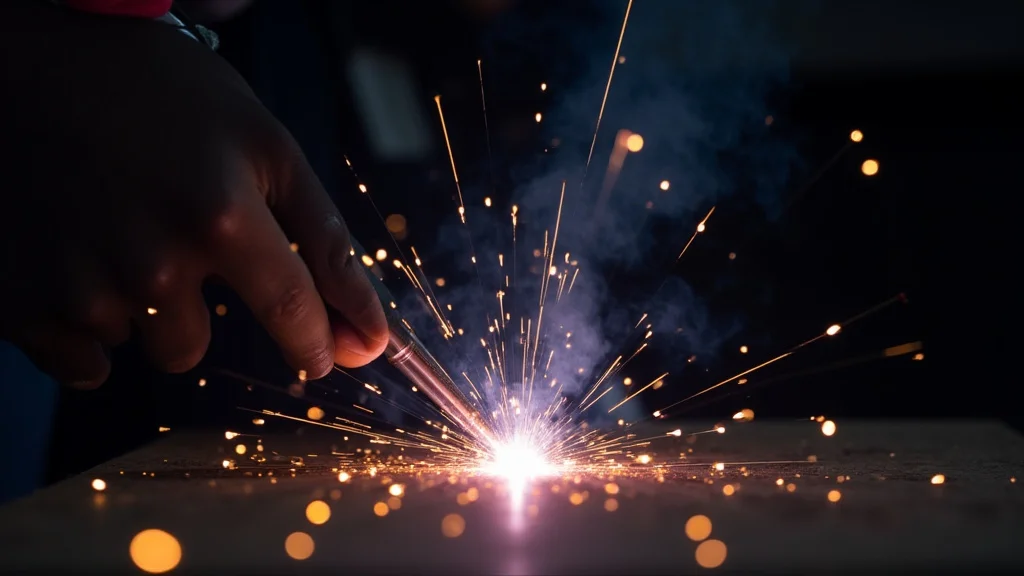
Why Is My MIG Welder Trigger Stuck? Common Causes and Simple Fixes
Having your MIG welder trigger refuse to budge can stop your work cold. This problem, Why Is My MIG Welder Trigger Stuck?, pops up for many welders, especially those new to the craft. It’s not about complicated mechanics; usually, it’s something straightforward.
Let’s break down the most frequent reasons this happens and how to fix them so you can get back to welding.
The Trigger Mechanism: What’s Happening Inside?
Your MIG welder’s trigger is more than just a button. It’s a switch that tells the machine to do two things at once: start the flow of electricity (the arc) and push the welding wire out of the gun. When you press the trigger, it closes an electrical circuit inside the gun.
This signal travels to the welder’s control board, which then activates the wire feeder motor and the main welding power.
If the trigger feels stuck, it means either the physical button isn’t moving freely, or the electrical signal isn’t being sent correctly. Sometimes, it feels like it’s stuck because the wire feed mechanism itself is jammed, and the trigger can’t overcome the resistance. This confusion is why many beginners ask, “Why is my MIG welder trigger stuck?” They see the button, but the machine doesn’t respond.
Physical Obstructions and Debris
The simplest cause for a stuck trigger is often just dirt, metal shavings, or other bits of gunk. Welding creates a lot of dust and metal particles. These can get into the small spaces around the trigger button, making it hard to press or return to its resting position.
Over time, grease or oil can also mix with this debris, creating a sticky residue.
Think of it like a door hinge that’s stiff because of rust or dirt. The same principle applies to your trigger. Even a small amount of foreign material can cause problems.
Worn Trigger Components
Like any mechanical part that gets used regularly, the trigger switch can wear out. The plastic parts that make up the button and its housing can become less smooth, or the internal springs that help it return to position can weaken. This gradual wear can lead to the trigger feeling sticky or even getting stuck in the pressed position.
If your welder is older or has seen heavy use, worn parts are a strong possibility.
Wire Feed System Issues Masquerading as a Stuck Trigger
Sometimes, the trigger itself isn’t the problem. The issue might be with the wire feeding system. When the wire feed system is jammed or struggling, it can create resistance that makes the trigger feel like it’s stuck.
You press the trigger, but the wire isn’t moving, so it feels like the trigger didn’t work.
Kinked or Damaged Welding Wire
Welding wire is a long, thin metal strand. If this wire gets kinked, bent, or tangled anywhere between the spool and the contact tip, the wire feeder motor will struggle to push it through. This resistance can make the trigger feel incredibly stiff, or the welder’s safety features might engage, stopping the wire feed and making it seem like the trigger is stuck.
Often, the kink happens inside the liner of the welding gun or where the wire exits the spool. A simple visual check of the wire can reveal this.
Incorrect Wire Tension
Your MIG welder has drive rollers that grip the wire and push it. These rollers have adjustable tension. If the tension is too loose, the rollers might slip and not feed the wire effectively.
If the tension is too tight, the drive motor can strain, and it can also damage the wire, leading to feed issues.
When the tension is off, it can feel like the trigger isn’t working because the wire isn’t moving. The motor might whine or struggle, but no wire comes out.
Problems with the Gun Liner
Inside your welding gun is a flexible tube called a liner. The welding wire travels through this liner. If the liner is damaged, has a burr, or is too long, it can create friction.
This friction makes it harder for the wire to feed. A severely restricted liner can make the wire feed system jam up, which can then make the trigger feel stuck.
A damaged liner might also cause wire to spill out the back of the gun where it connects to the welder, which is another sign of trouble.
Electrical Connections and Switches
Since the trigger controls the electrical signal, issues with the wiring or the trigger switch itself are common. These problems can prevent the signal from reaching the welder’s control board.
Loose or Corroded Wiring
The wires that run from the trigger switch up into the welding gun and connect to the welder can become loose over time. They can also corrode, especially in humid or dirty environments. If a wire is loose or corroded, the electrical connection will be poor or broken, meaning the signal from the trigger won’t get through.
You might see signs of corrosion, like a greenish or whitish powder on the wire connectors.
Faulty Trigger Switch
The actual switch inside the trigger assembly can fail. It might get stuck internally, or its electrical contacts can wear out or become damaged. If the switch itself is broken, it won’t be able to send the signal to start the wire feed and power.
This is more likely on older or heavily used welders. Sometimes, you can hear a click when you press the trigger, but nothing happens. This often points to the switch itself.
Contact Tip Issues
The contact tip is the small, consumable part at the very end of your MIG gun. It’s crucial for both electrical connection and guiding the wire. Problems here can directly affect trigger function.
Tightly Screwed-In Contact Tip
The contact tip needs to be snug, but not overly tight. If you screw it in too much, it can compress the welding wire. This compression can make it very difficult for the wire to feed, and the resistance can make the trigger feel stuck.
It’s also possible for the tip to become so hot and fused to the tip holder that it’s hard to turn.
Always use the correct size tip for your wire diameter.
Clogged Contact Tip
Spatter (small droplets of molten metal) from welding can build up inside the contact tip. If this spatter is significant, it can narrow the opening or even block it completely. When the tip is clogged, the wire can’t pass through, and the wire feeder will struggle, making the trigger feel stuck.
This is a very common issue.
A clogged tip prevents smooth wire exit and can cause arc instability even if the trigger does engage.
Step-by-Step Troubleshooting Guide
Let’s get your MIG welder trigger working again. Follow these steps to find and fix the problem.
Step 1: Check the Wire and Spool
First, inspect the welding wire. Make sure it’s not kinked or tangled on the spool. Gently pull a few feet of wire out.
If you find a kink, try to straighten it as much as possible or cut off the kinked section. If the spool is nearly empty, the wire might be coming off at an odd angle, causing tangles.
Step 2: Examine the Contact Tip and Gas Nozzle
Unscrew the contact tip. Clean out any spatter with a wire brush or a tip cleaner tool. Check the hole to ensure it’s clear.
If the tip is heavily spattered or worn,
Make sure to screw the new tip in firmly but not excessively tight.
Step 3: Inspect the Welding Gun Liner
If you suspect the liner, you might need to disconnect the gun from the welder. Once disconnected, try to push wire through by hand. If it’s difficult, the liner could be the issue.
You can also try blowing compressed air through the liner to clear out debris. If it feels rough or obstructed, the liner may need replacement. This is a slightly more advanced step.
Step 4: Check Drive Rollers and Tension
Open the cover on your wire feeder. Inspect the drive rollers for any wire shavings or debris caught in the grooves. Clean them with a brush.
Check the tension setting – it should be firm enough to grip the wire without crushing it. Adjust the tension knob.
Refer to your welder’s manual for the correct drive roller type and tension settings for your wire.
Step 5: Inspect the Trigger Mechanism
Carefully remove the trigger assembly cover on your MIG gun. Look for any obvious debris, such as metal dust or dirt, around the trigger button and the switch mechanism. Use a small brush or compressed air to clean it out.
Gently try to work the trigger button back and forth to loosen it.
If you see any broken plastic parts, the trigger switch might need replacement.
Step 6: Check Electrical Connections
With the welder unplugged, check the wires connecting to the trigger switch inside the gun. Ensure they are secure and not corroded. If you have a multimeter, you can test the continuity of the switch when pressed.
Look for loose connections where the gun cable plugs into the welder itself.
If you’re uncomfortable with electrical work, it’s best to seek professional help.
Step 7: Test and Adjust
After performing these checks and cleaning, reassemble everything. Plug in the welder and test the trigger. If it still feels stiff or doesn’t work, re-evaluate each step, paying close attention to the areas you made adjustments to.
Sometimes, a bit of lubricant designed for electrical switches (not WD-40, which can attract dust) can help a stiff trigger mechanism, but use it sparingly.
Preventing Future Trigger Problems
Keeping your MIG welder in good shape means fewer headaches. Regular cleaning and maintenance are the best ways to avoid a stuck trigger.
- Keep it Clean: After each use, blow out dust and debris from the gun, especially around the trigger and nozzle.
- Inspect Regularly: Check your wire, contact tips, and liner periodically for wear or damage.
- Proper Storage: Store your welder in a clean, dry place to prevent corrosion and dust buildup.
- Use Quality Consumables: Good quality contact tips and liners last longer and reduce feeding issues.
Frequently Asked Questions
Question: My MIG welder trigger seems stuck, but the wire feed is still working fine. What could it be?
Answer: If the wire feed is working but the trigger feels stuck, it often points to a physical obstruction or wear within the trigger mechanism itself. Debris can jam the button, or internal springs may be weak, preventing it from returning. Electrical issues are less likely if the wire feed is operating.
Question: Can I use WD-40 to fix a stiff MIG welder trigger?
Answer: It’s generally not recommended to use WD-40 or similar oil-based lubricants on a MIG welder trigger. These lubricants can attract dust and metal particles over time, creating a stickier buildup that makes the problem worse. Use electrical contact cleaner or a specialized dry lubricant sparingly if needed.
Question: How often should I clean the contact tip on my MIG gun?
Answer: You should clean your contact tip after every few hours of welding, or more often if you notice spatter buildup or arc instability. Frequent cleaning prevents spatter from hardening and clogging the tip, which is a common cause of wire feed problems and can make the trigger feel stuck.
Question: My MIG welder trigger only works if I hold it a certain way. What’s wrong?
Answer: This usually indicates a problem with the trigger switch itself or the wiring connected to it. The internal contacts might be worn or misaligned, requiring you to press at a specific angle to make a connection. Loose wiring could also be the culprit.
This suggests the trigger switch may need to be replaced.
Question: Is it dangerous to try and fix a stuck MIG welder trigger myself?
Answer: For basic cleaning and inspection, it’s generally safe if you unplug the welder first. However, if you need to disassemble the trigger assembly or work with internal wiring, there’s a small risk of electrical shock if the machine isn’t properly disconnected. If you’re not comfortable, it’s always best to consult a professional or your welder’s manual.
Final Thoughts
When your MIG welder trigger gets stuck, don’t panic. It’s usually a simple fix. Check your wire for kinks, clean out the contact tip, and inspect the drive rollers for debris.
Make sure the trigger button itself is clean and can move freely. These common issues can often be resolved with basic cleaning and adjustments, getting you back to productive welding without needing complex repairs.
Leave a Reply