It’s super common for new welders to wonder, “Why Is My MIG Weld Not Smooth or Consistent?” MIG welding might look simple, but getting those nice, even beads takes a little practice. Things like the wrong settings or how you hold the gun can make your welds bumpy or weak. Don’t worry, though!
We’re going to break down the main reasons this happens and show you how to fix it, step by step. You’ll be laying down smooth welds in no time.
Key Takeaways
- Correct welding machine settings are vital for smooth MIG welds.
- Proper wire speed and voltage directly impact weld bead appearance.
- The angle and distance of your welding gun matter a lot.
- Keeping your welding area clean helps prevent weld defects.
- Your technique with the welding gun makes a big difference.
- Choosing the right welding wire is important for different metals.
Understanding MIG Welding Basics
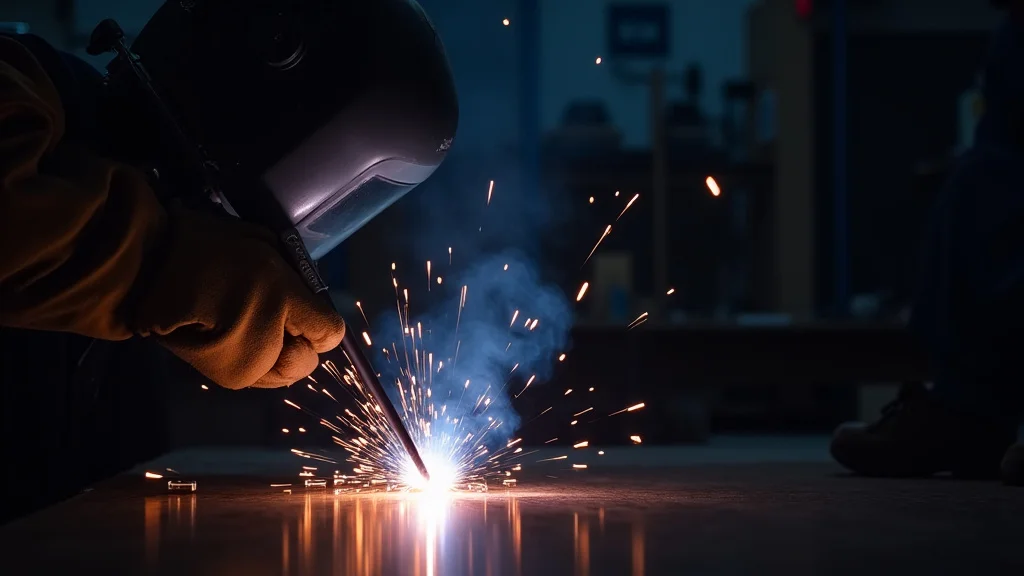
MIG welding, also known as Gas Metal Arc Welding (GMAW), is a popular choice for many projects. It uses a continuous wire electrode that feeds through a welding gun. As you pull the trigger, the wire melts and joins two pieces of metal together.
A shielding gas flows out of the gun at the same time. This gas protects the molten metal from the air, which can cause problems. When everything is set up just right, you get a strong, clean weld.
But when something is off, you might end up with a weld that looks rough and uneven. This is where the question, “Why Is My MIG Weld Not Smooth or Consistent?” comes up a lot.
Common Reasons for Inconsistent MIG Welds
Let’s look at the most frequent issues that cause MIG welds to be anything but smooth.
1. Incorrect Welding Machine Settings
Your MIG welder has settings for voltage and wire speed. These are like the gas pedal and steering wheel for your weld. If they aren’t set right for the metal thickness you’re working with, your weld won’t turn out well.
Too much or too little of either can cause problems.
Voltage Too High
When the voltage is too high, the arc gets too hot and unstable. This can make the weld puddle spread out too much. It might look wide and flat, with spatter (small drops of molten metal) flying everywhere.
The weld bead can also be irregular and may not penetrate the metal properly.
Voltage Too Low
If the voltage is too low, the arc won’t be hot enough. This can lead to a narrow, tall weld bead that sits on top of the metal instead of fusing into it. You might see a “ropey” appearance, and the weld could be weak.
Wire Speed Too High
Wire speed controls how fast the welding wire feeds into the arc. If it’s too high, you’re putting too much metal into the weld puddle too quickly. This makes the arc unstable and can cause the wire to stick out too far from the tip.
The weld might look lumpy and inconsistent, with lots of spatter.
Wire Speed Too Low
When the wire speed is too low, you don’t get enough filler metal. The arc might dig in too deep in some spots and not enough in others. This leads to an uneven bead, possibly with excessive penetration or lack of fusion.
It can also create a “whipping” effect as the wire struggles to keep up.
2. Welding Gun Angle and Distance
How you hold and position your welding gun has a big impact. Even small changes can make a noticeable difference in the weld bead.
Pushing vs. Pulling
In MIG welding, you usually “push” the weld. This means the welding gun is angled forward in the direction you’re moving. Pushing helps spread the heat and gas.
If you “pull” the gun (angle it backward), you can get a deeper, narrower bead, but it’s more likely to cause spatter and porosity (tiny gas pockets). For most situations, a slight push is best for a smooth weld.
Work Angle
This is the angle of your gun from side to side. If you angle it too far to one side, you might get more heat on one piece of metal than the other. This can cause the weld to pull to one side or not fuse evenly.
Aim to keep the gun straight up and down relative to the seam, with just a slight forward angle.
Travel Speed
This is how fast you move the welding gun along the joint. If you move too fast, you won’t deposit enough filler metal, and the weld will be narrow and might not penetrate well. If you move too slowly, you’ll put too much heat into the metal.
The weld puddle can become too large, leading to a wide, flat bead with potential for burn-through on thinner metals.
Stick-Out (Contact Tip to Work Distance)
This is the length of the welding wire that sticks out from the contact tip of your gun. If the stick-out is too long, the wire heats up more before it hits the metal. This can lead to a less focused arc, more spatter, and poor penetration.
If it’s too short, you might accidentally hit the workpiece with the contact tip, causing damage and inconsistent welds.
3. Material Preparation
Clean metal is key to good welds. Any dirt, rust, oil, or paint on the metal can cause serious problems with your weld.
Contamination
Dirt and oil create gases when heated. These gases can get trapped in the molten weld metal, forming pores or voids. This makes the weld weak and inconsistent.
Rust and mill scale can also cause the arc to be unstable and lead to a rough bead.
Surface Finish
For the best results, the metal should be clean and free of any coatings. Grinding or brushing the metal before welding is often necessary. This ensures good electrical contact and a clean surface for the molten metal to flow onto.
4. Shielding Gas Issues
The shielding gas is like a protective bubble around your weld. If it’s not flowing correctly, the molten metal is exposed to the air, causing defects.
Gas Flow Rate Too Low
If the gas flow is too low, the shielding gas might not be enough to protect the weld puddle. Wind or drafts can easily blow the gas away. This leads to porosity and a rough, oxidized weld bead.
Gas Flow Rate Too High
Too much gas flow can also be a problem. It can create turbulence, which can actually pull outside air into the weld puddle. This also causes porosity and an inconsistent bead.
Leaks in the Gas System
Check for leaks in your gas hose, regulator, or connections. A leak means you’re not getting the proper amount of gas to the weld, leading to contamination.
Incorrect Gas Type
Different metals require different shielding gases. For mild steel, a mix of Argon and CO2 is common. Using the wrong gas, or a gas mixture that isn’t suitable for your material, can result in poor weld quality, spatter, and inconsistent bead appearance.
5. Welding Wire Quality and Type
The welding wire itself plays a crucial role in the smoothness and consistency of your weld.
Incorrect Wire Type
Using a wire that’s not designed for the metal you’re welding can cause issues. For example, using a steel wire on aluminum won’t work. Even within steel, different alloys require specific types of wire.
Wire Contamination
If the welding wire itself is dirty or oily, it can transfer those contaminants into the weld. This leads to porosity and an unstable arc. Keeping your wire spools clean and protected is important.
Old or Damaged Wire
Wire that has been sitting around for a long time can sometimes oxidize or become brittle. Damaged wire, like kinks or flattened spots, can cause feeding problems and inconsistent arc length.
6. Technique and Movement
How you move the welding gun is perhaps the most important factor for beginners.
Inconsistent Movement
Jerky or uneven movements of the gun cause the arc length and heat input to vary. This results in a lumpy, inconsistent weld bead. Practice moving the gun smoothly and at a steady pace.
Arc Length Fluctuations
The distance between the wire tip and the metal is called arc length. If this distance changes a lot, the heat input varies. A consistent arc length is essential for a smooth bead.
This often means maintaining a steady wire speed and travel speed.
Notching or Whipping Technique
Some welders use a “notching” or “whipping” motion with the gun. While this can be useful for controlling heat on certain materials or situations, if done incorrectly, it can lead to an uneven bead and poor fusion. For beginners aiming for consistency, a steady, straight pull is usually best.
Troubleshooting Common Weld Defects
When you see a problem with your weld, it’s usually a sign of one of the issues we’ve discussed. Here’s how to connect the defect to the cause.
Spatter
Spatter is those little blobs of metal that fly off the weld. Too much spatter often means:
- Voltage is too high.
- Wire speed is too high.
- Arc length is too long.
- Contact tip is dirty or worn.
- Shielding gas flow is incorrect.
Porosity
Porosity is tiny holes in the weld. It’s a serious defect because it weakens the weld. Common causes include:
- Contaminated metal (oil, rust, paint).
- Insufficient or turbulent shielding gas.
- Moisture in the shielding gas or on the wire.
- Dirty welding wire.
Undercut
Undercut is a groove or notch along the edge of the weld, where the base metal has been melted away. This can be caused by:
- Voltage too high.
- Travel speed too fast.
- Gun angle too extreme.
- Too much current for the material thickness.
Lack of Fusion
This means the weld metal didn’t properly bond with the base metal or with previous weld beads. Causes include:
- Voltage too low.
- Wire speed too low.
- Travel speed too fast.
- Insufficient shielding gas.
- Dirty base metal.
Inconsistent Bead Width
When the weld bead gets wider and narrower as you go, it’s usually due to:
- Uneven travel speed.
- Inconsistent arc length.
- Changes in gun angle.
- Variations in wire feed.
Steps to Achieve Smoother, Consistent MIG Welds
Now that you know what can go wrong, let’s focus on how to make it right. Follow these steps for better welds.
1. Start with the Right Settings
Consult your welding machine’s manual. It usually has a chart that suggests settings for different metal thicknesses and wire types. These charts are a great starting point.
For example, for 1/8-inch mild steel with a .030 wire:
| Material Thickness | Wire Diameter | Voltage (Approx.) | Wire Speed (Approx. IPM) |
|---|---|---|---|
| 1/8″ (3mm) | .030″ (0.8mm) | 17-19V | 200-300 IPM |
| 1/4″ (6mm) | .035″ (0.9mm) | 20-23V | 350-450 IPM |
Always make a test weld on scrap metal of the same thickness. Adjust the voltage and wire speed slightly until you get the desired bead profile. You want a nice, slightly rounded bead that melts into the base metal.
2. Master Your Gun Technique
Practice holding the gun firmly but comfortably. Keep your wrist and arm steady. Imagine you’re drawing a line.
Try to move at a consistent pace.
- Stick-out: Aim for about 1/4 to 1/2 inch (6-12mm) of wire sticking out from the tip. Keep this consistent.
- Angle: Hold the gun at a slight forward angle (pushing) of about 10-15 degrees. Keep the side-to-side angle straight.
- Travel Speed: Move smoothly. If the bead is too wide and flat, you’re moving too slowly. If it’s too narrow and tall, you’re moving too fast.
3. Prepare Your Metal Thoroughly
Before you even think about welding, make sure the metal is clean. Use a wire brush or grinder to remove any rust, paint, oil, or grease. Wipe it down with a clean cloth, especially if you’re using any degreasing solvents.
4. Check Your Shielding Gas
Turn on your gas cylinder valve and set the regulator to the recommended flow rate. For most setups, this is between 15 and 25 cubic feet per hour (CFH) or 7-12 liters per minute (LPM). Do a quick test flow before you start welding to ensure gas is coming out of the gun.
A good way to check if you have enough gas is to listen for a steady “hiss” as you weld. If you can feel a draft blowing the gas away, you might need a gas nozzle extension or a different shielding gas setup. Avoid welding in windy conditions if possible.
5. Use the Right Wire
Make sure you’re using the correct diameter wire for your machine’s drive rolls and liner. Also, use the right type of wire for the metal you’re welding. For mild steel, ER70S-6 is a common all-purpose wire that works well.
6. Practice Makes Perfect
The best way to get better is to practice. Set up some scrap metal and just run beads. Focus on one thing at a time, like keeping your travel speed consistent.
Then work on your angle, then your settings.
Try welding different joint types: butt joints, lap joints, and corner joints. Each one will teach you something new about how heat and metal behave.
Frequently Asked Questions
Question: Why does my MIG weld have so much spatter?
Answer: Excessive spatter usually means your voltage or wire speed is too high. It can also be caused by a dirty contact tip, too long of an arc length, or issues with your shielding gas flow. Try reducing the voltage slightly, adjusting the wire speed, and cleaning your contact tip.
Question: My MIG welds look like ropey strings. What am I doing wrong?
Answer: This “ropey” look often happens when the voltage is too low. It means the weld isn’t spreading out properly and is fusing poorly. Increase your voltage slightly and check that your wire speed is appropriate for the voltage you are using.
Question: Why does my MIG wire keep sticking to the metal?
Answer: When the wire sticks, it’s called “sticking” or “bird-nesting.” This is typically caused by the wire speed being too low for the voltage, or the voltage being too low. Also, ensure your contact tip isn’t worn or damaged, and that your wire is feeding smoothly without kinks.
Question: Can I MIG weld rusty metal?
Answer: While you might be able to make a weld on rusty metal, it’s highly discouraged. Rust and other contaminants will get trapped in the weld, causing porosity (holes) and making the weld weak. Always clean the metal thoroughly before welding for best results.
Question: How do I know if I’m using enough shielding gas?
Answer: You should hear a steady “hiss” from the nozzle when you’re welding. Also, the weld puddle should look clean and bright. If you see a lot of discoloration or smoke around the puddle, you may not have enough shielding gas, or there might be a draft affecting the gas flow.
Final Thoughts
Getting smooth, consistent MIG welds is all about controlling the basics. It means getting your machine settings just right, holding your gun steady, and keeping your metal clean. Don’t get discouraged by bumpy welds at first.
With practice and by paying attention to these key areas, you’ll start laying down beautiful, strong beads. Keep at it, and you’ll see a big difference!