It’s a common problem for anyone just starting out with welding. You’re trying to make that first bead, and suddenly, the welding rod sticks to the metal like glue! It can be really frustrating.
But don’t worry, it’s a simple issue to fix. We’ll break down exactly What Causes Welding Rods to Stick? and give you easy steps to stop it from happening. Let’s find out what’s going on and how to make your welding smooth.
Key Takeaways
- The wrong welding current is a top reason rods stick.
- Arc length plays a big part in preventing sticking.
- Weld rod angle also affects how easily it sticks.
- Too much speed or moving too slowly can cause sticking.
- The type of metal you’re welding matters.
- Understanding these simple things makes welding much easier.
Why Welding Rods Stick to Your Metal
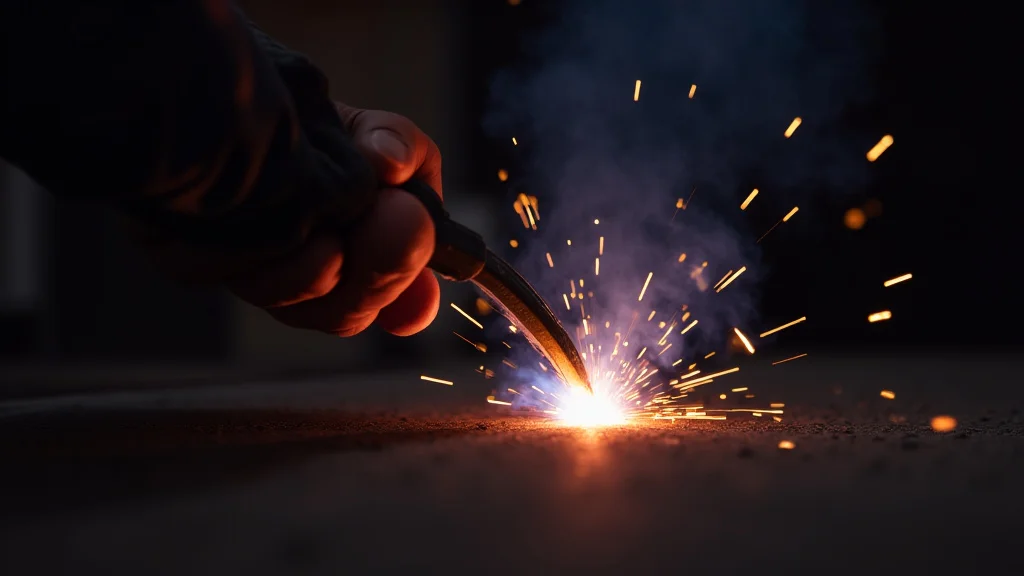
Welding can seem tricky at first. One of the most common hurdles new welders face is the welding rod sticking to the workpiece. This is often called “sticking” or “stubbing.” It happens when the rod touches the metal and fuses to it instead of creating a smooth weld. This stops the arc, and you have to pull the rod away. It’s annoying because it interrupts your work and can make your weld look messy.
Understanding the Welding Arc
To know why rods stick, we first need to talk about the welding arc. When you weld, you create an electric arc between the welding rod (which is like a wire) and the metal you are joining. This arc is super hot, like the sun’s surface. It melts both the rod and the metal. This molten metal then mixes and cools to form your weld. If the rod gets too close to the metal, it melts too quickly and sticks before it can properly mix.
The Role of Welding Current
The amount of electricity, or current, you use is very important. Think of it like controlling how hot your stove is. If it’s too hot, things burn quickly. If it’s too cool, they don’t cook right. For welding rods, if the current is too high for the rod you are using, it will melt too fast. This fast melting is a main reason the rod sticks to the metal. Each type of welding rod and thickness of metal needs a specific amount of current. Using too much can make the rod “dig in” and stick.
Amperage Settings for Different Rods
Different welding rods have different needs for amperage. For example, smaller rods need less amperage than bigger ones. If you are using a 1/8 inch rod, you will need less power than for a 5/32 inch rod. Your welding machine usually has a dial or buttons to set this.
Here’s a general idea:
| Rod Diameter | Typical Amperage Range (AC or DCEN) |
|---|---|
| 1/16 inch | 20-50 amps |
| 3/32 inch | 40-75 amps |
| 1/8 inch | 60-110 amps |
| 5/32 inch | 80-150 amps |
Always check the packaging of your welding rods. It will usually tell you the best amperage range to use. If you are welding thin metal, you need a lower amperage. Thick metal can handle more amperage.
Arc Length: The Distance Between Rod and Metal
The distance between the tip of your welding rod and the metal surface is called the arc length. This is another big factor. If you hold the rod too close to the metal, it will stick. Imagine trying to melt butter with a spoon held right on the hot pan. It will stick fast. You need a little bit of space for the heat to work properly.
Maintaining a Consistent Arc Length
The goal is to keep a consistent, short arc length. This means keeping the rod just far enough away from the metal so it melts but doesn’t stick. As the rod melts and gets shorter, you need to push it a little closer to the metal to keep that same short distance. A good rule of thumb is to keep the arc length about the same as the diameter of the rod you are using. So, if you are using a 1/8 inch rod, keep your arc about 1/8 inch away from the metal.
Your Welding Angle Matters
The angle at which you hold the welding rod also affects how it melts and whether it sticks. Most of the time, you want to hold the rod at a slight angle, pointing in the direction you are moving. This is called a “drag” angle or a “push” angle, depending on the type of welding. For most beginner welding with common rods like 6013 or 7018, a slight drag angle works well.
Drag vs. Push Angle
With a drag angle, you pull the rod along behind you as you weld. The angle is usually about 10 to 20 degrees away from the direction of travel. This helps the rod melt evenly and prevents it from sticking. If you hold the rod too straight up and down, or push it too hard into the metal, it’s more likely to stick.
Travel Speed: Moving Too Fast or Too Slow
How fast you move the welding rod along the joint is called travel speed. This is super important for getting a good weld and avoiding sticking. If you move too slowly, the rod and metal will get too hot in one spot. This can cause the rod to melt too much and stick.
On the other hand, if you move too quickly, the rod might not melt enough. You won’t deposit enough metal to form a strong weld, and the arc might be unstable. It can also lead to sticking if the rod is not melting properly.
Finding the Right Speed
You need to find a balance. The right travel speed will make the rod melt at a steady rate. The molten metal from the rod should flow out and mix with the molten base metal. You should see a nice, even bead forming. It takes practice to get this right, but you’ll start to feel when the speed is correct.
Type of Welding Rod
Not all welding rods are the same. They are made for different jobs and different types of metal. Some rods are easier for beginners to use than others.
Different Rod Types Explained
* 6013 Rods: These are often called “all-position” rods. They are known for being easy to use and forgiving. They create a stable arc and have a lot of slag (the crusty stuff that forms on top of the weld) that helps protect the weld puddle. They are less likely to stick for beginners.
* 7018 Rods: These are “low-hydrogen” rods. They make very strong welds. However, they can be a bit trickier to start and can stick more easily if you’re not careful with your arc length and amperage. They often require a “tap start” rather than a “scratch start.”
* 6011/6010 Rods: These are “high-cellulose” rods. They are used for welding dirty or rusty metal and can penetrate deeply. They tend to have a very forceful arc that can make them sputter and stick if not handled correctly.
For beginners, starting with 6013 rods is often recommended because they are more forgiving and less prone to sticking.
Condition of the Welding Rod
Even good quality rods can cause problems if they are not in good shape. Welding rods can absorb moisture from the air. This moisture can cause the arc to be unstable, sputter, and make the rod stick more easily.
Storing and Drying Rods
It’s important to store your welding rods in a dry place. Many welding rods come in sealed containers. Once opened, it’s best to keep them in a rod oven or a sealed container with desiccant packs to keep them dry. If you think your rods might be damp, some types of rods (like 7018) can be dried in a special rod oven at a specific temperature for a set time. Always follow the manufacturer’s recommendations for drying.
Surface Preparation of the Metal
The surface of the metal you are welding on can also contribute to sticking. If the metal is covered in rust, paint, oil, or other contaminants, it can make it harder to get a clean arc. These contaminants can interfere with the electrical current and make the rod stick.
Cleaning the Metal
Always clean the metal you are welding thoroughly before you start. Use a wire brush to remove rust, paint, and dirt. If you are welding on galvanized steel, make sure to clean off the zinc coating. A clean surface allows for a stable arc and a good weld.
Technique and Practice
Ultimately, learning to weld is a skill that comes with practice. The more you weld, the better you’ll get at sensing the right arc length, travel speed, and angle. Don’t get discouraged if your rods stick. Every welder has gone through this.
Tips for Beginners
* Start with the right settings: Use the recommended amperage for your rod and metal thickness.
* Practice arc starts: Learn to start the arc by lightly scratching the rod on the metal, like striking a match. Some rods, like 7018, can be tapped on the metal.
* Focus on arc length: Try to keep a consistent, short arc.
* Watch the puddle: Pay attention to the molten puddle of metal. It tells you if your settings and speed are correct.
* Practice on scrap metal: Use old pieces of metal to practice before working on your actual project.
Frequently Asked Questions
Question: What is the most common reason a welding rod sticks?
Answer: The most common reason is incorrect amperage setting. If the amperage is too high, the rod melts too fast and sticks to the base metal.
Question: How do I fix a welding rod that is stuck?
Answer: Gently twist the rod and pull it away from the metal. If it’s really stuck, you might need to carefully break it off or try to lift the weld puddle with your torch.
Question: Should I use AC or DC for my welding machine when starting out?
Answer: Many beginner welders find DC electrode positive (DCEP) or DC electrode negative (DCEN) settings easier to control than AC, depending on the rod. Always check what the rod manufacturer recommends.
Question: What happens if I use a welding rod that is too big for the metal?
Answer: If the rod is too big for thin metal, it can melt through the metal before it fuses properly, leading to a hole or sticking and causing excessive heat damage.
Question: Is it normal for welding rods to stick sometimes?
Answer: Yes, it is normal, especially when you are learning. Even experienced welders can have a rod stick occasionally. The key is to know why it happened and how to avoid it.
Final Thoughts
When your welding rods stick, it’s usually because the electrical current is too high, or you’re holding the rod too close to the metal. It can also happen if you move too fast or too slow when welding. Using the right rod for the job and keeping your metal clean makes a big difference too.
By paying attention to these simple things, you can stop rods from sticking and make your welds look much better. Keep practicing, and you’ll get the hang of it quickly.