TIG welding can seem tricky when you’re just starting. It looks so smooth and clean, but getting there takes practice. Many people wonder What Are the Common TIG Welding Mistakes to Avoid? because it’s easy to get frustrated with sparks flying or weak welds.
Don’t worry! We’ll walk through the common problems and show you simple ways to fix them. Get ready to make better welds with easy steps.
Key Takeaways
- You will learn about the most frequent errors new TIG welders make.
- Discover how to properly set up your TIG welder for different jobs.
- Understand the importance of torch angle and how it affects your weld.
- Learn how to control your filler metal for stronger, cleaner beads.
- Find out why gas flow is key and how to get it right.
- Get tips on cleaning your work area and materials for the best results.
Understanding the Basics: Getting Started Right
TIG welding, or Gas Tungsten Arc Welding, is known for creating strong, clean welds. It’s often used for thin metals and projects where a perfect look matters. But, like any skill, it has its learning curve.
Beginners often face similar issues that can lead to weak welds or a messy appearance. Knowing these common slip-ups helps you fix them before they become big problems.
Common Mistakes Beginners Make
Many people struggle with TIG welding at first. They might see pros make it look easy, but there’s a lot of practice behind that skill. The good news is that most beginner problems are simple to understand and correct with a little guidance.
Incorrect Welder Settings
One of the biggest hurdles is getting your welder settings just right. TIG welding uses a constant current (CC) output. The amperage, or amps, you use depends heavily on the type of metal you’re welding and its thickness.
Too few amps and you won’t melt the metal enough, leading to a weak, surface-level weld. Too many amps, and you’ll burn right through the material, creating holes.
For example, welding thin aluminum requires different settings than welding thicker steel. Always check your welder’s manual or look up recommended settings for your specific material and thickness.
- Amperage: Adjust based on metal type and thickness.
- Post-flow: This setting controls how long the shielding gas stays on after you stop welding. Too short and your weld can get contamination. Too long and you waste gas.
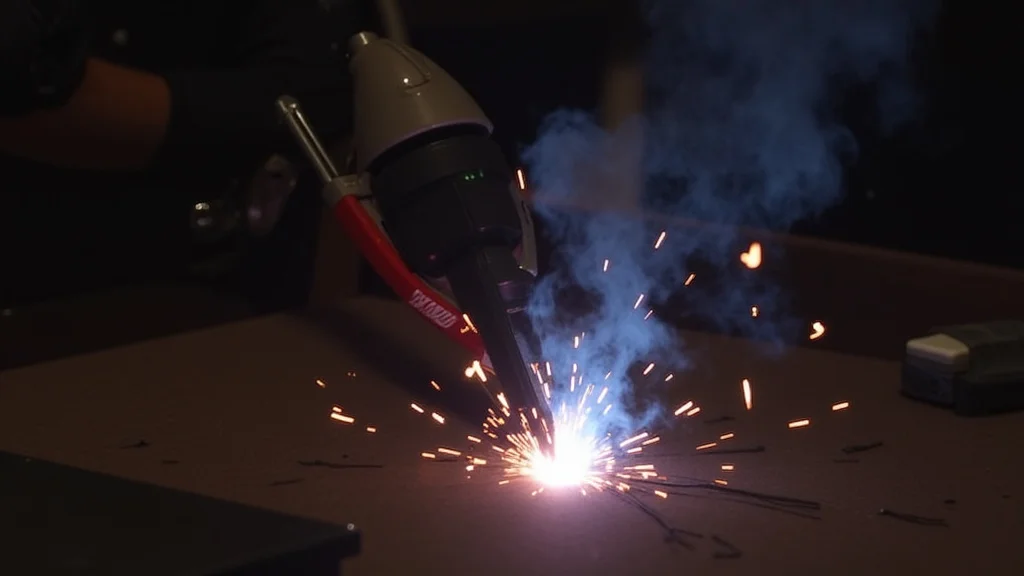
Bad Torch Angle and Movement
How you hold and move your TIG torch is very important. The angle of your torch can affect how well the shielding gas covers your weld pool and how easily you can add filler metal. If you hold the torch too straight up and down, the gas might not protect the molten metal properly, leading to a dirty weld.
Pushing vs. Pulling: In TIG welding, you usually ‘push’ the torch, meaning you move it forward in the direction of the weld. This helps push the molten puddle ahead of you and keeps the gas coverage good.
Pulling the torch can stir up contaminants and reduce gas protection. Aim for a slight angle, typically 10-15 degrees, away from your direction of travel.
Steady Hand: Keeping a steady hand is also key. Jerky movements create an uneven weld bead, with some parts wider than others. Practice moving your hand smoothly along the joint.
Improper Filler Metal Control
Adding filler metal is often where beginners get confused. Filler metal is the rod you dip into the molten pool to build up the weld. You need to add just the right amount at the right time.
Dipping Too Much or Too Little: Dipping the filler rod into the arc itself can contaminate your tungsten electrode, leading to a bad weld. You want to dip the filler rod into the molten puddle, just ahead of the arc’s center. Adding too much filler metal can make the weld bead too large and messy.
Adding too little won’t create a strong enough joint.
Adding Filler at the Right Time: Wait until you have a good-sized molten puddle before you dip the filler rod. Then, dip and remove the rod quickly, re-dipping as needed. Think of it as feeding the puddle, not overwhelming it.
Incorrect Gas Flow Rate
The shielding gas, usually Argon for TIG welding, protects the molten weld pool from the air. The air contains oxygen and nitrogen, which can make your weld brittle and weak if they get into it. You need enough gas to create a protective bubble around the arc and the molten metal.
Too Little Gas: If the gas flow is too low, you’ll see porosity (small holes) in your weld, and the metal might look discolored. This means air got in and spoiled the weld. A common starting point for a typical TIG torch is 15-25 cubic feet per hour (CFH), but this can change based on your cup size and if you’re welding outside.
Too Much Gas: On the other hand, too much gas flow can cause turbulence. This turbulence can actually pull air into the weld zone, leading to the same problems as too little gas. It also wastes expensive shielding gas.
Checking Flow: Use a flowmeter on your gas cylinder to set the correct CFH. You can also do a quick test: turn on the gas and hold your hand about six inches from the torch cup. You should feel a steady, gentle flow of air, not a strong blast.
Contaminated Materials
Cleanliness is super important in TIG welding. If the metal you’re welding has paint, rust, oil, grease, or any other dirt on it, it will burn and create fumes, and worse, it will get into your weld. This contamination causes weak spots and a messy look.
Cleaning Metal: Always clean the metal thoroughly before you start. Use a stainless steel wire brush that is only used for welding. For aluminum, you’ll also want to use a degreaser and an aluminum-specific brush.
Make sure the area around your weld is also clean. Even fingerprints can leave oils that cause issues.
Tungsten Contamination: Your tungsten electrode should also be kept clean. If it gets dipped into the molten puddle or touched by filler metal, it can get contaminated. A contaminated tungsten will produce a fuzzy arc and a poor weld.
You’ll need to grind it clean again.
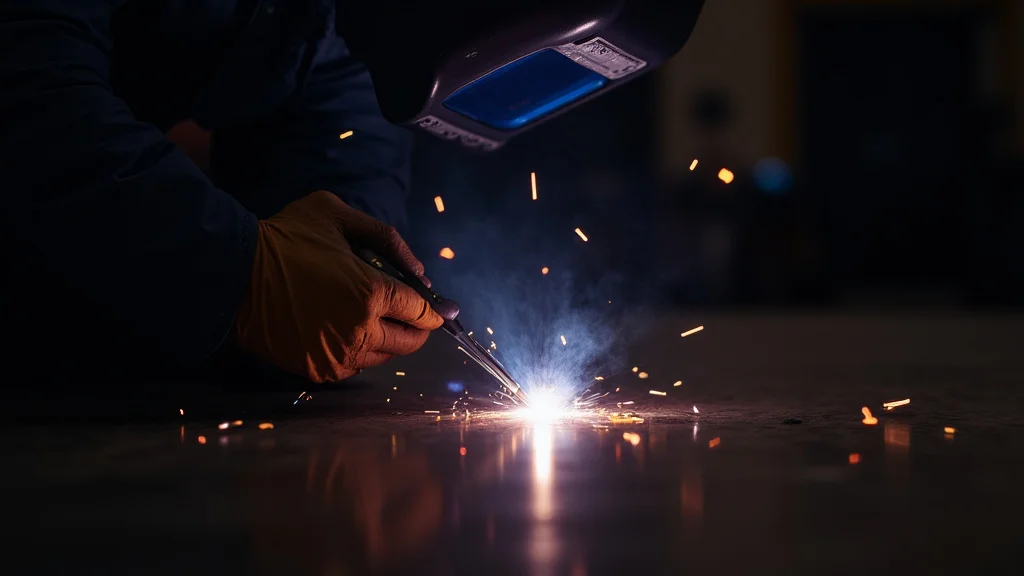
Arc Starts and Stops
Getting a clean start and a good stop on your weld is harder than it looks. Many beginners have trouble with this.
Arc Starts: If your welder has a high-frequency start, it helps create the arc without touching the tungsten to the metal. If you don’t have high-frequency, you might scratch start it. With scratch starting, be very gentle, like striking a match, to avoid contaminating the tungsten.
A bad start can leave a crater or a weak point at the beginning of your weld.
Stopping the Arc: When you finish welding, don’t just pull the torch away. You need to let the shielding gas cool the weld puddle and prevent it from oxidizing. This is where the post-flow setting on your welder comes in handy.
Also, as you reduce the amperage at the end of the weld (if your machine has a pedal or a post-flow timer), slowly move the torch away to create a smooth, small crater instead of a big, deep one. A deep crater can be a weak spot.
Setting Up Your TIG Welder
Before you even strike an arc, setting up your machine correctly is vital. This means connecting your gas bottle, checking your flow, and setting your initial amperage. Different machines have different controls, but the basic principles are the same.
Amperage Control
Many TIG welders have a way to adjust amperage. This can be a dial, buttons, or even a foot pedal. For beginners, a foot pedal is often best because it allows you to control the heat in real-time as you weld.
Starting Point: A good rule of thumb for steel is to use about 1 amp per thousandth of an inch of thickness. So, for 1/8 inch (0.125 inches) thick steel, you’d start around 125 amps. For aluminum, you generally need more amperage, sometimes up to 50% more than steel for the same thickness.
Gas Setup
Make sure your Argon bottle is properly connected to your TIG torch. The regulator should be set to the recommended CFH. Always check that the gas is flowing when you pull the trigger or press the pedal.
Tungsten Selection
The type of tungsten you use matters. For most TIG welding on AC (for aluminum) or DC (for steel), a 2% ceriated tungsten (grey band) or 2% lanthanated tungsten (blue band) is a good choice. Grind a nice, sharp point on the end for DC welding (steel) or a blunted, rounded tip for AC welding (aluminum).
The Importance of Torch Angle
Think of your torch like a paintbrush. You want to control where the paint (the weld) goes. The angle of your torch is crucial for this control and for proper gas coverage.
Consistent Angle
Try to keep a consistent angle as you move along the weld seam. This means the torch should be tilted slightly in the direction you are moving. This helps to push the molten puddle forward and allows the shielding gas to flow over the puddle effectively.
Avoiding the Arc
When you add filler metal, make sure the filler rod does not touch the tungsten electrode. If it does, you will contaminate the tungsten, and it will stop working correctly. Dip the filler rod into the puddle, then pull it out quickly.
Mastering Filler Metal Addition
Adding filler metal smoothly is a skill that takes practice. It’s about timing and consistency.
Dipping Technique
Dip the filler rod into the molten puddle just ahead of the arc. Then pull it out. The goal is to add just enough metal to build up the bead without making it too wide or too narrow.
Imagine you are ‘feeding’ the puddle.
Rhythm and Timing
Find a rhythm. Dip, add a little metal, move the torch forward slightly, and repeat. If you’re welding a long seam, try to maintain a consistent pace.
This will create a uniform weld bead.
Why Gas Flow is Key
We touched on this, but it’s worth repeating. Gas flow is your weld’s invisible shield. Without enough, your weld is exposed to the air and will be ruined.
Checking for Leaks
Make sure all your connections are tight. A loose connection at the bottle, regulator, or torch can cause gas to leak out before it reaches your weld. This is a waste of gas and leads to poor welds.
Using the Right Cup Size
The size of the ceramic cup on your TIG torch also affects gas coverage. A larger cup provides a wider cone of gas, which is good for situations where you need more protection, like welding outside or with a longer distance between the cup and the workpiece. A smaller cup is often used for tighter spaces or when you need more precise control.
Cleaning Your Workspace and Materials
A clean workspace means a cleaner weld. Simple as that.
Work Area
Keep your work area free of dust, oil, and other contaminants. If you’re welding outdoors or in a dusty shop, try to set up a small shield to protect your weld from airborne debris.
Material Preparation
We’ve said it before, but it’s so important: clean your metal! Use a wire brush and a good degreaser. For aluminum, make sure you use a brush that has only touched aluminum.
This prevents cross-contamination.
Frequently Asked Questions
Question: How do I know what amperage to use?
Answer: Start with a general guideline of 1 amp per thousandth of an inch of metal thickness for steel. For aluminum, you’ll need more, often around 1.5 amps per thousandth. Always do a test weld on a scrap piece of the same material to fine-tune your settings.
Question: My welds look bumpy and uneven. What am I doing wrong?
Answer: This is often due to an unsteady hand or inconsistent filler metal addition. Practice moving your torch smoothly and try to dip the filler rod into the puddle at a steady rhythm. A foot pedal for amperage control can also help create smoother beads.
Question: What is the best way to start an arc with TIG?
Answer: If your welder has a high-frequency start, use it! This starts the arc without touching. If you have to scratch start, be very gentle, like striking a match.
The goal is to avoid touching the tungsten to the metal, which contaminates it.
Question: Why does my weld look like it has little holes in it?
Answer: Those little holes are called porosity, and they’re usually caused by contamination or not enough shielding gas. Make sure your metal is perfectly clean and that your gas flow rate is set correctly. Check for any leaks in your gas system.
Question: Can I TIG weld rusty metal?
Answer: While you can technically TIG weld rusty metal, it’s highly discouraged for strong, clean welds. The rust and scale will burn into your weld, causing weakness and contamination. Always clean your metal thoroughly before TIG welding.
Final Thoughts
Learning TIG welding involves getting a few key things right. Focus on your welder’s settings and keep them appropriate for the metal you’re working with. Always maintain a steady torch angle, just a slight tilt forward.
Add filler metal smoothly and consistently by dipping it into the puddle. Make sure your shielding gas flows properly to protect your weld from the air. Keep everything clean – your metal, your tungsten, and your workspace.
Practice these steps, and you’ll see your TIG welds improve a lot.