Welding can be tricky when the power seems too low for a good weld. Many people starting out find How to Troubleshoot Low Voltage in Welding Machines a bit confusing. It’s easy to get frustrated when your sparks aren’t right.
But don’t worry! We’ll walk through this step-by-step. Let’s figure out what might be causing that weak weld and how to fix it so you can get back to making strong joints.
We’ll start with the most common causes and work our way to simpler solutions.
Key Takeaways
- You will learn the basic reasons why welding machines might show low voltage.
- This guide explains how to check your power cord and connections for issues.
- We will cover how the welding leads themselves can affect voltage.
- You will discover how different welding settings can impact voltage.
- This post explains the importance of checking your machine’s internal components.
- You will gain confidence in identifying and fixing common low voltage problems.
What is Low Voltage in Welding?
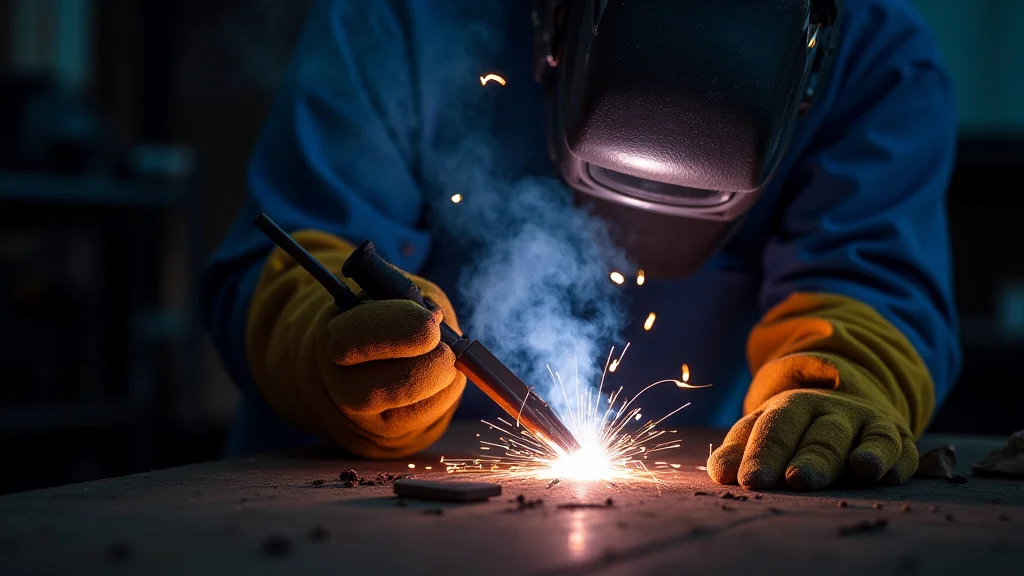
Low voltage in a welding machine means the electrical pressure isn’t high enough to create a strong, stable arc. Think of it like trying to push water through a hose with low water pressure. You won’t get a strong, consistent stream.
For welding, this means the arc might be weak, sputtery, and unable to melt the metal properly. This makes it hard to create a good, strong weld. It’s a common problem that can stop your welding work before it even starts well.
Why Does Low Voltage Happen?
Several things can cause your welding machine to have low voltage. It’s usually not just one single thing. It could be something simple like a loose plug, or it could be something a bit more involved inside the machine.
Understanding these causes is the first step to fixing them. We will look at the most likely suspects one by one.
Common Causes of Low Voltage
Let’s break down the most frequent reasons for low voltage. We’ll start with the easiest things to check.
1. Power Source Issues
The electricity coming into your welder is the first place to look. If the power source itself isn’t giving enough power, your welder can’t make enough voltage.
Extension Cords and Power Cables
A very common culprit is the extension cord you use to plug in your welder. If the extension cord is too long or too thin (has a low gauge number), it can cause voltage to drop. The longer the cord, the more resistance it has.
The thinner the wire, the more resistance it has. This resistance ‘eats up’ some of the voltage before it even gets to your machine.
Always use the shortest extension cord possible. Make sure it’s heavy-duty and rated for the amperage your welder needs. A thicker wire (lower gauge number, like 10 or 8 gauge) is much better than a thinner one (like 14 or 12 gauge).
Plugs and Receptacles
Check the plug on your welder and the outlet you are plugging it into. Are they clean and free of corrosion? A loose connection or a dirty contact can also cause a voltage drop.
Make sure the plug is firmly seated in the outlet. If you are using a twist-lock plug, ensure it is locked securely.
Circuit Breakers and Fuses
Your home’s or workshop’s electrical panel has circuit breakers or fuses. If the breaker for the outlet you’re using is slightly tripped or overloaded, it can reduce the voltage. Sometimes, a breaker might not look tripped but is.
Try resetting it firmly. If you have a fuse, check if it’s blown.
Main Power Supply
In some cases, the issue might be with the main power supply to your building. If other appliances in your shop seem to dim their lights when you turn on other high-power devices, you might have a general power supply issue. This is less common for just a welding machine, but it’s worth considering if other things are also acting up.
2. Welding Cable Problems
The cables that carry the welding current from your machine to your workpiece and welding gun are also important. These are often called welding leads or leads.
Amperage Rating of Cables
Just like extension cords, welding cables have an amperage rating. If your welding cables are too small for the amount of current you are trying to draw, they can overheat and cause a voltage drop. Always use welding cables that are sized appropriately for your welder’s maximum output.
Cable Length
Longer welding cables also mean more resistance. While welding cables are designed to be robust, very long runs can still contribute to voltage drop. Try to keep your welding leads as short as practical for your welding job.
Cable Condition
Inspect your welding cables for any damage. Cuts, nicks, or worn insulation can expose wires, which not only creates a safety hazard but can also lead to increased resistance and voltage loss. Ensure all connections at both the machine and the electrode holder/ground clamp are clean and tight.
Ground Clamp Connection
A poor ground connection is a frequent cause of many welding problems, including low voltage. The ground clamp needs to make solid, clean contact with the workpiece or welding table. If the clamp is loose, dirty, or on painted or rusty metal, the electrical path is not good.
This creates extra resistance, lowering the effective voltage reaching your arc.
Always clean the metal surface where you attach the ground clamp. Scrape away any paint, rust, or dirt to ensure a direct metal-to-metal contact. Make sure the clamp is tight.
3. Machine Settings
How you set up your welding machine has a direct impact on voltage. Different settings are designed for different types of welding and materials.
Amperage vs. Voltage
For many welding processes, there’s a relationship between amperage (current) and voltage. Some machines let you set both independently, while others have them linked. If you have the amperage set too high for the selected voltage setting, it can appear as low voltage.
Or, if the machine is trying to deliver a high amperage and the internal components can’t keep up, it might present as low voltage.
Polarity Settings
Many welding machines have polarity settings (DC+ or DC-). Incorrect polarity for your welding process or material can lead to poor arc characteristics, which might be mistaken for low voltage. Always refer to your welding machine’s manual or welding process guidelines for the correct polarity.
Wire Feed Speed (for MIG welding)
In MIG welding, the wire feed speed is directly related to amperage. If your wire feed speed is set too high, it demands more amperage. If your machine isn’t capable of delivering that amperage, you might see a voltage drop.
Conversely, if the wire feed speed is too low, you might have a weak arc, which some people perceive as low voltage.
Ohm’s Law and Welding
While you don’t need to be an expert, remembering Ohm’s Law (Voltage = Current x Resistance) helps. In welding, your machine tries to maintain a certain voltage. If the resistance in the circuit (cables, connections, etc.) increases, the machine might try to compensate by increasing current, or it might struggle and the voltage may drop.
4. Internal Machine Issues
Sometimes, the problem lies within the welding machine itself. These are usually more complex to diagnose and might require professional help.
Internal Connections
Inside the machine, wires and components are connected. Over time, these connections can loosen or corrode. A loose internal connection can create resistance and cause voltage to drop.
Capacitors or Rectifiers
Many machines use capacitors to smooth out the power or rectifiers to convert AC to DC. If these components start to fail, they can affect the output voltage. This is a more advanced issue and often requires testing with specialized equipment.
Transformer or Inverter Problems
The transformer (in older machines) or inverter (in newer machines) is the heart of the welder, responsible for producing the correct welding voltage and amperage. If this core component is failing, it will directly impact the output voltage. This is a serious issue that typically requires repair by a qualified technician.
Cooling Fan and Overheating
Most welding machines have a cooling fan to prevent them from overheating. If the fan isn’t working, the machine can overheat, and its performance will drop, including its voltage output. Many machines have thermal overload protection that will shut them down or reduce power when too hot.
Troubleshooting Steps for Low Voltage
Let’s put this knowledge into action. Follow these steps systematically:
Step 1: Check the Power Cord and Outlet
Start with the simplest things. Is the machine plugged in properly? Is the extension cord in good shape?
Is the outlet working correctly? Try plugging something else into the same outlet to confirm it has power. If using an extension cord, try plugging the welder directly into the wall (if possible and safe) to see if the problem goes away.
Step 2: Inspect Welding Leads and Ground Clamp
Carefully examine your welding leads for any damage. Make sure the connections at the machine and at your torch/electrode holder and ground clamp are clean, tight, and secure. Clean the area where the ground clamp attaches to the workpiece.
Try a different ground clamp if you have one available.
Step 3: Review Machine Settings
Double-check your welder’s settings. Are they appropriate for the type of welding you are doing and the material thickness? Refer to your machine’s manual.
If you’re unsure, try setting the machine to a general-purpose setting for the material you’re working with.
Step 4: Test with Different Cables or Direct Power
If you suspect your extension cord or welding leads, try using a different, known-good set. If you can safely plug your welder directly into a different, dedicated circuit, do so. This helps isolate whether the issue is with your original power setup.
Step 5: Listen to Your Machine
Does the machine sound normal? Are there any unusual noises? Does the cooling fan seem to be working?
If the machine seems very hot, let it cool down completely before testing again.
Step 6: Consult Your Manual
Your welding machine’s manual is your best friend. It often has a troubleshooting section that can help identify specific error codes or symptoms.
Step 7: Seek Professional Help
If you’ve gone through these steps and still have low voltage, it’s likely an internal issue with the machine. At this point, it’s best to contact the manufacturer’s support or a qualified welding equipment repair technician.
What is a Good Welding Voltage?
The “good” voltage for welding depends heavily on the specific welding process, the type of metal, and its thickness. For example:
| Welding Process | Typical Voltage Range |
|---|---|
| Stick (SMAW) | 20-40 volts |
| MIG (GMAW) | 15-30 volts |
| TIG (GTAW) | 10-25 volts |
These are just general ranges. Your machine’s manual will provide more specific recommendations for different settings. The key is to achieve an arc that is stable, consistent, and melts the base metal and filler material together properly.
Frequently Asked Questions
Question: Can a faulty ground clamp cause low voltage?
Answer: Yes, a poor ground connection is a common cause of increased resistance in the welding circuit. This resistance can lead to a voltage drop, making the arc weak and inconsistent.
Question: How does the length of the extension cord affect voltage?
Answer: Longer extension cords have more electrical resistance. This resistance causes some of the voltage to be lost along the length of the cord before it reaches the welding machine, resulting in lower output voltage.
Question: Is it safe to try and fix internal welding machine problems myself?
Answer: For most users, it is not recommended to attempt repairs on internal welding machine components. These machines contain high-voltage parts that can be dangerous. It’s best to let a qualified technician handle internal repairs.
Question: What is the difference between amperage and voltage in welding?
Answer: Amperage (current) is the amount of electricity flowing, which determines how hot the arc is and how deeply it penetrates. Voltage is the electrical pressure that drives the current and helps establish and maintain the arc length and stability.
Question: My welder worked fine yesterday, but today it has low voltage. What should I check first?
Answer: Start by checking the power source: the wall outlet and any extension cord. Then, inspect your welding leads, ground clamp connection, and ensure your machine’s settings haven’t accidentally changed.
Final Thoughts
Getting low voltage in your welding machine can be frustrating, but it’s usually fixable. You’ve learned that problems often start with power cords, cables, and connections. Simple checks can solve many issues.
Remember to always use the right size cables and ensure clean, tight connections everywhere. By following a logical troubleshooting process, you can identify and fix most common low voltage problems. This will help you get back to making quality welds with confidence.
Don’t let a weak spark stop you; you have the tools now to get your machine working right.