Getting the right gas flow for TIG welding can feel tricky when you’re just starting out. It’s a common spot for beginners because too little gas means bad welds, and too much wastes money and can cause its own problems. But don’t worry!
We’ll walk through it step-by-step. After this, you’ll know exactly how to get your gas flow just right for clean, strong TIG welds, and we’ll cover how to pick the best gas for your job too.
Key Takeaways
- Proper gas flow protects your weld puddle from air.
- Too little gas leads to contamination and weak welds.
- Too much gas wastes shielding gas and can cause turbulence.
- Flow rate depends on metal type, joint type, and position.
- Common gases for TIG welding include Argon, Helium, and mixes.
- You’ll learn how to adjust your regulator for perfect flow.
Why Gas Flow Matters in TIG Welding
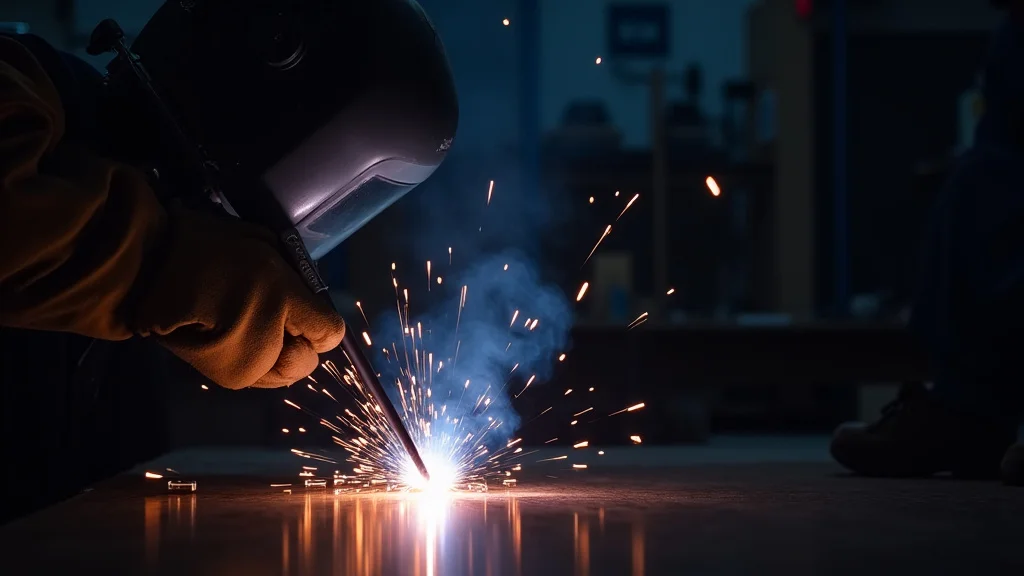
TIG welding, also known as Gas Tungsten Arc Welding (GTAW), is a fantastic way to create strong, clean, and beautiful welds. But it needs a special ingredient: shielding gas. This gas flows from your torch and creates a protective bubble around the hot tungsten electrode and the molten weld puddle.
Think of it like an umbrella. Without it, the molten metal would be exposed to the air around it.
Air contains oxygen and nitrogen. When these get into your hot, liquid metal, they cause serious problems. They can make the weld brittle, porous (full of little holes), and just plain weak.
You’ll often see discoloration or a burnt look. This is why getting the shielding gas flow right is one of the most important things you can learn in TIG welding.
Understanding Shielding Gases
The most common shielding gas for TIG welding is pure Argon. It’s a great choice for most metals and situations because it’s affordable, readily available, and does a good job protecting the weld. Argon is a “heavy” gas, meaning it settles down and around the weld puddle, pushing the air away effectively.
Sometimes, you might use Helium. Helium is lighter than Argon and transfers more heat to the weld. This means you can weld faster and it’s good for thicker materials or when you need to get more penetration.
However, Helium is more expensive than Argon and can be harder to control, sometimes leading to more turbulence. It also requires a higher flow rate than Argon.
You might also see gas mixtures. A common one is an Argon-Helium mix, which gives you some of the benefits of both gases – good heat control and decent shielding. For specific applications, like welding steel, small amounts of CO2 or Oxygen might be added to Argon, but these are less common for beginners.
How to Read Your Flowmeter and Regulator
Your TIG welding machine has a regulator and flowmeter attached to the gas cylinder. This is what controls how much gas comes out. There are two main types: a gauge-style regulator with a dial, and a tube-style flowmeter with a floating ball.
Gauge-Style Regulators
These regulators have a gauge that shows the pressure inside the cylinder and another gauge that shows the output pressure. To set the flow rate, you usually turn a knob on the regulator. The recommended flow rate is often given in cubic feet per hour (CFH) or liters per minute (LPM).
You’ll need to adjust the knob until the needle on the output gauge reads the correct pressure that corresponds to your desired flow rate.
The challenge here is that the pressure reading doesn’t directly tell you the flow rate. You often need to consult a chart provided by the regulator manufacturer or use a separate flow meter to confirm your settings. This can make it a bit less intuitive for beginners.
Tube-Style Flowmeters
These are much more common and easier to use for TIG welding. They have a clear plastic or glass tube with a metal ball inside. As gas flows up the tube, it lifts the ball.
The higher the ball floats, the more gas is flowing. There are markings on the tube that show the flow rate in CFH or LPM. You simply turn the valve on the regulator until the ball is at the desired mark.
This direct reading makes setting the correct flow much simpler. You just look at the ball’s position. Most TIG welding setups will use this type of flowmeter.
What is the Right Flow Rate?
So, what’s the magic number for your gas flow? There isn’t one single answer, but there are good guidelines. The right flow rate depends on a few things:
- Metal Thickness: Thicker metals usually need a bit more gas flow to protect a larger puddle.
- Joint Type: A simple butt joint might need less flow than a corner or T-joint.
- Welding Position: Welding overhead or vertically might require slightly different flow rates to ensure the gas stays where you need it.
- Amperage: Higher welding currents create larger weld puddles and might need more gas.
- Shielding Gas Type: As mentioned, Helium typically requires a higher flow rate than Argon.
General Guidelines for Argon
For general TIG welding with Argon, a good starting point is:
- Thin materials (under 1/8 inch): 10-15 CFH (2.5-4.5 LPM)
- Medium materials (1/8 to 1/4 inch): 15-25 CFH (4.5-7 LPM)
- Thick materials (over 1/4 inch): 25-35 CFH (7-10 LPM)
These are just starting points. You’ll fine-tune based on what you see.
Adjusting for Helium and Mixtures
If you’re using Helium, you’ll likely need to increase the flow rate. For an 80% Helium / 20% Argon mix, you might be looking at 20-30 CFH (6-9 LPM) for thinner materials. For pure Helium, it could be even higher, maybe 30-40 CFH (9-12 LPM).
Always check the recommendations for the specific gas and manufacturer. They often have charts available that provide more precise guidelines.
How to Test and Adjust Your Gas Flow
The best way to know if your gas flow is correct is to watch your weld. But you can also do a simple test before you start welding.
- Turn on the gas cylinder valve slowly.
- Open the flowmeter valve (the one on your torch handle or regulator) to let gas flow.
- Watch the ball in the flowmeter tube. Adjust the valve until the ball is at the desired setting (e.g., 15-20 CFH for typical steel work).
- Hold the torch about 1/2 inch above your hand. You should feel a steady stream of air (your shielding gas).
- Listen: You might hear a slight “hiss.”
- Feel: You should feel a consistent, gentle flow. It shouldn’t be so strong that it’s blowing your hand around or so weak that you can barely feel it.
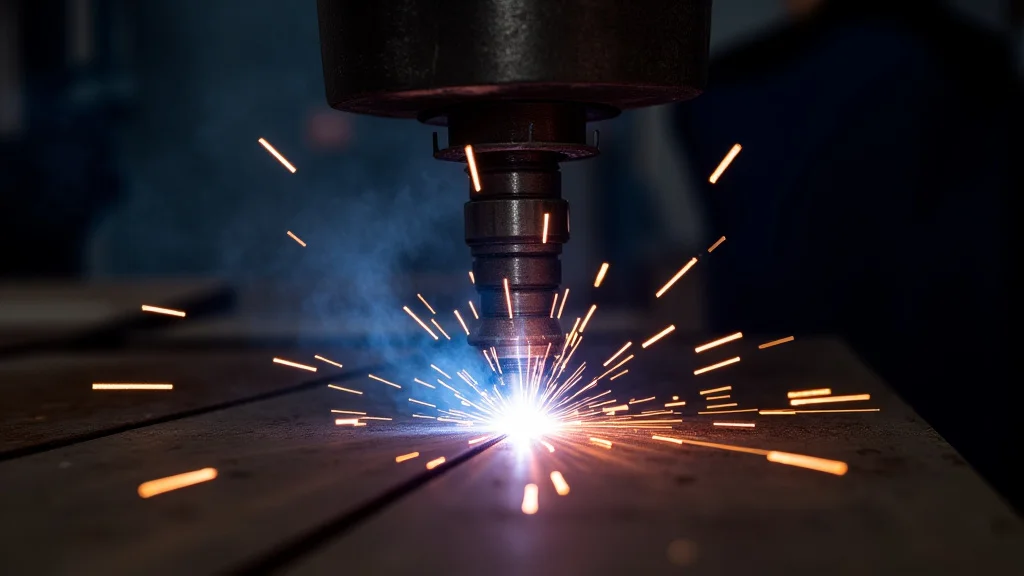
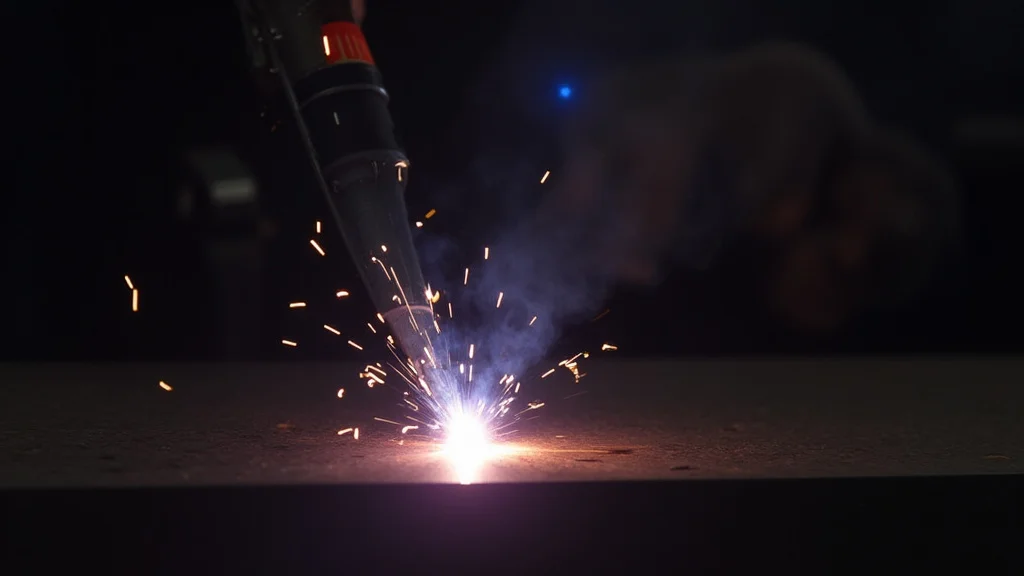
- Watch the puddle: Once you start welding, look at the weld puddle. If you see a bright, shiny puddle with no discoloration around it, your gas flow is likely good.
Signs of too little gas:
- The weld area turns a dull gray, straw, or blue color instead of being bright and shiny.
- You see porosity (tiny holes) in the weld.
- The tungsten electrode might get contaminated.
Signs of too much gas:
- The gas flow is so strong it starts to blow across the weld puddle, creating turbulence.
- This turbulence can actually pull air into the weld, causing contamination just like too little gas!
- You’ll waste a lot of gas, which costs money.
- The ball in the flowmeter might be bouncing around erratically.
Factors Affecting Flow Rate Settings
Let’s dig a little deeper into those factors we mentioned.
Metal Type
Aluminum is a bit different. It conducts heat very well, so you might need a slightly higher flow rate to ensure good shielding, especially on thicker sections. Stainless steel can also benefit from slightly higher flow rates to prevent oxidation, which causes that undesirable blue or yellow discoloration.
Joint Fit-Up
A tight joint where the two pieces of metal fit perfectly together will require less shielding gas because there are fewer gaps for air to get in. However, if you have a wide gap or an open corner joint, you’ll need to ensure the gas can reach and protect the entire weld area, which might mean a slightly higher flow rate.
Welding Position
When you’re welding flat on a table, gravity helps the shielding gas settle around the puddle. But when you weld vertically or overhead, gravity works against you. The heavier Argon gas might try to float away.
In these positions, you might need to increase your flow rate slightly to compensate and keep the gas in place.
Drafts and Air Movement
This is a big one that many beginners overlook. If you’re welding in an area with a lot of air movement – like near a fan, an open door, or in a windy workshop – your shielding gas can be blown away. In these conditions, you’ll need to increase your gas flow rate significantly to overcome the drafts.
You might even need to create a temporary windbreak.
Setting Up Your TIG Welder for Gas Flow
Before you even turn on your welder, make sure your gas cylinder is properly secured and the regulator is screwed on tightly. Open the cylinder valve slowly to pressurize the regulator.
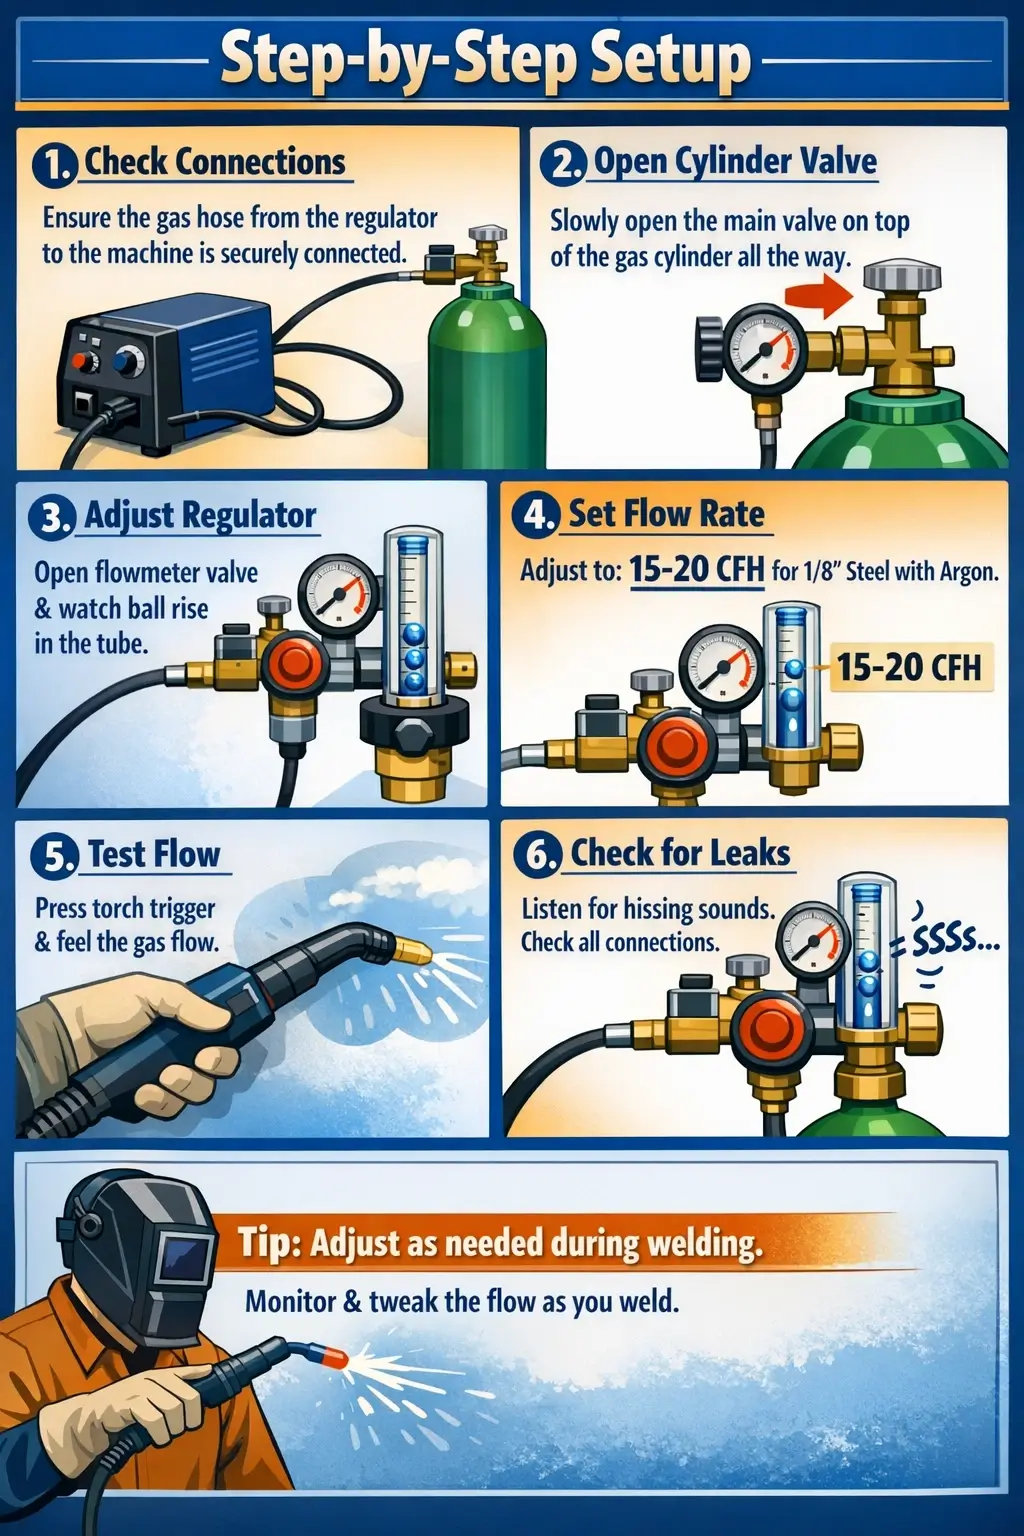
Step-by-Step Setup:
- Check Connections: Ensure the gas hose from the regulator to the machine is securely connected.
- Open Cylinder Valve: Slowly open the main valve on top of the gas cylinder all the way.
- Adjust Regulator: Slowly open the flowmeter valve (usually a knob on the regulator itself or a separate valve at the machine) to let gas flow. Watch the ball rise in the flow tube.
- Set Flow Rate: Adjust the valve until the ball is at the recommended setting for your material and thickness. For example, for 1/8 inch steel with Argon, aim for 15-20 CFH.
- Test Flow: Briefly press the torch trigger or foot pedal to feel the gas flow. You should feel a consistent stream.
- Check for Leaks: Listen for any hissing sounds when the gas is flowing. If you hear any, turn off the gas and check all connections.
Remember, the flow rate might need to be adjusted slightly during welding based on your observations.
Frequently Asked Questions
Question: How much Argon do I need for welding 1/8 inch steel?
Answer: For 1/8 inch steel with pure Argon, a good starting point is 15-20 cubic feet per hour (CFH), which is about 7-9 liters per minute (LPM).
Question: Can I use regular air pressure for TIG welding shielding gas?
Answer: No, you cannot use regular compressed air. TIG welding requires specific inert shielding gases like Argon or Helium, not air.
Question: My weld looks discolored. What could be wrong with my gas flow?
Answer: Discoloration (like a blue or straw color) usually means you have insufficient shielding gas. The weld puddle is being contaminated by air. Increase your gas flow rate.
Question: Is it okay if the gas flow is too high?
Answer: No, too much gas flow is not ideal. It wastes gas, is more expensive, and can cause turbulence that actually blows away the shielding gas and pulls air into the weld, causing contamination.
Question: How do I know if I’m using the right gas for the metal I’m welding?
Answer: Pure Argon is great for most metals like steel, stainless steel, and aluminum. For thicker aluminum or faster welding, you might consider Argon-Helium mixes. Always check a TIG welding guide or consult with a welding supply professional for specific metal recommendations.
Final Thoughts
Getting your TIG welding gas flow right is super important for strong, clean welds. You learned that Argon is your go-to gas for most jobs. You also saw how your flowmeter works and how to read it.
We talked about why too little or too much gas causes problems, like contamination or wasted gas. Remember to adjust your flow based on how thick the metal is and where you’re welding. Keep an eye on your weld puddle for signs that your gas is doing its job.
Practice makes perfect, so keep TIG welding!