Many folks starting out find making welds look good a bit tricky. It’s easy to get frustrated when your welds don’t turn out smooth and even. But don’t worry!
It’s totally possible to make your welds look much better, and we’ll show you how with simple steps. Let’s get right to making those welds shine.
Key Takeaways
- You will learn how proper preparation makes a big difference in weld appearance.
- Discover how to control your welding speed for a smoother bead.
- Understand the impact of welding angle on the final look of your weld.
- Learn about different welding techniques that lead to better looking beads.
- Find out how to choose the right welding settings for a clean finish.
- See why practice and patience are important for improving your welds.
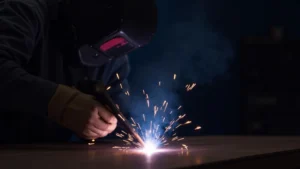
Understanding Weld Bead Appearance
What Makes a Weld Look Good?
A good-looking weld bead is smooth, even, and consistent. It doesn’t have big dips or piles of metal. It looks like a neat, tidy line of fusion.
This is important not just for looks, but it can also tell you if the weld is strong. A consistent bead usually means a strong bond.
For beginners, getting this look can be tough. It’s like learning to write neatly; it takes time and practice. You need to get a feel for the heat, the speed, and the angle of your welding tool.
Why Beginners Struggle
New welders often have trouble with consistency. They might move too fast or too slow. The angle of their welding gun or rod can also be off.
This leads to beads that are lumpy, have holes, or look uneven. It’s a common hurdle, but one that’s easy to overcome with the right tips.
Quick Steps to Better Weld Beads
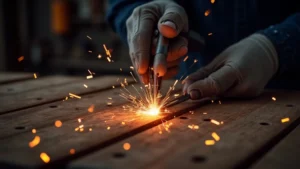
Preparation is Key
Before you even start welding, doing a good job of preparing your metal is super important. Cleanliness matters a lot. You need to get rid of any rust, paint, oil, or dirt from the pieces you’re joining.
Use a wire brush or grinder for this.
Clean metal lets the weld metal flow and stick properly. If the metal is dirty, you can get all sorts of problems, like bubbles and weak spots. These don’t look good and can hurt the weld’s strength.
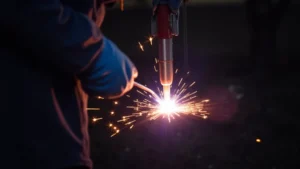
Finding the Right Speed
Moving your welding torch or rod at the correct speed is vital. If you go too fast, your weld bead will be narrow and might not have enough metal. It can look like it’s skipping.
If you go too slow, you’ll put down too much metal, and the bead will be wide and messy. It might even burn through the metal.
The ideal speed lets the metal melt and flow nicely. You want to create a steady, even bead. Think of it like drawing a straight line – you need a smooth, consistent motion.
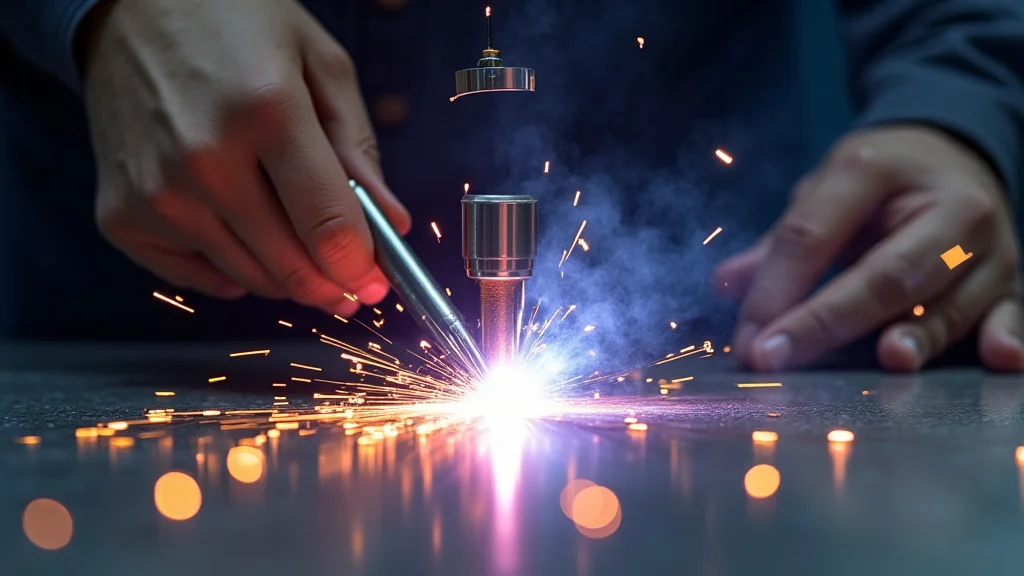
Mastering Your Angle
The angle at which you hold your welding torch or electrode makes a big difference. For most welding, you want to keep the torch or electrode at a slight angle. This angle is usually pointing in the direction you are moving.
Imagine you’re pushing a sled. You don’t want to push it straight down; you want to push it forward at a slight angle. This helps the molten metal flow where you want it.
An angle that’s too steep or too flat can cause problems with the bead’s shape and how well the metal joins.
Using the Right Technique
There are different ways to move your welding tool. For a nice, even bead, simple straight-line motion often works best. Some people like to use a slight side-to-side motion, like a tiny wobble or weave.
This can help spread the heat and metal.
It’s important not to make the weave too wide. A wide weave can lead to a bead that’s too flat on top and doesn’t penetrate well. A narrow weave or a straight bead is usually better for beginners aiming for a clean look.
Setting Your Machine Correctly
Your welding machine has settings for amperage (how much heat) and sometimes wire speed. Getting these right is crucial. If the heat is too high, you’ll burn through or get a messy puddle.
If it’s too low, you won’t get enough penetration, and the bead might be too small and not stick well.
Look for charts that suggest settings for your specific welding wire and metal thickness. Start with those recommendations and then make small adjustments. Listen to the sound of the arc and watch the puddle.
They will tell you if your settings are right.
Choosing the Right Welding Rod or Wire
The type of welding rod or wire you use also affects the bead appearance. Different types are designed for different metals and positions. Some wires produce a cleaner bead than others.
For beginners, stick with common types like E6013 for stick welding or solid wire for MIG welding. These are generally forgiving and produce decent results.
Practice Makes Perfect
No one becomes a master welder overnight. The best way to improve How to Improve Weld Bead Appearance Quickly is to practice. Grab some scrap metal and just weld.
Try to keep your speed, angle, and motion the same for each pass.
Pay attention to how each adjustment you make changes the bead. Did moving a little faster make it narrower? Did a slightly different angle make it bulge?
Learning from these small changes will help you improve faster.
Frequently Asked Questions
Question: What is the most common mistake beginners make with weld beads?
Answer: The most common mistake is inconsistency in speed and angle. Beginners tend to move too fast or too slow, and their torch or rod angle changes a lot as they weld.
Question: Does the type of metal affect how the weld bead looks?
Answer: Yes, different metals melt and flow differently. You might need to adjust your settings and technique slightly for steel versus aluminum, for example.
Question: Can I fix a bad-looking weld bead?
Answer: You can often go over a less-than-perfect bead with another pass to smooth it out. However, it’s always best to get it right the first time.
Question: How important is the joint fit-up for weld appearance?
Answer: A good fit-up makes a big difference. If the pieces don’t line up well, it’s much harder to get a clean and consistent weld bead.
Question: What is a “stack of dimes” look in welding?
Answer: The “stack of dimes” look refers to a very uniform and evenly spaced series of overlapping weld ripples, often seen as a sign of skilled welding.
Final Thoughts
Making your weld beads look good doesn’t have to be hard. By cleaning your metal well, controlling your speed and angle, and practicing with the right settings, you can see a big improvement. Focus on one thing at a time, like keeping your speed steady.
Then try to keep your angle the same. With a little patience and these simple steps, your welds will start looking much smoother and more professional.