When your MIG welder’s trigger suddenly stops working, it can be really frustrating, especially if you’re new to welding. It’s a common issue that leaves many beginners scratching their heads. But don’t worry!
Most of the time, it’s something you can fix yourself without much fuss. We’ll walk you through it step-by-step to get you back to welding in no time. Let’s find out exactly what might be causing this problem and how to solve it.
Key Takeaways
- You will learn the common reasons why a MIG welder trigger stops responding.
- We’ll explain how to check the welding cable for damage.
- You will find out how to inspect and clean the trigger switch.
- We will cover how to test the wire feed system for blockages.
- You’ll discover simple troubleshooting steps to get your welder working again.
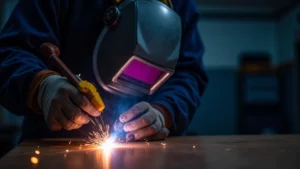
Understanding the MIG Welder Trigger Problem
A MIG welder’s trigger is the command center for your welding gun. When you pull it, it tells the welder to start the wire feed and the welding current. If the trigger isn’t responding, it means that signal isn’t getting through.
This can happen for a few simple reasons, and knowing them helps you fix it quickly.
Why MIG Welder Triggers Stop Responding
Several things can cause a MIG welder trigger to fail. Often, it’s a simple connection issue or a part that needs a little cleaning. For beginners, these problems can seem tricky because you might not know where to look or what to do.
But usually, the fix is straightforward.
Loose Connections
The most common culprit is a loose wire connection. Inside the trigger handle, there are small wires that connect to the switch. If one of these wires comes loose, the trigger won’t work.
Damaged Trigger Switch
The trigger switch itself is a small electronic component. Over time, it can wear out, get dirty, or even break. This means it can no longer send the signal to the welder.
Cable Issues
The welding cable that runs from the welder to the gun is crucial. It carries power and gas. If this cable is kinked, pinched, or has internal damage, it can interrupt the signal to the trigger.
Wire Feeder Problems
Sometimes, the problem isn’t with the trigger itself but with the wire feeder. If the wire feed motor isn’t working, or there’s a blockage in the drive rolls, the welder might not activate the trigger as a safety measure.
Faulty Control Board
Less commonly, the control board inside the welder could be the issue. This board manages all the signals, including the one from the trigger. This is usually a more complex repair.
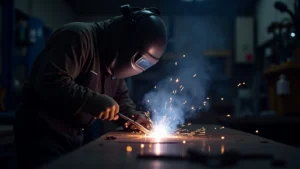
How to Fix MIG Welder Trigger Not Responding: Step-by-Step Guide
Let’s get your MIG welder trigger working again. Follow these steps carefully. We’ll start with the easiest checks and move to more involved ones.
1. Check the Power and Gas Supply
Before you even look at the trigger, make sure your welder is properly powered on and has a gas supply if you’re using one. Sometimes, the simplest things are overlooked. Ensure the power cord is securely plugged in and the gas cylinder valve is open.
2. Inspect the Welding Cable and Gun
The welding cable connects your MIG gun to the welder. It’s a tough cable, but it can still get damaged.
- Look for visible damage: Check the entire length of the cable for any cuts, nicks, burns, or signs of pinching. Pay close attention to where the cable enters the gun and where it connects to the welder.
- Check for kinks: Severely bent or kinked cables can break the wires inside. Try to straighten out any tight bends.
- Examine the connection to the welder: Ensure the MIG gun cable is firmly seated in its connection point on the welder. Sometimes, wiggling it can reveal a loose connection.
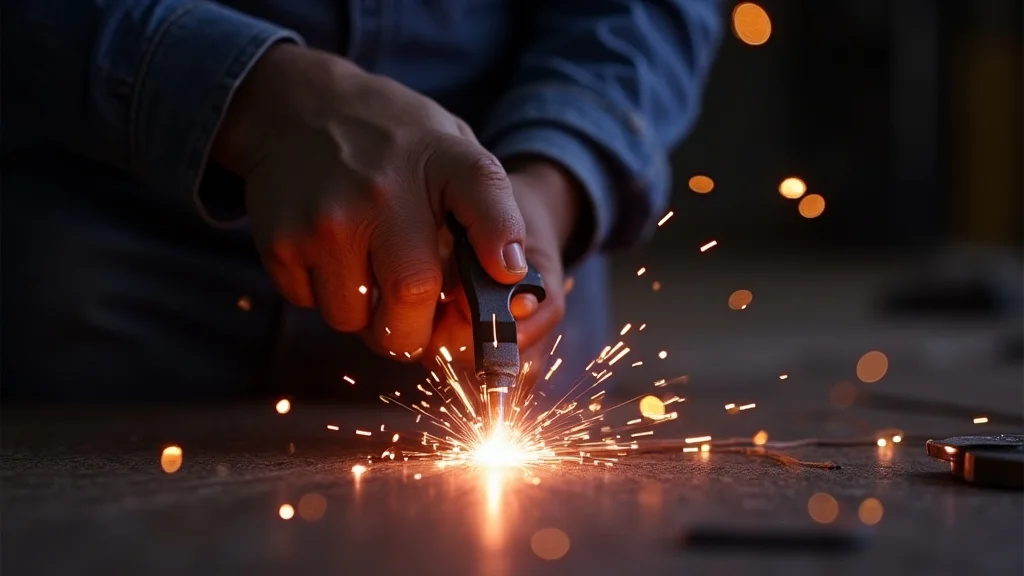
3. Examine the Trigger Assembly
This is where you’ll likely find the problem. You’ll need a screwdriver to open the MIG gun handle.
Opening the MIG Gun Handle
Most MIG gun handles have a few screws that hold the two halves together. Carefully remove these screws and gently separate the halves of the handle.
Checking Wire Connections
Inside the handle, you’ll see wires connected to the trigger switch. Look for any wires that have come loose, are broken, or have corroded connections. If you find a loose wire, you can try to reattach it firmly.
If a wire is broken, it might need to be repaired or the cable replaced.
Inspecting the Trigger Switch
The trigger switch is a small button-like component. Look for any obvious signs of damage, like cracks or melted plastic. Sometimes, dust and grime can get into the switch and prevent it from making contact.
Cleaning the Trigger Switch
You can try cleaning the trigger switch. Use a small brush or a can of compressed air to remove any dust or debris. If you have electrical contact cleaner, you can spray a small amount into the switch mechanism.
Allow it to dry completely before reassembling.
Testing the Trigger Switch (Advanced)
If you have a multimeter, you can test the trigger switch. With the wires disconnected from the switch, set your multimeter to continuity mode. When you press the trigger, the multimeter should beep or show a low resistance if the switch is working.
If it doesn’t, the switch likely needs to be replaced.
4. Verify the Wire Feeder Mechanism
A problem with the wire feeder can sometimes prevent the trigger from working.
- Check wire tension: Make sure the tension on the drive rolls is not too tight or too loose.
- Inspect the drive rolls: Ensure the drive rolls are the correct size for your wire and are clean.
- Look for blockages: Check the liner of the MIG gun and the path to the drive rolls for any kinks or obstructions that could stop the wire from feeding.
5. Reassemble and Test
Once you’ve made any necessary checks or repairs, carefully put the MIG gun handle back together. Make sure all wires are tucked away neatly and don’t interfere with the trigger mechanism. Reinstall the screws securely.
With the gun reassembled, connect it back to the welder. Turn on the welder and try pulling the trigger. You should hear the wire feed motor engage and see the gas flow if you have a gas cylinder connected.
Frequently Asked Questions
Question: What is the most common reason for a MIG welder trigger not responding?
Answer: The most common reason is a loose wire connection inside the MIG gun handle, or a dirty or worn-out trigger switch.
Question: Do I need special tools to fix a MIG welder trigger?
Answer: Usually, you only need a basic screwdriver set. If you want to test the trigger switch, a multimeter can be helpful, but it’s not always necessary.
Question: How do I know if the welding cable is bad?
Answer: Look for visible damage like cuts, burns, or kinks. If the cable feels stiff or has internal breaks, it might be the problem.
Question: Can a clogged wire feed cause the trigger to stop working?
Answer: Yes, if the wire feed system is blocked or not functioning properly, the welder might not activate the trigger as a protective measure.
Question: What if cleaning the trigger switch doesn’t work?
Answer: If cleaning doesn’t fix it, the trigger switch itself might be broken and will need to be replaced. This is a common part that wears out.
Final Thoughts
Your MIG welder trigger should now be working perfectly. We covered how to check the connections, clean the switch, and ensure the wire feed is clear. These simple steps often solve the problem when your MIG welder trigger not responding.
Keep these checks in mind, and you’ll be able to handle most trigger issues yourself. Happy welding!