Getting started with welding can feel a bit tricky, especially when you need to pick out the right gear to keep you safe. One big question for new welders is How to Choose the Right Welding Helmet for Safety. It’s not as hard as it looks!
We’ll make it simple, step-by-step. First, let’s look at what you absolutely need to know before you pick your helmet.
Key Takeaways
- You’ll learn the most important things to look for in a welding helmet.
- We’ll explain the different features that keep your eyes and face safe.
- You’ll find out about the shades of light that protect you from welding sparks.
- We’ll cover how different helmets work for different welding jobs.
- You’ll know how to pick a helmet that fits your budget and needs.
- We’ll help you make a smart choice so you can weld with confidence.
Why Safety Matters: Protecting Your Eyes and Face
Welding is an amazing skill. It lets you build and fix things with metal. But it also has dangers.
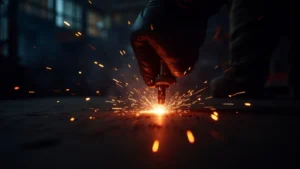
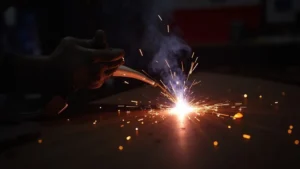
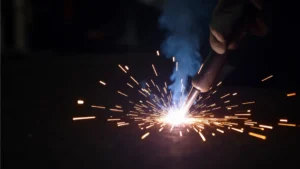
Bright flashes and hot sparks fly everywhere when you weld. These can really hurt your eyes and skin. That’s why a good welding helmet isn’t just a piece of gear; it’s your shield.
It’s the most important tool for keeping you safe while you work.
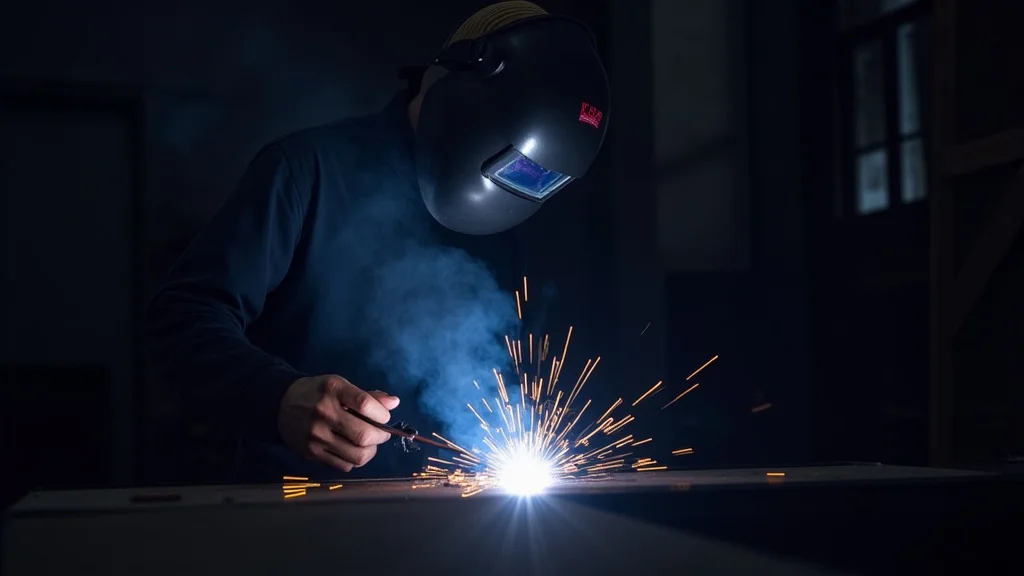
The Basics of Welding Helmet Safety
A welding helmet does a few key jobs. It stops the super bright light from the welding arc from burning your eyes. This light is called UV and IR light.
Too much of it can cause “welder’s flash,” which is like a sunburn on your eyes and is very painful. The helmet also stops hot metal sparks and fumes from reaching your face. This prevents burns and stops you from breathing in harmful smoke.
Types of Welding Helmets: What’s Out There?
There are two main kinds of welding helmets you’ll see. Each has its own way of working.
Passive Welding Helmets
These are the older style. They have a lens that is always a dark shade, usually shade 10 or 11. When you’re not welding, you have to lift the helmet to see clearly.
This can be a bit slow. You have to put the helmet down just before you start to weld. They are usually cheaper, which is good if you’re on a tight budget or just starting out.
Auto-Darkening Welding Helmets (ADF)
These are much more popular now. They have a special lens that has sensors. When the bright light of the welding arc starts, the sensors detect it.
The lens instantly turns dark, usually within milliseconds. When the arc stops, the lens goes back to being clear. This is a big help because you don’t have to lift the helmet to see your work.
You can keep both hands free to hold your welding torch and the metal. ADF helmets can cost more than passive ones, but many welders find they are worth the extra money for the ease and safety.
Key Features to Look For
When you’re looking at helmets, some features are more important than others for safety and comfort. Thinking about these will help you decide How to Choose the Right Welding Helmet for Safety.
Shade Levels
The shade level of a helmet lens controls how dark it is. It’s measured by a number. The higher the number, the darker the lens.
Different welding processes need different shade levels. For example, TIG welding usually needs a darker shade than MIG welding. Most auto-darkening helmets have a range of shades they can adjust to.
Look for a helmet that covers the types of welding you plan to do.
- Shade 9-13: Good for most common welding jobs like MIG, TIG, and Stick welding.
- Shade 5-8: Often used for lighter tasks like grinding or plasma cutting.
Viewing Area Size
This is how big the window is that you look through. A larger viewing area means you can see more of your work without moving your head. This can be very helpful.
Some helmets have really wide views. For beginners, a decent size is good. You want to see your weld pool clearly and your surroundings.
Power Source
Auto-darkening helmets need power. Most use batteries. Some also have solar power to help charge the batteries.
This means you won’t have to worry about changing batteries as often. Some professional helmets use a combination of battery and solar. For hobbyists, a helmet with a good battery life is usually enough.
Response Time
This is how fast the lens darkens when the welding arc starts. For auto-darkening helmets, you want this to be very quick. The faster, the better.
Most good ADF helmets have a response time of about 1/10,000 of a second. This is so fast you won’t even notice it. It’s important for preventing eye strain and flash burn.
Comfort and Fit
You’ll be wearing this helmet for long periods. It needs to be comfortable. Look for adjustable headbands.
These help you get a snug fit. A good fit means the helmet won’t slip down when you move. It also helps keep hot air and fumes out.
Some helmets are heavier than others. If you’ll be welding for hours, a lighter helmet might be better.
Filter Quality (True Color vs. Standard)
Some newer auto-darkening helmets have filters that show colors more accurately. These are called “true color” filters. They make it easier to see the molten metal and sparks.
This can help you make better welds. Standard filters can sometimes make things look a bit green or blue.
Choosing a Helmet for Different Welding Processes
The type of welding you do can affect which helmet is best. Knowing this is part of How to Choose the Right Welding Helmet for Safety.
MIG Welding (GMAW)
MIG welding produces a lot of sparks and a bright arc. You’ll need a helmet with good shade control, usually in the shade 9-13 range. An auto-darkening helmet is highly recommended for MIG.
It helps you keep the wire feeding and the arc going smoothly.
TIG Welding (GTAW)
TIG welding is known for being more precise. It often uses lower amperages, which means a less intense arc for some jobs. However, high-amperage TIG welding can be very bright.
You’ll need a helmet that can adjust to darker shades, possibly up to shade 13 or 14 for very high amperages. A helmet with a wide viewing area and good sensitivity for low amperages is helpful.
Stick Welding (SMAW)
Stick welding also produces a very bright arc and can create a lot of spatter. Similar to MIG, a good auto-darkening helmet with shade adjustments from 9-13 is suitable. The helmet needs to handle the intense light and the physical demands of stick welding.
Grinding and Cutting
When you’re just grinding or cutting metal, you don’t need the full welding shade. Many auto-darkening helmets have a “grind mode” that keeps the lens clear. Some helmets also have shade 3 or 5 flip-down shades for this purpose.
If you do a lot of grinding, a helmet with a dedicated grind mode is a great feature.
Budgeting for Your Welding Helmet
Welding helmets come in a wide range of prices. This is an important part of How to Choose the Right Welding Helmet for Safety.
Entry-Level Helmets
If you’re just starting out or only weld now and then, an entry-level auto-darkening helmet can be a good choice. These often cost between $50 and $150. They offer basic safety features and will protect you well enough for occasional use.
Passive helmets are even cheaper but less convenient.
Mid-Range Helmets
For welders who use their equipment more often, a mid-range helmet (around $150 to $300) offers better features. You might get a larger viewing area, faster response times, more shade adjustments, and better comfort. These are great for hobbyists and light professional work.
Professional-Grade Helmets
Professional welders who work with their helmets all day may want to invest in a high-end helmet. These can cost $300 and up. They offer the best in comfort, durability, viewing area, and advanced features like true color technology and even head protection like hard hats.
Making the Final Choice: A Simple Guide
To sum up How to Choose the Right Welding Helmet for Safety, think about these questions:
- What kind of welding will I do most? (MIG, TIG, Stick, grinding?)
- How often will I be welding? (Occasional hobby, regular work?)
- What is my budget?
- What features are most important to me? (Viewing area, comfort, auto-darkening speed?)
If you’re new, an auto-darkening helmet with shade 9-13 is usually a safe bet. Look for a comfortable fit and a decent viewing area. Don’t feel pressured to buy the most expensive helmet.
A good mid-range option is often perfect for most beginners. Read reviews and see what other welders recommend.
Frequently Asked Questions
Question: What is the most important feature of a welding helmet?
Answer: The most important feature is the ability to protect your eyes and face from the bright light and heat of the welding arc. Auto-darkening lenses and the correct shade levels are key for this.
Question: Can I use a regular pair of sunglasses for welding?
Answer: No, absolutely not. Regular sunglasses do not offer any protection from the harmful UV and IR rays produced by welding. They will not prevent serious eye damage.
Question: How do I know what shade level to use?
Answer: The required shade level depends on the welding process and the amperage you are using. Most common welding jobs use shades 9-13. It’s good to have a helmet that can adjust or offers a range.
Question: How often should I replace my welding helmet lens?
Answer: The auto-darkening lens itself can last for many years if cared for properly. However, you might need to replace the protective outer cover lens if it gets scratched or pitted from spatter.
Question: Are expensive welding helmets worth the extra cost for a beginner?
Answer: Not always. A good mid-range auto-darkening helmet offers excellent protection and features for most beginners. As you gain experience and weld more, you might consider upgrading to a professional model.
Final Thoughts
Picking the right welding helmet means looking after your eyes and face. An auto-darkening helmet is a great choice for safety and ease of use. Think about the shade levels, how large the view is, and how comfortable it feels.
Match these features to the kind of welding you do and your budget. A good helmet helps you focus on making great welds. It lets you work with confidence, knowing you’re well-protected.