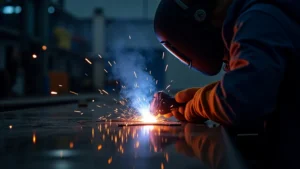
Welding can be tricky when you’re just starting out. One common headache for new welders is something called porosity. This happens when tiny gas bubbles get trapped inside your weld, making it weaker.
Don’t worry, though! How to Avoid Welding Porosity Problems isn’t as hard as it sounds. We’ll walk through it step-by-step to help you get smooth, strong welds.
First, let’s look at what you’ll learn.
Key Takeaways
- You will learn what welding porosity is and why it happens.
- We will cover the most common causes of porosity in welding.
- You’ll discover simple tips to prevent porosity in your welds.
- We’ll explain how cleaning your metal and equipment helps.
- You’ll understand the role of proper welding technique.
- This guide will help you achieve stronger, cleaner welds.
What is Welding Porosity?
Welding porosity refers to small holes or voids within a solidified weld metal. These holes are like tiny bubbles that got stuck as the molten metal cooled. Think of it like baking a cake and getting air pockets inside.
These pockets aren’t good for a weld. They make the weld less strong and can cause it to fail under stress. Porosity can look like small pinholes on the surface of the weld or be hidden inside.
Both are problems you want to avoid.
Why Does Porosity Happen?
Porosity happens because something is introducing gases into the molten weld pool that shouldn’t be there. These gases then get trapped as the weld cools. The main culprits are usually contaminants or issues with the welding process itself.
When you’re learning, it’s easy to overlook some small details that lead to these gas bubbles. That’s why understanding the root causes is the first step to fixing them.
Common Causes of Welding Porosity
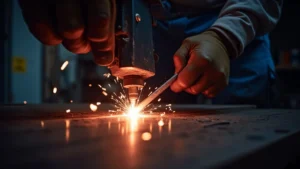
1. Dirty Base Metal
This is one of the biggest reasons for porosity, especially for beginners. The metal you are welding needs to be clean. If there’s dirt, oil, grease, paint, rust, or even just a greasy fingerprint on the metal, it can burn off during welding.
When these substances burn, they release gases. These gases then get mixed into the molten weld pool and can get trapped, causing porosity.
Imagine trying to cook a clean meal with dirty ingredients. The result won’t be good. The same applies to welding.
The cleaner your metal, the cleaner your weld will be.
2. Contaminated Filler Metal
The welding rod or wire you use also needs to be clean. If the filler metal is oily, rusty, or has been touched with dirty hands, it can carry contaminants into the weld. Some welding wires have a coating that can also break down and release gases if not handled properly or if the coating is damaged.
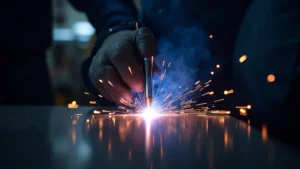
3. Improper Shielding Gas Flow
For many welding processes, like MIG (GMAW) or TIG (GTAW), a shielding gas is used. This gas flows around the arc and the molten weld pool. Its job is to protect the molten metal from the air.
The air around us contains oxygen and nitrogen, which can react with the molten metal and form harmful gases. If the shielding gas flow is too low, too high, or not directed correctly, it can’t do its job. This allows air to get in and cause porosity.
Think of the shielding gas as a protective bubble. If the bubble has holes or is too weak, the bad stuff from the air gets in.
4. Arc Length Issues
The distance between the tip of your welding gun (or electrode) and the metal is called arc length. If the arc is too long, it allows more air to get into the weld pool. This can introduce oxygen and nitrogen, leading to porosity.
If the arc is too short, it can cause other problems like spatter, but porosity can still happen if you’re not careful.
5. Travel Speed and Angle
How fast you move your welding gun and the angle at which you hold it also matter. If you move too fast, you won’t let the shielding gas adequately protect the weld pool. If you move too slow, you might overheat the metal.
The angle of your torch can affect how the shielding gas flows. A slight drag or push angle is usually best, but this can vary slightly by process.
6. Incorrect Welding Parameters
Using the wrong voltage or amperage for the type of metal, thickness, and filler material can cause problems. Incorrect settings can lead to poor fusion, too much heat, or not enough heat, all of which can contribute to porosity.
How to Avoid Welding Porosity Problems
Now that we know why porosity happens, let’s look at how to stop it. The good news is that most of these problems have simple solutions.
1. Thoroughly Clean Your Metal
This is your first and most important defense. Always clean the metal you’re about to weld. Use a wire brush, a grinder, or a solvent cleaner to remove any rust, paint, oil, grease, or dirt.
Make sure the area around the weld joint is clean, not just the immediate weld line. A clean surface is key to a clean weld.
For extra assurance, especially with materials like aluminum or stainless steel, you might use a dedicated stainless steel wire brush to avoid cross-contamination.
2. Keep Filler Metal Clean
Handle your welding rods or wire with care. Keep them in their original packaging until you need them. If you’re using a spool of wire, make sure your hands are clean when you’re handling the end.
If you notice any rust or dirt on the wire, you can sometimes run a bit of it off to clean it.
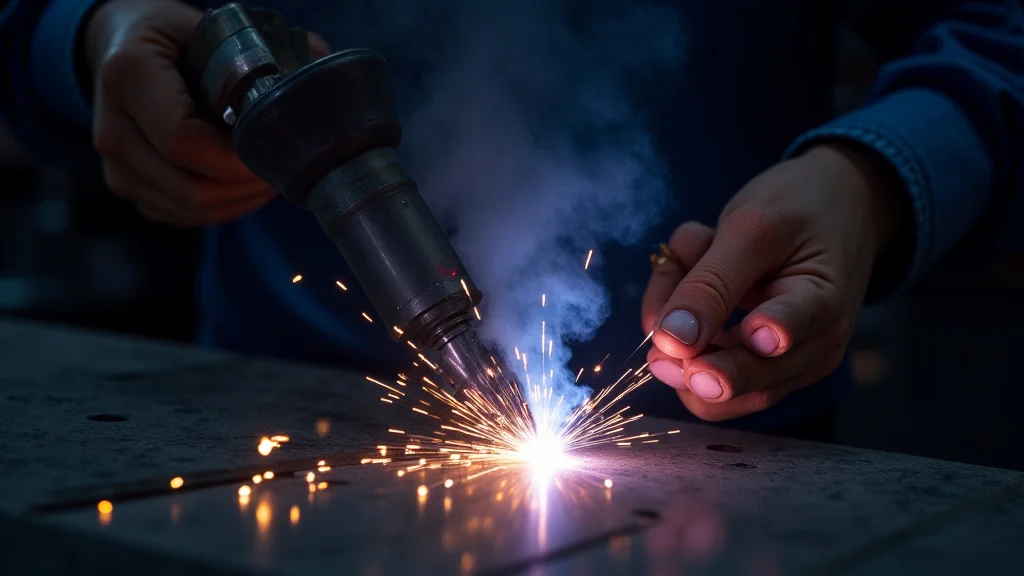
3. Set Up Your Shielding Gas Correctly
Check your gas flow rate. Your welding machine manual or the filler material packaging will usually suggest a flow rate. A common starting point for MIG welding is around 20-25 cubic feet per hour (CFH).
Make sure your gas cylinder has enough gas left in it. Also, check your gas hose and connections for leaks.
When you start welding, watch the gas flow. You should see a steady stream of gas coming out. Try to keep your torch nozzle about 1/2 inch to 3/4 inch away from the weld puddle.
This ensures good coverage. If you’re welding outdoors or in a drafty area, wind can blow the shielding gas away. You might need a windbreak or to adjust your technique.
4. Maintain a Proper Arc Length
For most welding processes, a short, steady arc is best. This typically means keeping the welding wire (for MIG) just a little bit out of the weld puddle. If you’re using a stick electrode, the arc length is usually about the diameter of the electrode.
Practice maintaining this consistent distance. You’ll often hear a consistent crackling sound when the arc length is right.
5. Control Your Travel Speed and Angle
Move at a consistent speed. You want the weld puddle to be a good size, and the molten metal to flow smoothly. If you move too fast, the puddle will be too small and won’t have time to let gases escape.
If you move too slow, you might burn through or create other issues.
For MIG welding, a slight drag angle (torch angled slightly back from the direction of travel) is often used. For TIG, a straight up-and-down or slight push angle might be preferred, depending on the material and gas. Experiment to find what works best for your setup.
6. Use the Right Welding Parameters
Consult your welding machine’s manual or charts for recommended settings. These are usually based on the type of metal, its thickness, and the filler material you are using. If your weld looks too wide and flat, you might have too much heat (amperage/voltage).
If it looks too tall and skinny, you might not have enough heat. Adjusting these settings can make a big difference.
7. Avoid Using Welds on Wet or Damp Surfaces
Moisture can turn into steam when it hits the hot weld. This steam is a gas that can cause porosity. Always make sure the surfaces you’re welding are dry.
Tips for Different Welding Processes
MIG (GMAW) Welding
For MIG, the shielding gas flow is critical. Ensure the gas diffuser and nozzle are clean. A dirty nozzle can disrupt gas flow.
Also, be mindful of the wire stick-out – the length of wire extending from the contact tip. Too much stick-out can lead to preheating and potential porosity.
TIG (GTAW) Welding
TIG welding relies heavily on clean base metal and filler rod. Even tiny amounts of oil or grease can cause issues. Proper shielding gas coverage is also vital.
Sometimes, using a gas lens on your TIG torch can improve gas coverage and reduce turbulence around the weld puddle.
Stick (SMAW) Welding
For stick welding, the coating on the electrode is what provides shielding. If electrodes get damp, they can cause porosity. Always store them in a dry place and use them from their original packaging.
Avoid using electrodes that look damaged or have a peeling coating.
Frequently Asked Questions
Question: What does porosity look like on a weld?
Answer: Porosity can look like small, round holes on the surface of the weld. Sometimes, these holes are very small, like pinpricks. Other times, they can be larger.
You might also see it as rough or pitted areas on the weld surface.
Question: Can I fix a weld that has porosity?
Answer: It’s generally best to grind out the porous section and reweld it. Trying to weld over existing porosity often just traps more gas. Properly preparing the area and re-welding is the reliable way to fix it.
Question: Is porosity always a problem?
Answer: Yes, porosity is almost always a problem. It weakens the weld and can lead to failure. Even small amounts of porosity are usually not acceptable in structural or critical applications.
Question: How does wind affect shielding gas?
Answer: Wind can easily blow away the shielding gas that is supposed to protect your weld pool. This lets oxygen and nitrogen from the air get into the molten metal, causing porosity. You should try to weld in a sheltered area or use a windbreak when welding outdoors.
Question: What’s the easiest way to check for porosity?
Answer: Visually inspect the surface of your weld after you finish. If you see holes or rough spots, that’s a sign of porosity. For critical welds, non-destructive testing methods like X-rays can be used to find internal porosity.
Final Thoughts
Avoiding welding porosity is all about being careful and clean. Start with really clean metal and tools. Make sure your shielding gas is flowing right and that you have a steady hand.
Small adjustments to how you move and the settings on your machine can make a huge difference. Practice these tips, and you’ll see your welds get much stronger and smoother. You’ve got this!