Figuring out How Do You
Key Takeaways
- Knowing when to change your MIG contact tip is important for good welds.
- You need a few simple tools to change the contact tip correctly.
- Always make sure your welding machine is off before you start.
- You will learn how to safely remove the old tip and install a new one.
- Properly changing the contact tip helps your MIG welder work better and last longer.
- Keeping your MIG welding setup in good shape makes welding easier and safer.
Why Changing MIG Contact Tips Matters
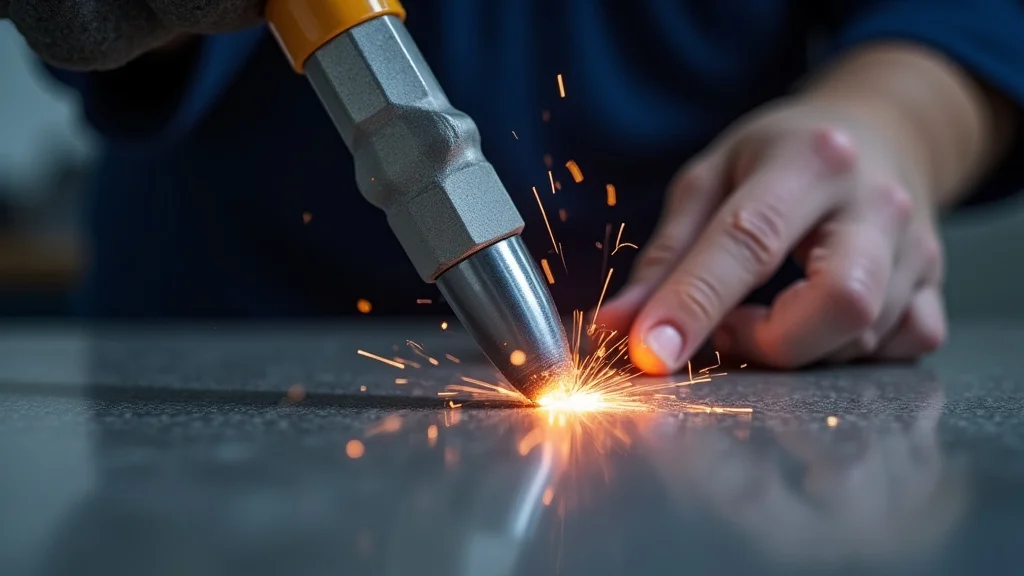
Your MIG welder is a tool that helps you join metal pieces together with heat. The contact tip is a small but very important part of this tool. It sits at the very end of your welding gun.
Its main job is to guide the welding wire as it comes out and also to make an electrical connection. This connection is what melts the wire and the metal you’re joining.
Over time, the contact tip can get worn out or clogged up. This happens because of the high heat and the metal particles that can build up inside it. When this happens, the wire might not feed smoothly.
You might also get a bad electrical connection. Both of these problems can lead to poor welds. Your welds might look messy, be weak, or not stick properly.
Knowing How Do You
When to Change Your Contact Tip
You’ll know it’s time to change your MIG contact tip when you start seeing problems with your welds. Here are some signs:
- Bad Wire Feed: The wire might jam, hesitate, or not come out smoothly.
- Inconsistent Arc: The welding arc might sputter, be unstable, or make strange noises.
- Poor Weld Quality: Your welds may look bumpy, have holes, or not be strong enough.
- Wire Sticking: The wire might stick to the tip or the workpiece when you’re not welding.
- Visible Wear: You might see that the opening of the tip looks enlarged, misshapen, or damaged.
- Spatter Buildup: A lot of welding spatter sticking to the tip can also make it less effective.
Even if you don’t see all these signs, it’s good to change your contact tip regularly as part of your welding machine’s maintenance. Many welders suggest changing it after a certain number of hours of welding or when you notice the performance dropping.
What You’ll Need
To replace your MIG contact tip safely and easily, you don’t need a lot of fancy tools. Here’s a simple list:
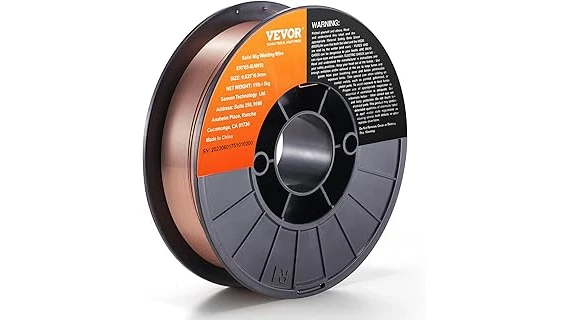
- New Contact Tips: Make sure you get the right size for your MIG gun and the wire you use. They are usually labeled with a number like 0.030″ or 0.035″.
- Pliers: A small set of pliers or a wrench can help you grip the old tip to unscrew it.
- Wire Brush: This is useful for cleaning any spatter or dirt from the nozzle and other parts.
- Gloves: It’s always a good idea to wear gloves to keep your hands clean and protected.
Having the right size new tips is very important. Using a tip that’s too big or too small for your wire can cause feeding problems and affect your weld quality. Always check your MIG gun’s manual or the old tip to be sure.
The Safe Steps to Replace Your Contact Tip
Let’s go through the process step-by-step. Following these instructions will help you change the tip correctly and safely.
Step 1: Turn Off and Disconnect
This is the most critical safety step. Before you do anything else, you must ensure your welding machine is completely off. Not just the power switch, but also unplug it from the wall outlet.
This prevents any accidental electrical shock or the machine turning on while you’re working on the gun.
Safety first is always the best approach when working with any electrical tool, especially welding equipment. Make sure there are no active electrical currents flowing through the gun or the machine.
Step 2: Remove the Gas Nozzle
The gas nozzle is the outer shield that surrounds the contact tip. It helps direct the shielding gas to the weld area. Most nozzles can be unscrewed by hand.
Some might be a bit tight due to spatter buildup. If it’s stuck, you might need to use pliers gently. Twist it counter-clockwise to loosen and remove it.
Be careful not to damage the threads where it connects to the gun body.
Once the nozzle is off, you’ll have a clear view of the contact tip and the neck of the MIG gun.
Step 3: Unscrew the Old Contact Tip
Now you can see the contact tip itself. It’s usually a small metal piece threaded into the end of the gun. You’ll use your pliers or a wrench to grip the tip.
Turn it counter-clockwise. It should unscrew relatively easily. If it’s very tight, you might need to apply a little more pressure, but avoid forcing it too hard, which could damage the gun’s neck.
Sometimes, spatter can harden around the tip, making it difficult to remove. A quick tap with a tool might help loosen it. Once it’s free, pull it straight out.
Step 4: Clean the Area
Before putting on the new tip, take a moment to clean up the area. Use your wire brush to gently clean any spatter or debris from the inside of the gas nozzle you removed. Also, clean the threads on the gun’s neck where the tip screws in.
A clean connection helps ensure the new tip will seat properly and make good electrical contact.
This cleaning step is often overlooked, but it’s important for a smooth installation and for the best welding performance afterward. A clean gun neck means the new tip will thread on correctly and maintain proper contact.
Step 5: Install the New Contact Tip
Take your new contact tip and carefully screw it into the gun’s neck. Turn it clockwise. Thread it on by hand first to make sure it’s not cross-threading.
Once it’s finger-tight, use your pliers or wrench to give it a final snug turn. You don’t need to overtighten it. Just make it firm so it won’t loosen during welding.
The correct fit of the tip is essential for electrical conductivity and wire guidance. Ensure it sits flush and secure.
Step 6: Reattach the Gas Nozzle
Now, screw the gas nozzle back onto the gun. Again, start by hand and thread it on clockwise. Tighten it until it’s snug.
Make sure it’s seated correctly and not at an angle. The nozzle should fit snugly against the tip and the gun body.
A properly attached nozzle ensures that your shielding gas flows correctly, protecting your weld from air contamination.
Step 7: Reconnect and Test
Once everything is back in place, you can plug your welding machine back into the power outlet and turn it on. Before you start welding on your project, do a quick test. Hold the gun away from any metal and briefly pull the trigger.
Listen to the wire feed and watch the arc. It should sound and look smooth. This confirms that the new tip is working correctly and you’ve answered How Do You Replace MIG Contact Tips Safely? by completing the process properly.
Tips for Maintaining Contact Tips
To make your contact tips last longer and keep your MIG welder working at its best, follow these simple maintenance tips:
- Clean Regularly: After each welding session, use a wire brush to remove spatter from the tip and nozzle.
- Use Anti-Spatter Spray: Applying a light coat of anti-spatter spray to the nozzle and tip can help reduce spatter buildup.
- Check Wire Feed: Pay attention to how the wire feeds. If it starts to feel rough or hesitant, it might be time for a new tip or cleaning.
- Store Properly: Keep spare tips in a clean, dry place.
- Use the Right Size: Always use the contact tip that matches your wire diameter.
Good maintenance habits mean fewer interruptions and better weld quality. It also saves you money by making your consumables last longer.
Understanding Different Contact Tip Types
Contact tips are usually made from copper or a copper alloy. This is because copper is a good conductor of electricity and can handle the heat. They come in different sizes to match the diameter of the welding wire you are using.
For example, if you are using 0.030-inch wire, you need a 0.030-inch contact tip. If you use 0.035-inch wire, you need a 0.035-inch tip.
Using the wrong size tip can cause several problems. If the tip is too large for the wire, the wire might not be guided precisely. This can lead to an inconsistent arc and poor weld quality.
If the tip is too small for the wire, the wire might not feed through smoothly, causing jams and feeding issues. Some specialized tips are available for specific applications, like short circuit transfer or spray transfer welding, but for most beginners, the standard copper tips are perfect.
Troubleshooting Common Contact Tip Issues
Even with proper maintenance, you might encounter some problems. Here’s how to fix them:
- Wire Sticking to the Tip: This is usually caused by a dirty tip or insufficient shielding gas. Clean the tip thoroughly and check your gas flow. If it continues, replace the tip.
- Poor Arc Stability: A worn-out tip can cause an unstable arc. Replace the tip. Also, check if the contact tip is securely screwed in and making good electrical contact.
- Wire Not Feeding: This could be a kink in the wire, a dirty drive roll, or a clogged contact tip. Check all these points. If the tip is clogged, try cleaning it or replacing it.
- Excessive Spatter: While spatter is normal in MIG welding, excessive amounts can indicate a worn tip, incorrect settings, or poor gas coverage. Start by replacing the tip and checking your welder settings.
Remember that a clean and properly functioning contact tip is crucial for a stable arc and good weld penetration. When in doubt, replacing the tip is often the quickest and easiest fix.
Safety Beyond the Tip Change
While learning How Do You
Understanding and practicing these basic safety rules will make your welding experience much more enjoyable and accident-free. Safety equipment and procedures are not suggestions; they are necessities when welding.
Frequently Asked Questions
Question: How often should I replace my MIG contact tip?
Answer: It depends on how much you weld and the type of welding you do. A good rule of thumb is to replace it when you notice a drop in weld quality or wire feeding issues. Many welders replace them every few weeks or after using several spools of wire, but visual inspection is the best indicator.
Question: Can I use a contact tip that is the wrong size?
Answer: No, it’s not recommended. Using a contact tip that is too large or too small for your welding wire can cause wire feeding problems, arc instability, and poor weld quality. Always match the tip size to your wire diameter.
Question: What happens if I don’t tighten the contact tip enough?
Answer: If the contact tip is not tight enough, it can lead to poor electrical conductivity, causing an unstable arc and inconsistent welds. It could also loosen further and fall out during welding, which is a safety hazard.
Question: My old contact tip is really stuck. What can I do?
Answer: Ensure the welding machine is off and unplugged. You can try gently heating the area around the tip with a propane torch for a few seconds (be careful not to overheat) to help expand the metal slightly. Then, use pliers or an adjustable wrench to try unscrewing it.
If it’s still stuck, you may need to use a penetrating oil, but allow it to soak and clean thoroughly before trying again.
Question: Can I use the same contact tip for different types of wire (e.g., flux-cored and solid wire)?
Answer: Generally, no. While some tips might be interchangeable, it’s best practice to use tips specifically designed for the type of wire you are welding with. Flux-cored wire can be more abrasive and may require different tip materials or designs than solid wire.
Final Thoughts
Learning How Do You Replace MIG Contact Tips Safely? is a fundamental skill for any MIG welder. It’s a simple process that keeps your equipment working right and your welds looking good. By turning off the power, unscrewing the old tip, cleaning up, and installing a new one securely, you ensure your welder performs at its best.
Remember to check your tip regularly and replace it when you see signs of wear or poor performance. This small maintenance task makes a big difference in your welding results. Keep practicing, and you’ll master it quickly!
Leave a Reply