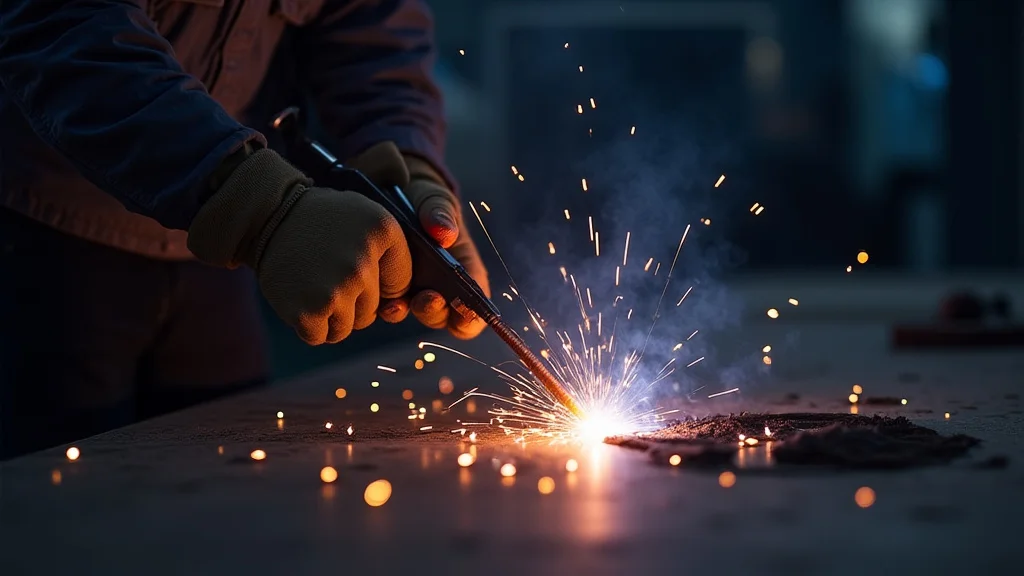
Working with thin metal can feel a bit tricky when you’re learning to weld. It’s easy to burn through, leaving holes instead of strong joints. Lots of people wonder, How Do You Protect Thin Metal While Welding? Don’t worry!
This guide will show you simple ways to keep that thin metal safe and get great results. We’ll cover everything you need to know to weld thin materials like a pro.
Key Takeaways
- Choosing the right welding process is important for thin metal.
- Lowering heat input is the main goal when welding thin materials.
- Proper settings on your welding machine make a big difference.
- Using filler metal correctly helps control heat and fill gaps.
- Technique, like how fast you move, is key to avoiding burn-through.
- Shielding gas choice and flow rate affect weld quality.
Understanding the Challenges of Thin Metal Welding
Welding thin metal presents a unique set of problems. The biggest one is heat control. Thin metals don’t have much mass, so they heat up very quickly.
This makes them prone to melting right through, also known as burn-through. This can happen with almost any welding process, from MIG to TIG.
Beginners often struggle because they are used to welding thicker materials. Thicker metals can absorb more heat without deforming or melting. When you move to thin metal, the rules change.
You need to be much more careful about how much heat you’re applying and for how long.
The goal is to melt the edges of the thin metal just enough to fuse them together, not to turn them into a puddle. This requires a delicate balance of heat, speed, and technique. Getting this balance right takes practice, but with the right knowledge and approach, it’s totally achievable.
Choosing the Right Welding Process
Not all welding processes are equally suited for thin metals. Some are better than others because they offer more control over heat input.
MIG Welding (GMAW) for Thin Metal
MIG welding is very popular for thin metal because it’s versatile and relatively easy to learn. When using MIG, you can adjust settings like wire speed and voltage to control the heat.
For thin metals, you’ll want to use a lower voltage and a slower wire speed. This reduces the amount of heat the arc puts out. Pulse MIG welding is particularly good for thin materials.
It cycles the current between a high peak (for good fusion) and a low background level (to let the metal cool slightly). This significantly reduces the overall heat input.
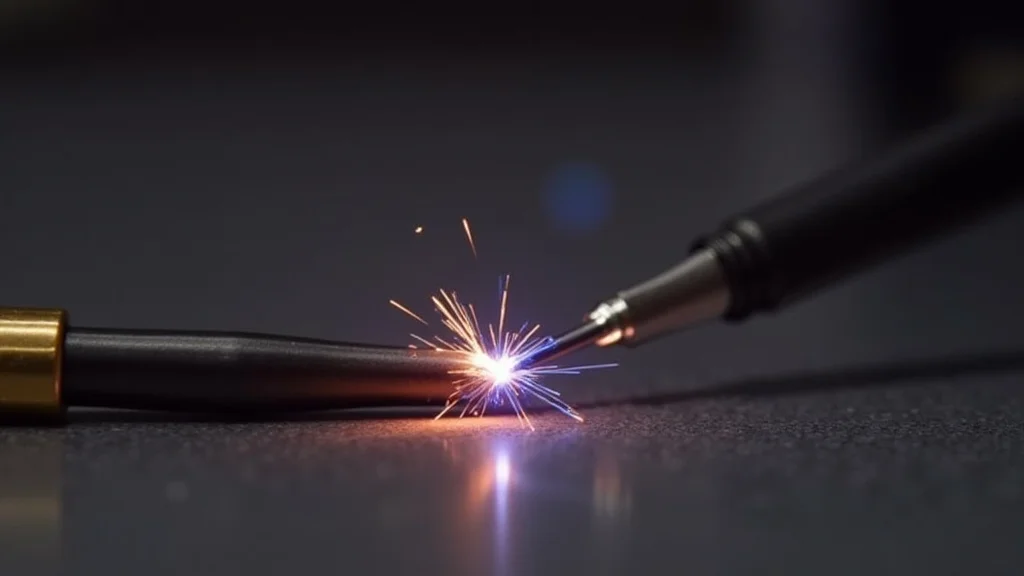
TIG Welding (GTAW) for Thin Metal
TIG welding is often considered the king of precision welding, and it excels with thin metals. It offers the most control over heat. With TIG, you control the heat by how close you hold the torch and how much you press the pedal (if using a foot pedal).
You also control the filler rod independently.
This allows for very fine adjustments. You can add just enough filler metal to create a strong bead without overheating the base material. The lower amperage settings you can use with TIG are perfect for preventing burn-through on delicate materials like stainless steel or aluminum.
Stick Welding (SMAW) for Thin Metal
Stick welding is generally the most challenging process for beginners working with thin metal. It tends to produce a lot of heat, and it’s harder to control precisely. However, it can be done with the right technique and specific types of electrodes.
If you must use stick welding, choose a DC electrode negative (DCEN) setting and a low amperage. Use thin electrodes (like 3/32 inch or smaller) and a fast travel speed. This will help minimize heat input and reduce the risk of burning through.
Key Settings and Parameters
Once you’ve chosen your welding process, the next step is to get your machine set up correctly. This is where you really dial in the heat control.
Amperage and Voltage Control
Amperage (current) and voltage are the two main controls that determine how much heat your welding arc produces. For thin metal, you generally want to use lower amperage and voltage settings than you would for thicker metals.
Think of it this way: More heat means a hotter arc and a bigger puddle, which is more likely to burn through thin metal. Less heat means a cooler arc and a smaller puddle, giving you more control.
Rule of thumb: Start with the lowest settings recommended for the material thickness you’re working with and gradually increase them only if needed for proper fusion. It’s always better to add a little more heat than to start too hot and burn through.
Wire Speed (MIG)
In MIG welding, wire speed is directly related to amperage. A faster wire speed means more wire is fed into the arc, which creates more heat. For thin metal, you’ll want to set your wire speed lower.
Many modern MIG welders have synergistic or “one-knob” controls. These systems automatically set voltage based on wire speed (or vice versa). In these cases, focus on finding the correct wire speed for your material, and the machine will adjust the voltage accordingly.
Torch Angle and Distance
Your torch angle and how close the welding tip is to the workpiece can also affect heat. Holding the torch at a slight drag angle (leading the weld pool) can help push the heat away from the immediate weld area. Keeping the welding tip close to the metal (but not touching) can also help concentrate the arc and reduce heat dissipation.
Filler Metal Selection and Use
The filler metal you choose and how you use it plays a significant role in protecting thin metal.
Choosing the Right Filler Metal
When welding thin metals, you want to use a filler metal that is the same or very similar to the base metal. For steel, this might be ER70S-2 or ER70S-6. For aluminum, you’d use an aluminum filler rod.
The diameter of the filler wire is also important. For thin metals, use a smaller diameter wire. For MIG, this might be 0.023 inches (0.6 mm) or 0.030 inches (0.8 mm).
For TIG, use thin filler rods, often 0.030 to 0.045 inches (0.8 mm to 1.2 mm).
Adding Filler Metal Correctly
When MIG welding thin metal, you typically don’t need to add filler metal separately, as the wire feed provides it. However, if you’re TIG welding, you’ll be adding filler rod by hand.
The key is to add just enough filler. Dip the rod into the leading edge of the weld puddle. As the puddle melts the base metal, the filler rod melts and fuses with it.
Don’t continuously feed the rod; add it in small, controlled increments. This helps build the weld bead without adding excessive heat.
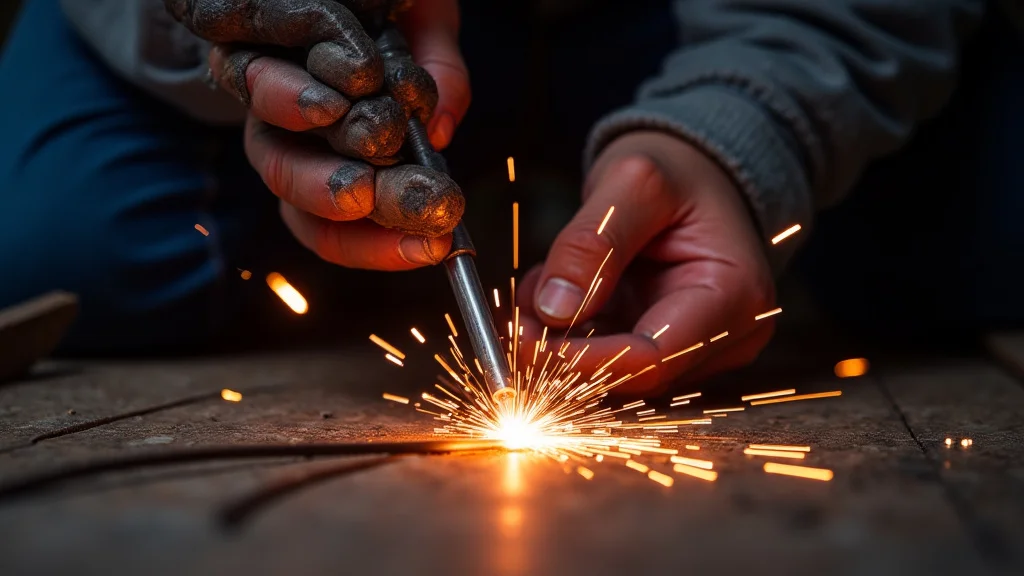
Essential Techniques for Thin Metal Welding
Settings and materials are only part of the equation. Your technique is crucial for success.
Travel Speed
Travel speed is how fast you move your welding torch along the joint. For thin metal, you generally need to move faster than you would for thicker materials. A faster travel speed means less time spent in any one spot, thus less heat input.
If you move too slowly, you’ll melt through. If you move too quickly, you won’t get good fusion and penetration. You need to find that sweet spot where the puddle is forming nicely but not boiling over.
Puddle Control
Learning to watch and control the weld puddle is fundamental to all welding, but it’s critical for thin metal. The puddle is your indicator of what’s happening. A good puddle for thin metal will be small and well-formed.
It should be just large enough to melt the edges of the metal you’re joining.
If the puddle gets too big, it’s a sign you’re applying too much heat or moving too slowly. Back off the heat, speed up your travel, or both.
Stitch Welding
Stitch welding, also known as tack welding or spot welding, is an excellent technique for thin metal. Instead of trying to create one long, continuous weld, you create a series of short welds (stitches) spaced apart.
You might weld a short section, then move a short distance away and weld another section. Then, you go back and fill in the gaps between the stitches. This allows the metal to cool down between welding passes, drastically reducing the overall heat buildup and minimizing the chance of warping or burn-through.
Backing Material
Sometimes, especially with very thin or soft metals, you need a little extra support to prevent burn-through. This is where backing materials come in.
Copper or Aluminum Backing Bars: These materials are excellent heat sinks. Placing a copper or aluminum bar behind the joint you’re welding will draw heat away from the weld area, helping to prevent the metal from melting through. They also provide a flat surface for the molten metal to flow against, which can create a nice bead profile.
Ceramic Backing Strips: These are also used to support the back of the weld. They are particularly useful when you need to control the shape of the root pass or when welding in specific positions.
Other Materials: In some cases, even thick cardboard or a wet rag can be used as a temporary backing in a pinch, though they are not as effective or consistent as metal or ceramic options.
Shielding Gas Considerations
The right shielding gas is vital for MIG and TIG welding, especially with thin metals.
MIG Shielding Gas
For steel, a common shielding gas is a mix of 75% Argon and 25% CO2. However, this can put a lot of heat into the weld. For thinner materials, consider using a gas with less CO2 or a tri-mix gas that includes Helium.
These offer a cooler arc and better control.
Pure Argon is often used for aluminum and is a good choice for TIG welding steel and stainless steel. A mix of 98% Argon and 2% Oxygen is sometimes used for stainless steel with MIG for better wetting action.
TIG Shielding Gas
Pure Argon is the standard shielding gas for TIG welding steel and stainless steel. It provides a stable arc and good shielding. For aluminum, Argon is also the preferred gas.
Gas Flow Rate
The correct gas flow rate is important. Too little gas won’t provide adequate shielding, leading to weld contamination and porosity. Too much gas can cause turbulence, which can also draw in air and contaminate the weld.
A typical flow rate for MIG is around 20-25 cubic feet per hour (CFH), and for TIG, it’s often 10-20 CFH. Always refer to your welding machine’s manual or gas supplier for specific recommendations.
Frequently Asked Questions
Question: What is the biggest challenge when welding thin metal?
Answer: The biggest challenge is controlling heat. Thin metal heats up very quickly, making it easy to burn through and create holes instead of a strong joint.
Question: Which welding process is best for beginners welding thin metal?
Answer: MIG welding, especially with a pulse feature, and TIG welding are generally considered the best choices for beginners working with thin metal because they offer more control over heat input compared to stick welding.
Question: How can I prevent burn-through when welding thin steel?
Answer: To prevent burn-through, use lower amperage and voltage settings, a faster travel speed, stitch welding techniques, and consider using a smaller diameter filler wire. A backing material can also help.
Question: Do I need to use filler metal when MIG welding thin metal?
Answer: In most standard MIG welding applications on thin metal, the welding wire itself acts as the filler metal. You don’t typically add a separate filler rod unless you’re doing specific repair work or using certain specialized techniques.
Question: Can I weld very thin aluminum?
Answer: Yes, you can weld very thin aluminum, but it requires precise control, usually with TIG welding. You’ll need lower heat settings, a fine filler rod, and a quick travel speed. Pulse TIG is also very effective for thin aluminum.
Final Thoughts
Learning to protect thin metal while welding is about managing heat. You achieve this with the right machine settings, like lower amperage and voltage. Choosing TIG or pulse MIG welding helps a lot.
Using thinner filler wires and practicing techniques like stitch welding are key. Slowing down and watching your weld puddle gives you control. With a little practice and by following these steps, you’ll gain the confidence to weld thin materials cleanly and strongly.

Leave a Reply