Getting MIG welding right can seem tricky at first. Many beginners wonder, “How Do You Properly Adjust MIG Voltage and Amperage?” It’s a common question because finding the perfect settings makes a big difference in weld quality. Don’t worry, it’s easier than you think!
We’ll walk through it step-by-step. First, let’s look at what makes these settings so important.
Key Takeaways
- You will learn the basic relationship between voltage and amperage in MIG welding.
- Discover how voltage affects the arc length and bead appearance.
- Understand how amperage controls the heat and penetration of the weld.
- Learn about the role of wire speed and its connection to amperage.
- Get simple tips for adjusting settings for different metal thicknesses.
- Find out how to troubleshoot common welding issues related to settings.
Understanding MIG Welding Settings
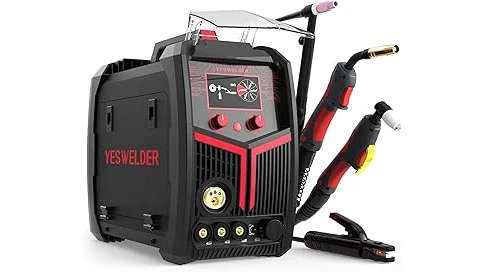
MIG welding, also known as Gas Metal Arc Welding (GMAW), uses a continuously feeding wire electrode to create a weld. To get a good weld, you need to set your machine correctly. The two most important settings are voltage and amperage.
They work together to control the heat and how the metal melts.
What is Voltage in MIG Welding?
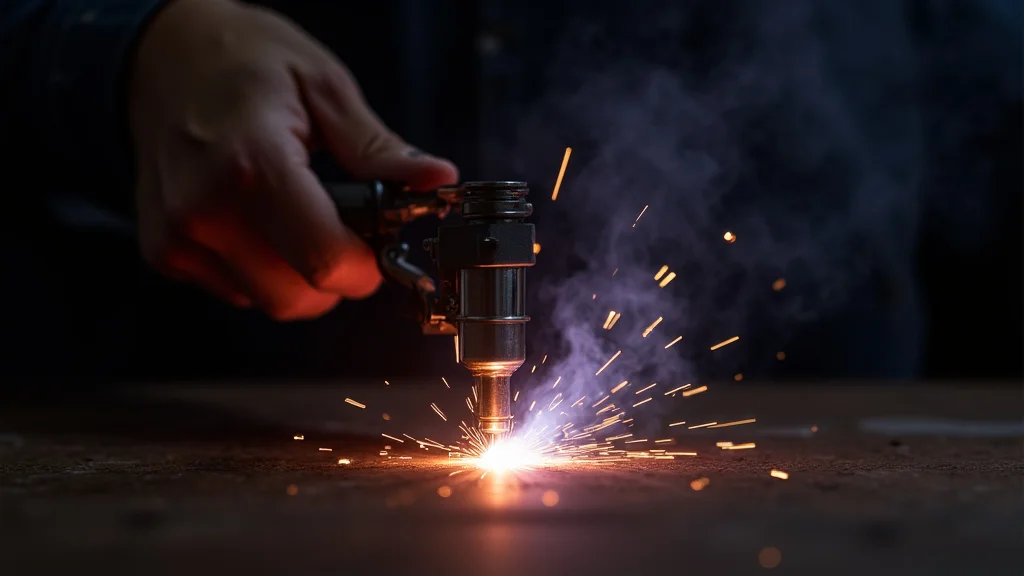
Voltage is like the “push” that sends electricity through the welding circuit. In MIG welding, it has a big effect on the arc. Think of the arc as the spark that melts the metal.
When you change the voltage, you change how wide and stable that spark is.
Voltage and Arc Length
A higher voltage generally creates a longer, wider arc. This can give you a flatter, wider bead that spreads out more. It might look a bit more “splashy” if it’s too high.
A lower voltage creates a shorter, more focused arc. This results in a narrower, more convex bead. If the voltage is too low, you might get a “football” shaped bead that piles up too much.
Voltage and Weld Appearance
The voltage setting greatly impacts how your finished weld looks. With the right voltage, you get a smooth, consistent bead with a nice ripple pattern. Too high, and you can get spatter and a “fish scale” look.
Too low, and the bead will be tall and narrow, sometimes called “ropey.” Adjusting voltage helps you achieve that clean, professional look.
What is Amperage in MIG Welding?
Amperage is the amount of electrical current flowing through the welding circuit. It directly controls the heat generated by the arc. More amperage means more heat, and less amperage means less heat.
This is crucial for melting the metal properly and getting good penetration.
Amperage and Heat Input
Amperage is the primary factor determining how much heat goes into the weld. For thicker metals, you need higher amperage to melt them. For thinner metals, you need lower amperage to avoid burning through.
It’s all about matching the heat to the material you’re working with.
Amperage and Penetration
Penetration refers to how deep the weld goes into the base metal. Higher amperage leads to deeper penetration. This is important for structural welds where you need the weld to fuse strongly with both pieces of metal.
Too little amperage means you’ll have shallow penetration, creating a weak weld.
The Connection: Voltage, Amperage, and Wire Speed
It’s important to understand that voltage and amperage don’t work alone. In MIG welding, wire feed speed is directly linked to amperage. The machine feeds the wire at a certain speed.
This speed determines how much metal is being added to the weld, and in turn, how much current (amperage) is needed to melt that wire effectively.
Wire Speed Controls Amperage
Think of it this way: the wire feeder pushes the wire. The power source then adjusts the amperage to match the rate the wire is being fed. If you increase the wire speed, the machine will automatically increase the amperage to melt that faster-moving wire.
If you decrease the wire speed, the amperage goes down.
Finding the Right Balance
This interdependence is why many MIG welders have a “recommended” setting chart. It tells you a starting point for voltage and wire speed based on the thickness of the metal and the type of wire you’re using. You adjust wire speed to get the right amperage, and then fine-tune the voltage for the arc characteristics.
Adjusting Settings for Metal Thickness
The most common challenge for beginners is knowing where to start with their settings. Metal thickness is the biggest factor. Thicker metals need more heat, meaning higher amperage and wire speed.
Thinner metals need less heat to avoid burning through, so you’ll use lower amperage and wire speed.
Setting Up for Different Materials
Here’s a general guide, but always refer to your welder’s manual and test on scrap material:
- Thin Metal (e.g., 20-26 gauge sheet metal): You’ll want lower voltage and lower wire speed. This keeps the heat low to prevent burning through. Aim for a relatively short arc.
- Medium Metal (e.g., 1/8 inch or 11-gauge steel): You’ll use medium voltage and medium wire speed. This provides enough heat for good fusion without burning through.
- Thick Metal (e.g., 1/4 inch and thicker): You’ll need higher voltage and higher wire speed. This generates the heat required for deep penetration and strong welds.
Remember to always test your settings on a piece of scrap metal that’s the same thickness as your project. This is the best way to dial in your settings before welding your actual work.
Troubleshooting Common MIG Welding Problems
Incorrect voltage and amperage settings are the root cause of many welding issues. If you’re experiencing problems, check your settings first.
Problem: Too Much Spatter
Cause: Usually, voltage is too high. The arc is too long and unstable, causing molten metal to fly off.
Solution: Lower the voltage slightly.
You might also need to check your contact tip for wear or cleanliness.
Problem: Burn-Through on Thin Metal
Cause: Too much heat. This means either voltage or amperage (wire speed) is too high for the metal thickness.
Solution: Lower both the voltage and wire speed.
Try to use a faster travel speed. Ensure you’re using the correct wire diameter for thin materials.
Problem: Weak Weld / Poor Penetration
Cause: Not enough heat. Voltage or amperage (wire speed) is too low.
Solution: Increase both the voltage and wire speed.
Ensure your ground clamp is making good contact with the metal.
Problem: “Ropey” or Tall, Narrow Weld Bead
Cause: Voltage is too low for the given amperage. The arc is too short and concentrated.
Solution: Increase the voltage slightly.
Keep the wire speed the same if penetration is adequate; just adjust voltage to smooth out the bead.
Problem: “Football” Shaped or Wide, Flat Weld Bead
Cause: Voltage is too high for the given amperage. The arc is too long and spread out.
Solution: Decrease the voltage slightly.
The bead should become more convex and narrow.
Frequently Asked Questions
Question: What is the most important factor in MIG welding settings?
Answer: While both voltage and amperage are critical, controlling the heat input is key. Amperage (driven by wire speed) primarily dictates heat, while voltage shapes the arc and bead appearance. Finding the right balance is essential.
Question: Should I set voltage or amperage first?
Answer: In practice, you usually set your wire speed first, which determines your amperage. Then, you adjust your voltage to get the desired arc length and bead profile.
Question: How does wire diameter affect settings?
Answer: Larger diameter wires require more amperage to melt than smaller diameter wires. So, if you switch from a 0.030-inch wire to a 0.035-inch wire on the same metal, you’ll generally need to increase both wire speed and voltage.
Question: Can I use the same settings for steel and aluminum?
Answer: No. Aluminum requires different settings and often different wire, gas, and contact tips. It typically needs higher voltage and speed for the same thickness compared to steel, and it melts much more easily.
Question: What is a “sweet spot” in MIG welding?
Answer: The “sweet spot” refers to the ideal combination of voltage and wire speed that produces a smooth, stable arc with minimal spatter and a clean, well-formed weld bead. It’s what you aim for after testing.
Final Thoughts
Adjusting MIG voltage and amperage is about finding the right heat and arc for your job. Start with your wire speed based on metal thickness, then tweak the voltage. Watch how the arc sounds and looks.
Test your settings on scrap metal. A good weld is smooth, has decent penetration, and doesn’t use too much wire. You’ve got this!
Leave a Reply