Many people starting out with stick welding find the rod sticking to the metal to be a common problem. It can be frustrating, but don’t worry! Learning How Do You Prevent Stick Welder Rod from Sticking? is simpler than you might think.
This guide will show you the easy steps to master it. We’ll cover the basics you need to know to get smooth, consistent welds.
Key Takeaways
- Understand the right amperage setting for your welding project.
- Learn how arc length affects rod sticking.
- Discover the importance of electrode angle.
- Know when and how to use the “drag” or “push” technique.
- Recognize how metal cleanliness plays a role.
- Practice makes perfect for confident stick welding.
Understanding Why Stick Welder Rod Sticks
When you’re learning to stick weld, the rod sticking is one of the first hurdles. It happens when the electrode, or rod, touches the metal you’re welding and fuses to it before you can make a good weld bead. This stops the arc, and you have to break the rod free, often leaving a mess.
It’s not a sign of failure, but a common learning experience. It usually means something in the welding process isn’t quite right yet.
The Role of Amperage
The amperage setting on your welder is super important. It controls how much heat goes into the weld. If the amperage is too high, the rod melts too fast.
This makes it easier for the electrode to stick to the base metal. It’s like trying to melt butter with a torch; it just turns into a puddle too quickly. You need just enough heat to melt the rod and the base metal together smoothly.
On the flip side, if the amperage is too low, you won’t get enough heat. This can lead to a weak weld or the arc cutting out. The rod might not melt properly and can get stuck that way.
Finding the sweet spot is key. It depends on the type of welding rod you’re using and the thickness of the metal.
Electrode Angle Matters
The angle at which you hold the welding rod also makes a big difference. For most stick welding, you want to hold the electrode at a slight angle, usually around 15 to 20 degrees. This angle is called the work angle.
It helps direct the molten metal where you want it to go.
If you hold the rod too straight up and down (90 degrees), it can be harder to control. The arc might not penetrate well, and the rod can get stuck more easily. A slight push or pull relative to your direction of travel also matters.
More on that soon.
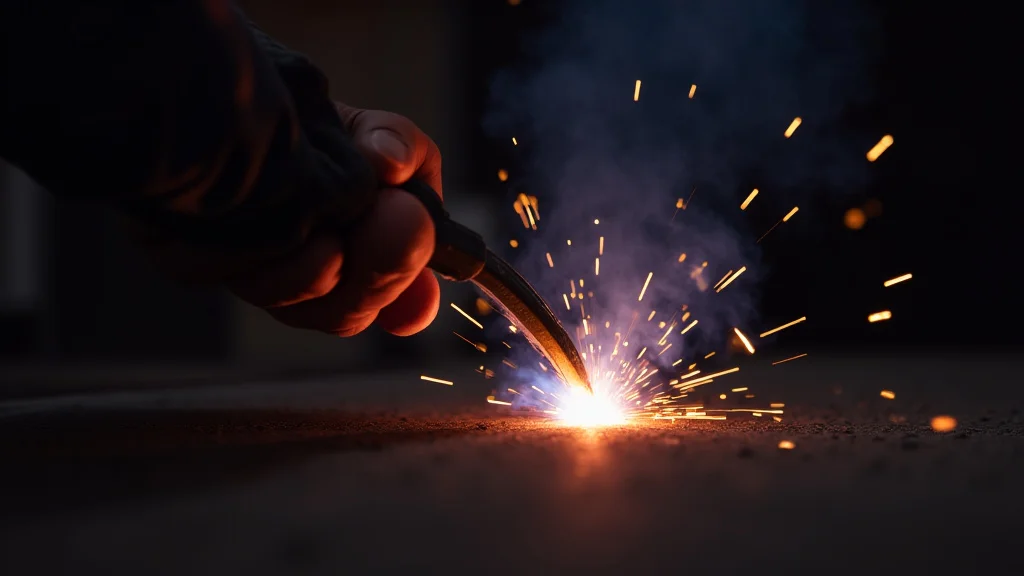
Arc Length: The Space Between
Arc length is the distance between the tip of the welding rod and the surface of the metal you’re welding. This is one of the most critical factors in preventing sticking. When the arc length is too short, the electrode will almost certainly touch the metal and stick.
Imagine holding a pencil very close to paper and trying to draw a line. It’s hard to control. Now imagine holding it a little bit away; you have more freedom.
The same applies to welding. You want a consistent, short arc, but not so short that the rod touches. A good rule of thumb is to maintain an arc length about the same as the diameter of the welding rod you are using.
If the arc length is too long, you’ll get a spattery, weak weld. It also makes the arc unstable and harder to control, which can indirectly lead to sticking.
Maintaining a Consistent Arc Length
- Keep the distance between the rod tip and the workpiece steady.
- Listen to the sound of the arc; it should be a steady sizzle.
- Watch the weld pool; it gives clues about the arc length.
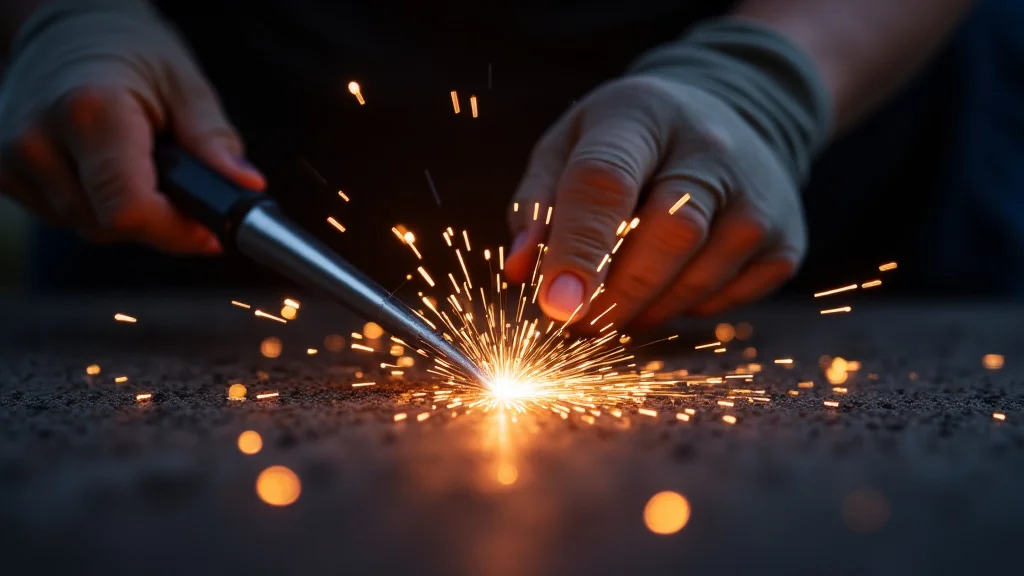
Movement and Technique
How you move the welding rod is just as important as the settings. There are two main ways to move the electrode: dragging and pushing. Understanding which one to use and how to do it helps a lot.
The Drag Technique
With the drag technique, you pull the electrode along the joint. The electrode itself is angled slightly backward from the direction of travel. This is common for many types of electrodes, especially E6013.
When you drag, you’re essentially pulling the molten puddle behind you. This method is often easier for beginners because it can feel more intuitive.
If you’re dragging and the rod sticks, it might mean you’re dragging too slowly, or your amperage is too high. Try moving a little faster or reducing the heat.
The Push Technique
The push technique involves pushing the electrode forward in the direction of travel. The electrode is angled slightly forward. This is often used with certain types of electrodes like E6010 or E6011, which create a deeper, more fluid puddle.
Pushing can help control the bead and penetrate the metal.
If you’re pushing and the rod sticks, it might be that you’re pushing too hard, or your amperage is too low. You need to find a balance where the rod melts and fuses but doesn’t get stuck.
Metal Preparation: Cleanliness is Key
The surface of the metal you are welding on plays a big role. If the metal is dirty, rusty, or covered in paint or oil, it can cause problems. These contaminants can interfere with the arc and make the rod more likely to stick.
It can also lead to a weaker, less clean weld.
Before you start welding, always clean the area where you will be making the weld. Use a wire brush to remove rust and loose debris. If there’s paint or grease, you might need a degreaser or grinder.
Clean metal allows for a clean, consistent arc and reduces the chances of the rod sticking.
Choosing the Right Electrode
Not all welding rods (electrodes) are the same. They have different types and sizes, and each is designed for specific jobs and welding machines. Using the wrong type of rod for the job, or a rod that’s too big for the amperage you’re using, can lead to sticking.
For beginners, rods like E6013 are often recommended. They are forgiving and work well with AC or DC welders. Larger diameter rods require more amperage to melt properly.
If you try to run a large rod with too little power, it will definitely stick.
Electrode Diameter and Amperage Chart (Example for mild steel)
| Electrode Diameter | Amperage Range (Approximate) |
|---|---|
| 1/16″ (1.6mm) | 20-50 Amps |
| 3/32″ (2.4mm) | 40-80 Amps |
| 1/8″ (3.2mm) | 70-120 Amps |
| 5/32″ (4.0mm) | 100-160 Amps |
Always check the recommendations on the electrode packaging for the correct amperage range.
Practicing Your Striking Technique
How you start the arc is called “striking.” There are two main ways: scratching like a match, or tapping like a hammer. Some people find one works better for them than the other.
Scratching Method
This is similar to lighting a match. You gently scratch the tip of the electrode across the surface of the metal until the arc ignites. If you scratch too hard or too fast, you might break off the flux coating or not get an arc at all.
If you don’t scratch enough, the rod might stick.
Tapping Method
This is like tapping a light switch. You bring the electrode down to the metal and then quickly pull it away a short distance. This action can spark the arc.
If you hold it down too long, it will stick. This method requires a quick, confident motion.
Whichever method you use, the key is to start the arc quickly and then immediately pull the electrode back to the correct arc length. This prevents the rod from fusing to the metal right away.
Frequently Asked Questions
Question: What if the rod sticks right away?
Answer: If the rod sticks immediately, it usually means your amperage is too high, or you held the electrode tip on the metal for too long when starting the arc. Try lowering the amperage slightly and practice quick striking motions.
Question: How do I know if my amperage is too high or too low?
Answer: If the amperage is too high, the rod melts too fast and can stick easily, or you’ll see excessive spatter. If it’s too low, the arc will be weak, and the rod might not melt enough, also leading to sticking.
Question: Does the type of metal matter?
Answer: Yes, different metals conduct heat differently. However, the core principles of amperage, arc length, and technique apply to most common metals like mild steel. Always check recommended settings for specific alloys.
Question: Can I fix a weld if the rod sticks?
Answer: You usually have to break the rod free and start a new weld. Sometimes, you can clean up the stuck rod material with a grinder and try again, but it’s best to avoid sticking in the first place.
Question: How much practice is needed?
Answer: Everyone learns at their own pace. Consistent practice, even for short periods, is more effective than long, infrequent sessions. Focus on one or two techniques at a time.
Final Thoughts
Learning How Do You Prevent Stick Welder Rod from Sticking? comes down to a few key things. Getting the right amperage setting is vital. Keeping the arc length just right, not too close, helps a lot.
Holding the electrode at the correct angle and moving it smoothly makes a big difference. Clean metal also helps create a better weld. Practice these steps, and you’ll see fewer sticking issues and better welds.