Many beginners wonder, How Do You Clean a TIG Welding Torch Properly? It might seem tricky at first, with all the different parts and what they do. But it’s actually quite simple once you know the steps. Keeping your torch clean helps you weld better and makes your equipment last longer.
We’ll walk you through it step-by-step, so you can get back to making great welds.
Key Takeaways
- Regularly cleaning your TIG torch prevents weld contamination.
- You will learn which parts of the torch need cleaning.
- We will cover the simple tools you need for the job.
- The process involves disassembly, cleaning, and reassembly.
- Proper torch maintenance leads to better weld quality.
- Knowing how to clean your TIG torch saves you money on repairs.
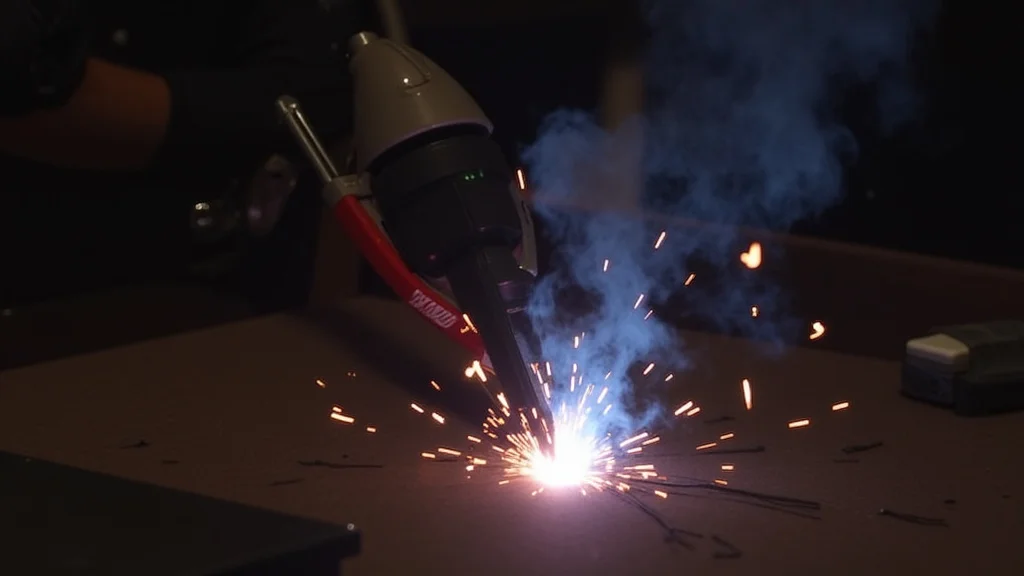
Why Cleaning Your TIG Torch Matters
A clean TIG torch is essential for good welding. When you weld, small bits of metal, dirt, or old flux can get inside the torch. These little bits can cause problems.
They can get into your weld, making it weak or look bad. This is called contamination. Sometimes, a dirty torch can even stop the gas from flowing right.
This makes your weld unstable.
Think of it like using a dirty paintbrush. You won’t get a clean picture. The same goes for welding.
Keeping your torch tip, collet, and gas lens spotless means your inert gas shield works best. This shield protects your hot metal from the air, which is what you want. A clean torch helps you make strong, shiny welds every time.
Understanding Your TIG Torch Parts
Before you clean, it helps to know what the main parts are. Your TIG torch has a few key components that you’ll need to handle.
The Torch Body
This is the main handle you hold. It has a trigger to start the welding arc. It also connects to the power cable and gas hose.
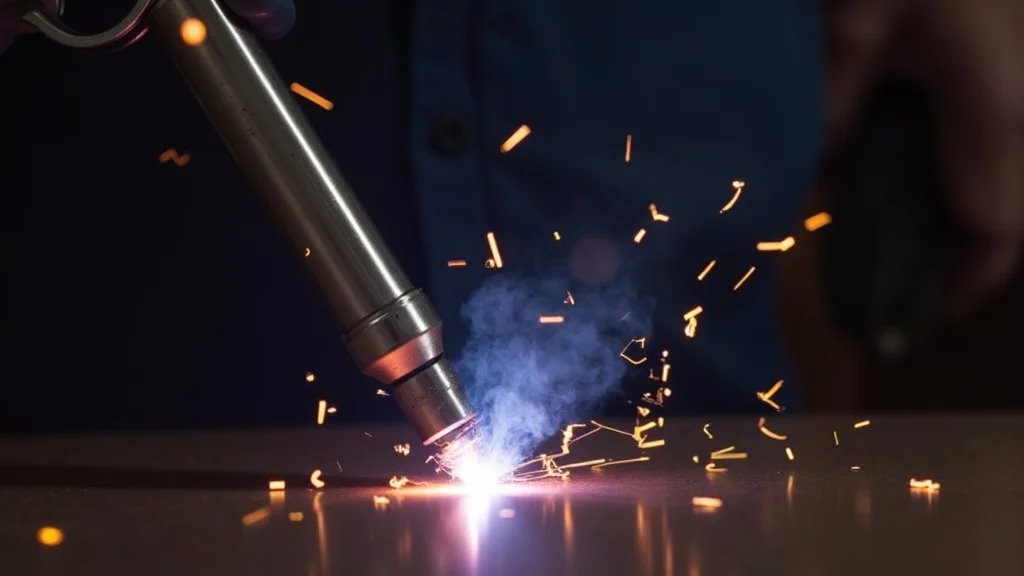
The Gas Nozzle
This is usually made of ceramic. It directs the shielding gas to the weld. It’s important to keep the inside of the nozzle clean so gas flows evenly.
The Collet
The collet holds the tungsten electrode in place. It’s a small metal tube that grips the tungsten tightly. The collet needs to be clean so the tungsten is held straight and secure.
The Collet Body
This part holds the collet and the tungsten. It sits just in front of the gas nozzle.
The Gas Lens
Some torches have a gas lens instead of a standard collet body. A gas lens helps spread the shielding gas out more evenly. This creates a wider, more stable gas coverage over the weld pool.
If you have one, you’ll want to keep it clean too.
The Tungsten Electrode
This is the metal rod that creates the arc. While you don’t “clean” the tungsten in the same way as other parts, its condition is important. If it’s dirty or misshapen, it needs to be ground or replaced.
What You Need to Clean Your TIG Torch
You don’t need fancy tools for this job. Most of what you need, you might already have around your shop.
- A small wrench or pliers to loosen parts.
- A soft brush (like an old toothbrush or a brass brush).
- Some clean rags or shop towels.
- Denatured alcohol or a mild degreaser.
- Compressed air (optional, but helpful for drying).
- Gloves to keep your hands clean.
Always make sure your welding machine is turned off and the torch is cool before you start cleaning. Safety first!
Step-by-Step Guide: How Do You Clean a TIG Welding Torch Properly?
Here’s how to do it, step by step. It’s a simple process that makes a big difference.
Step 1: Disconnect and Cool Down
First, turn off your TIG welder. Unplug it to be extra safe. Let the torch cool down completely.
It can get very hot during welding.
Step 2: Remove the Gas Nozzle
Gently unscrew the gas nozzle from the front of the torch body. Most nozzles have threads. Turn it counter-clockwise to loosen it.
Step 3: Remove the Collet and Collet Body
Next, you’ll remove the collet and collet body. The collet is inside the collet body. You might need to loosen a retaining nut or screw.
Carefully take out the collet. Then, unscrew the collet body from the torch.
Step 4: Clean the Nozzle
Take your soft brush or a clean rag. Wipe away any soot, dirt, or metal dust from the inside and outside of the gas nozzle. If there’s stubborn residue, you can use a little denatured alcohol on the rag.
Make sure it’s completely dry before putting it back.
Step 5: Clean the Collet and Collet Body
Use your brush or rag to clean the collet and the collet body. You want to remove any dust or metal shavings. Make sure the inside of the collet is clear.
This ensures it grips the tungsten properly.
Step 6: Inspect the Tungsten Electrode
Check your tungsten electrode. If it has a rounded or irregular tip, it needs to be re-ground. A sharp, pointed tungsten is usually best for most TIG welding.
If the tungsten is too short or badly damaged, it’s time to replace it.
Step 7: Clean the Torch Head
Wipe down the front part of the torch head where the collet body and nozzle attach. Use a clean, dry rag to remove any dust or residue.
Step 8: Reassemble the Torch
Now, put everything back together in the reverse order. First, screw the collet body back onto the torch head. Then, insert the collet and make sure it’s seated correctly.
Finally, screw the gas nozzle back on. Tighten everything snug, but don’t overtighten.
Step 9: Check Gas Flow
Once reassembled, turn on your gas bottle and check for leaks. With the welder still off, squeeze the trigger. You should hear and feel the shielding gas flowing smoothly from the nozzle.
Dealing with Specific Issues
Sometimes, you might run into specific problems that cleaning can help with.
Stubborn Residue
If you have very stubborn soot or carbon buildup, a little more elbow grease might be needed. You can soak the parts briefly in denatured alcohol. Always rinse and dry thoroughly.
Corrosion
If you see any signs of corrosion on metal parts, a very fine grit sandpaper can sometimes be used. However, be very careful not to remove too much material. For most cases, a good cleaning with a brush and degreaser is enough.
Damaged Parts
If any part of your torch is bent, cracked, or visibly damaged, it’s usually best to replace it. Cleaning won’t fix physical damage.
When to Clean Your TIG Torch
How often should you clean your TIG torch? It depends on how much you weld and the conditions you’re working in.
- After every long welding session: If you’ve been welding for a few hours, it’s a good time for a quick clean.
- If you notice welding issues: If your welds start looking messy, or the arc seems unstable, a dirty torch is often the cause.
- Before critical welds: If you have an important job, cleaning your torch beforehand is smart.
- Regularly: Even if you don’t weld every day, a quick check and clean once a week or so is a good habit.
A quick clean takes just a few minutes but can save you a lot of headaches later.
Frequently Asked Questions
Question: How often should I clean my TIG torch?
Answer: It’s best to clean your TIG torch regularly, especially after long welding sessions or if you notice your welds are starting to look messy or the arc is unstable. A quick clean every few welding jobs is a good rule of thumb.
Question: Can I use any cleaner on my TIG torch parts?
Answer: It’s best to use simple cleaners like denatured alcohol or a mild degreaser. Avoid harsh chemicals or abrasive cleaners that could damage the torch components, especially the ceramic nozzle.
Question: What should I do if my tungsten electrode is dirty?
Answer: If your tungsten electrode is dirty or looks like it has melted material on it, it needs to be re-ground to a sharp point. If it’s too short or severely damaged, it’s time to replace it.
Question: Do I need to disassemble the entire torch every time I clean it?
Answer: For a quick clean, you might just need to remove the nozzle. For a thorough cleaning, it’s good to remove the nozzle, collet, and collet body to clean each part properly.
Question: What happens if I don’t clean my TIG torch?
Answer: If you don’t clean your TIG torch, you risk weld contamination, poor shielding gas coverage, an unstable arc, and a decrease in weld quality. It can also lead to premature wear of torch parts.
Final Thoughts
Knowing How Do You Clean a TIG Welding Torch Properly? is a key skill for any welder. It’s a simple process of taking apart the front end, wiping down the nozzle, collet, and collet body, and then putting it all back together. This keeps your shielding gas flowing right and your tungsten electrode ready to make clean, strong welds.
A little bit of regular care goes a long way in making your TIG welding projects look great and run smoothly.