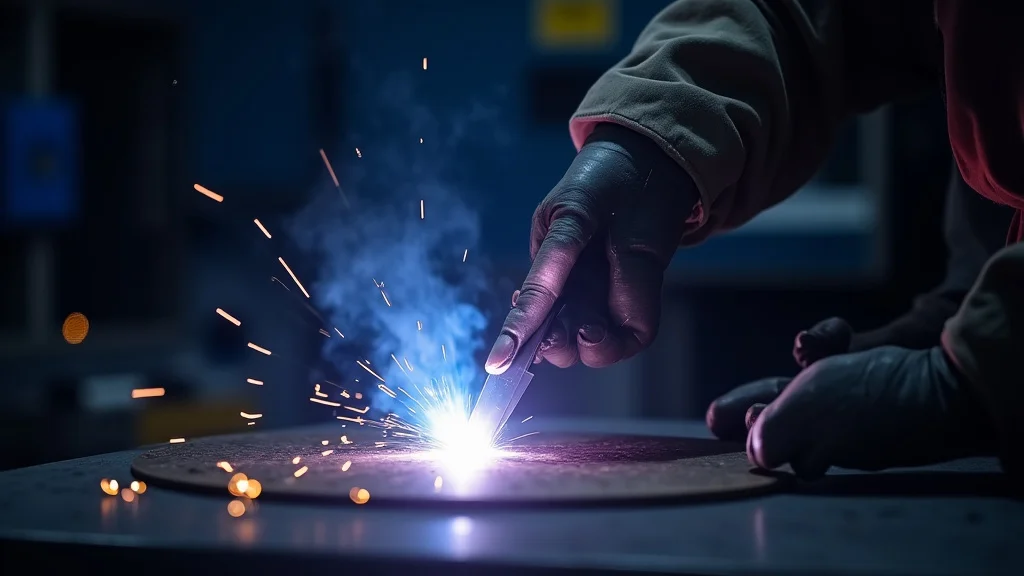
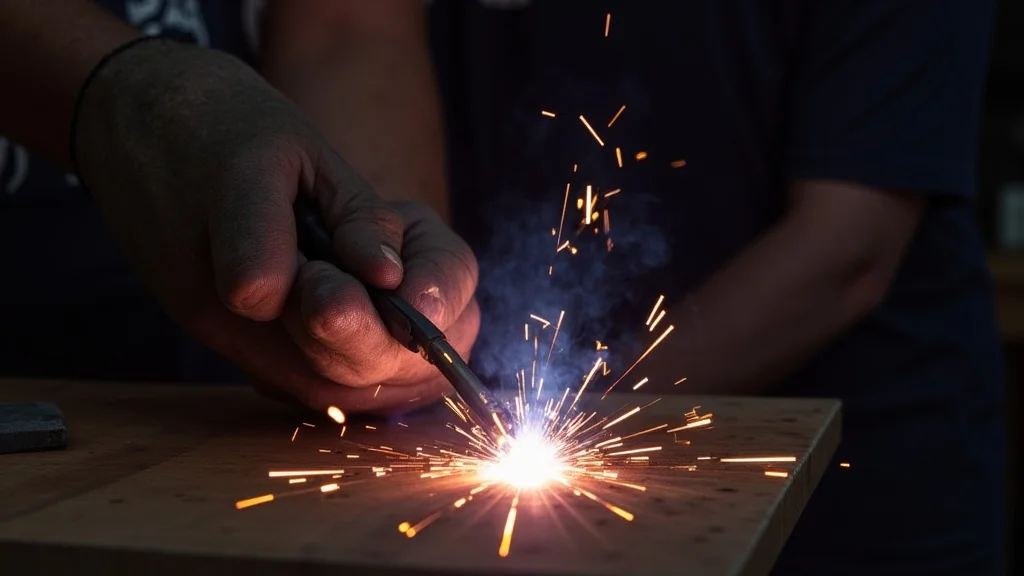
Lots of people learning to weld run into a common problem: little holes, called porosity, in their welds. This happens because gases get trapped inside the metal as it cools. It can be frustrating when your welds don’t look as smooth as you’d like.
But don’t worry! Learning How Do You Avoid Welding Porosity Problems? is simpler than you think. We’ll walk through easy steps to fix this.
Let’s get your welds looking great.
Key Takeaways
- Proper cleaning of metal prevents dirt and rust from causing gas bubbles.
- Using the correct welding gas and flow rate is important for shielding the weld pool.
- Maintaining the right distance between the welding torch and the metal helps keep gases out.
- Checking your welding machine settings ensures they are appropriate for the job.
- Avoiding drafts and wind during welding stops outside air from affecting the weld.
What is Welding Porosity?
Welding porosity is a common issue that shows up as small holes or voids in a finished weld. These holes are like tiny bubbles trapped in the cooling metal. They happen when gases get caught in the molten weld pool and don’t escape before the metal hardens.
Porosity can weaken a weld and make it look bad. It’s something most welders, especially beginners, will encounter.
Why Does Porosity Happen?
Several things can cause porosity. Think of it like cooking. If you don’t prepare your ingredients right, the food might not turn out well.
The same is true for welding. The main reason is contamination. This means dirt, oil, rust, paint, or moisture on the metal you are welding.
These things turn into gases when heated, and these gases get trapped.
Contamination is a Big Cause
Metal needs to be clean. If there’s oil, grease, or even just dirt on the surface, it will burn. This burning creates gases.
Rust and mill scale (a flaky layer on steel) also contain oxygen and other elements that can turn into gas. Moisture is another enemy. Water, even from humidity on the metal, will turn into steam when it hits the hot weld and create gas bubbles.
Shielding Gas Problems
When you weld with processes like MIG or TIG, you use a shielding gas. This gas protects the hot, molten metal from the air around it. The air contains oxygen and nitrogen, which can react with the molten metal and form undesirable compounds or gases.
If the shielding gas isn’t flowing correctly, or if it’s the wrong type, it can’t do its job. This lets air get into the weld.
Incorrect Welding Technique
How you hold your torch and move it matters a lot. If you hold the torch too far away from the metal, the shielding gas can escape or be blown away. This is called poor gas coverage.
It’s like trying to shield something with an umbrella that’s too small or held too high in the rain. If you move too fast, the metal doesn’t have enough time to flow and form a solid weld, and gases can get trapped.
Machine Settings
The settings on your welding machine play a role too. For MIG welding, the wire speed and voltage need to be set correctly for the type and thickness of metal you’re using. If they’re off, the weld might be too hot, too cold, or not penetrate properly, which can lead to porosity.
For TIG welding, the amperage needs to be right.
Common Causes Explained Simply
Let’s break down the most common culprits for porosity in simple terms. Imagine you’re building with blocks. If some blocks are dirty, they won’t stick together well.
The same idea applies here.
1. Dirty Metal
This is number one on the list. Before you even think about striking an arc, make sure the metal is super clean. This means getting rid of:
- Paint
- Grease and oil
- Rust
- Dirt
- Any other gunk
Use a wire brush or a grinder. For some metals, like aluminum, you might need a specific cleaner. A clean surface is the foundation for a good weld.
If it’s not clean, gases will form.
2. Incorrect Shielding Gas Flow
Your shielding gas is like a protective bubble. It keeps bad air out of your hot, melting metal.
- Gas Too Low: If the gas flow rate is too low, the bubble won’t be big enough. Air can sneak in.
- Gas Too High: If it’s too high, it can cause turbulence. This turbulence can suck in air, which is the opposite of what you want!
- Wrong Gas: Different metals need different gases. For steel, it’s usually a mix of Argon and CO2. For aluminum, it’s usually pure Argon. Using the wrong gas can cause problems.
Always check your flow meter and make sure it’s set to the recommended level for your welding process and gas type.
3. Poor Gas Coverage
Even with the right gas flow, how you use your torch matters. This is about how well the gas surrounds the weld pool.
- Torch Too Far Away: If your welding gun or torch is too far from the metal, the gas can spread out too much. It won’t protect the weld properly. Think of it like a weak spray from a hose.
- Torch Angle: The angle of your torch can also affect gas coverage. You want the gas to flow down and around the weld pool.
- Wind or Drafts: This is a big one, especially when welding outside or in a shop with fans. Wind can blow the shielding gas away. This exposes the molten metal to the air. Try to shield your work area from drafts.
For MIG welding, aim for about a 1/2 inch to 3/4 inch stick-out (the length of wire extending from the gun’s tip). For TIG, keep the gas cup close to the metal.
4. Moisture
Water is a major enemy of good welds. Even a little bit of moisture can cause big problems.
- Wet Metal: Make sure the metal you’re welding isn’t wet. Wipe it down if it’s been raining or is damp from humidity.
- Wet Consumables: For some welding processes, like Stick welding (SMAW), the welding rods can absorb moisture from the air. If they get wet, they can cause porosity. You might need to dry them out in a special oven. For MIG wire, if the spool is old or has been stored poorly, it can have moisture.
Keep your welding area dry. Store your consumables properly.
5. Incorrect Travel Speed
How fast you move your welding torch or gun is important.
- Too Fast: If you move too quickly, the molten metal doesn’t have time to settle and allow gases to escape. It’s like trying to pour a thick liquid into a small opening too fast; it can trap air.
- Too Slow: Moving too slowly can make the weld too hot. This can draw in more contaminants or cause other issues, though it’s less likely to cause porosity than moving too fast.
Find a steady pace that lets the weld puddle form nicely. You’ll get a feel for this with practice.
6. Wrong Electrode or Wire
The welding rod (for Stick welding) or wire (for MIG welding) itself can be a source of porosity if it’s not the right type or if it’s damaged.
- Wrong Classification: Every welding rod and wire has a specific classification (like E70S-6 for MIG wire). Using a different type than recommended for your base metal can cause problems.
- Damaged Wire: If the MIG wire has rust on it or is kinked, it can cause feeding issues and porosity.
Always use the correct consumables recommended for your welding job.
How to Fix and Prevent Porosity
Preventing porosity is much easier than fixing it after the fact. Here’s a checklist to follow every time you weld:
1. Clean, Clean, Clean!
This can’t be stressed enough. Before you start welding:
- Use a grinder to remove rust, paint, and mill scale.
- Wipe down the metal with a clean rag and a solvent like acetone to remove grease and oil.
- For stainless steel or aluminum, use a dedicated wire brush that hasn’t been used on carbon steel.
This step takes a few extra minutes but saves you a lot of headaches.
2. Check Your Gas Settings
Make sure your shielding gas is on and set to the correct flow rate. For MIG, this is usually around 15-25 cubic feet per hour (CFH). For TIG, it’s often 10-20 CFH.
Check your welding machine manual or gas supplier for recommendations.
3. Test Gas Coverage
Before welding on your actual piece, do a quick test run on a scrap piece. Hold the torch at the recommended angle and distance. You should be able to hear a nice, steady flow of gas.
If you feel or hear drafts, try to block them.
4. Use Proper Travel Technique
Move your torch at a consistent speed. Try to maintain a steady arc length. A good rule of thumb for MIG is to keep the wire just slightly digging into the weld puddle.
For TIG, keep the arc length short and consistent.
5. Watch for Moisture
Keep your welding area and consumables dry. If you’re welding in a humid environment, try to work in a more controlled space if possible. Ensure your welding rods or wires haven’t been exposed to moisture.
6. Use the Right Settings
Refer to your welding machine’s manual or charts for recommended voltage and wire speed settings for the material thickness you are welding. Fine-tune these settings as needed.
Troubleshooting Common Porosity Types
Sometimes, porosity can look a bit different, and the cause might be specific. Here are a few types:
Surface Porosity
These are holes that are visible on the surface of the weld. This is often caused by surface contamination or poor gas coverage allowing air to get in.
Internal Porosity
These holes are hidden inside the weld. They can be caused by contamination deeper within the metal, issues with the welding rod or wire, or gases released from the base metal itself.
Cluster Porosity
When you see a group of pores clustered together, it often points to a specific spot of contamination or a problem with gas flow in that area.
Comparing Solutions
Let’s look at how different welding processes handle porosity prevention.
| Welding Process | Key Prevention Steps | Common Porosity Causes |
|---|---|---|
| MIG (GMAW) | Clean metal, correct gas flow and type, proper stick-out, steady travel speed. | Dirty metal, poor gas coverage, drafts, incorrect settings. |
| TIG (GTAW) | Extremely clean metal, correct gas flow, proper torch angle, no drafts, clean filler rod. | Contamination, wind, arc length too long, wrong gas. |
| Stick (SMAW) | Clean metal, dry welding rods, proper arc length. | Moisture in rods, incorrect rod angle, contamination. |
Frequently Asked Questions
Question: What is the most common reason for porosity?
Answer: The most common reason is contamination on the metal surface, like oil, grease, rust, or dirt.
Question: How can I prevent porosity when welding outside?
Answer: Shield your welding area from wind. Use a portable windbreak or try to weld in a more sheltered spot. Ensure your gas flow is slightly higher to compensate for drafts.
Question: If I see porosity, should I just weld over it?
Answer: No, you should stop welding, remove the porous area with a grinder, and re-weld it properly. Welding over porosity will just trap it.
Question: Does the type of welding wire matter for porosity?
Answer: Yes, using the correct classification of welding wire for your base metal is important. Also, ensure the wire is clean and not damaged.
Question: How much stick-out is best for MIG welding to avoid porosity?
Answer: Generally, a stick-out of about 1/2 inch to 3/4 inch (12-19 mm) is good. Too much stick-out can lead to poor gas coverage and spatter.
Final Thoughts
Dealing with welding porosity is a common learning curve, but it’s very manageable. By focusing on keeping your metal spotless, ensuring your shielding gas is doing its job, and using a steady welding technique, you can avoid most porosity issues. Always start with clean materials and pay attention to how your gas is flowing and how you move your torch.
Small adjustments make a big difference. Keep practicing these simple steps, and your welds will become stronger and look much better.
Leave a Reply