Welding can be a tricky skill to learn, and one common problem beginners face is porosity. It’s when tiny holes pop up in your weld. This can make your work look bad and be weak.
But don’t worry! Learning How Do You Avoid Welding Porosity Issues? is simpler than you might think. We’ll walk through it step-by-step.
First, let’s look at the main things you need to know.
Key Takeaways
- Proper cleaning of metal is vital to stop dirt from causing gas bubbles.
- The right welding gas is key to protecting your weld pool.
- Shielding gas flow rate needs to be set correctly.
- Maintaining the right distance between the welding torch and the metal matters.
- Checking your welding machine settings helps prevent issues.
- Good welding technique plays a big role in avoiding porosity.
Understanding Welding Porosity
Welding porosity is a common problem, especially for those just starting out. It happens when gas gets trapped inside the solidifying weld metal. Think of it like bubbles in a fizzy drink; when the liquid cools and sets, the bubbles are still there.
These trapped gas bubbles create holes, which we call porosity.
What Causes Porosity?
Several things can lead to porosity. Most of them boil down to something getting into the weld that shouldn’t be there, or not enough protection for the molten metal.
Contaminated Base Metal
The metal you are welding, called the base metal, needs to be super clean. Dirt, oil, grease, paint, rust, or even just a greasy fingerprint can cause trouble. When you weld, these contaminants burn or vaporize, creating gases.
If these gases don’t escape the molten metal quickly enough, they get trapped as bubbles.
Incorrect Shielding Gas
Most welding processes use a shielding gas. This gas flows out of the welding torch and surrounds the weld pool. Its job is to push away the air, which contains oxygen and nitrogen.
Both oxygen and nitrogen can react with the molten metal and form oxides and nitrides. These can cause porosity or weak welds. Using the wrong type of gas, or not using gas at all when needed, is a major cause of porosity.
Improper Gas Flow
Even if you have the right gas, you need the right amount of it. If the gas flow is too low, it won’t create a strong enough shield. Air can get in and contaminate the weld.
If the gas flow is too high, it can become turbulent. This turbulence can actually suck in air or cause the gas shield to waver, letting in contaminants.
Issues with the Welding Wire or Electrode
The welding wire (for processes like MIG welding) or the electrode (for Stick welding) can also be a source of porosity. If the wire or electrode is old, rusty, or has absorbed moisture, it can introduce impurities into the weld. Some welding wires have internal deoxidizers, which help remove oxygen, but these can be overwhelmed if the base metal is very dirty or if the gas shield is poor.
Poor Welding Technique
How you move the welding torch or electrode is very important. If you hold the torch too far from the metal, the gas shield won’t protect the weld pool effectively. If you move too fast, the molten metal might not have time to let gases escape before it solidifies.
Sometimes, digging too deep into the metal can also cause issues.
Types of Porosity
Porosity isn’t just one thing. It can show up in different ways:
Surface Porosity
This is when the holes are visible on the surface of the weld. It’s often caused by contaminants burning off or by the shielding gas not covering the weld properly.
Internal Porosity
These holes are hidden inside the weld. They can be caused by gases getting trapped as the metal solidifies. Internal porosity is often more serious because you can’t see it, but it can significantly weaken the weld.
Line Porosity
This is a line of pores running along the length of the weld. It can happen if there’s a continuous issue with the gas shield or a consistent contamination source.
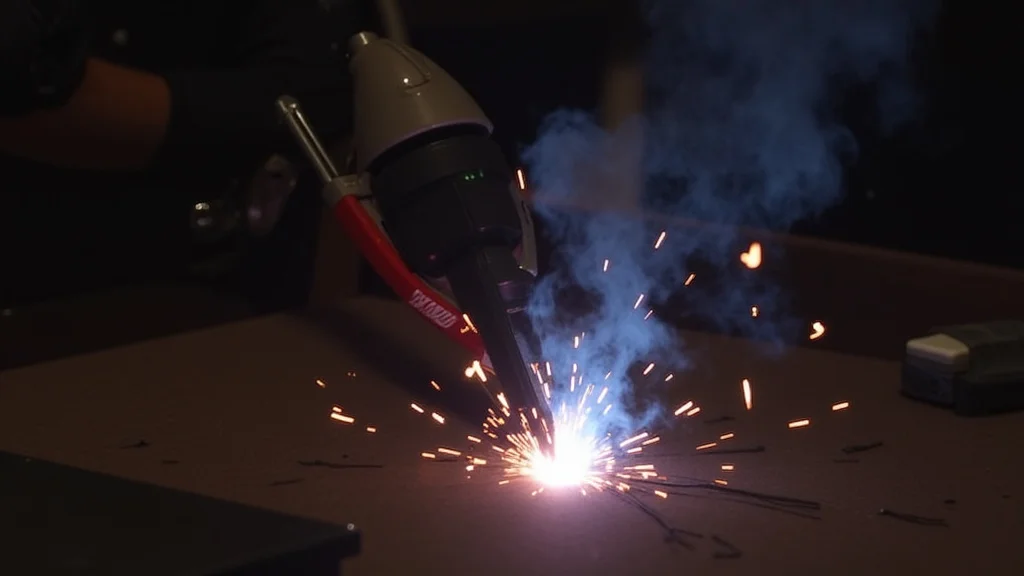
How Do You Avoid Welding Porosity Issues?
Now, let’s get to the good stuff: how to stop porosity from happening. It’s all about paying attention to a few key areas.
1. Clean Your Metal Thoroughly
This is probably the most important step. Before you even think about welding, make sure your metal is spotless.
- Remove all rust and scale: Use a wire brush, grinder, or sandpaper.
- Wipe away grease and oil: Use a cleaner specifically designed for metal, like acetone or a degreaser.
- Avoid touching cleaned areas: Once it’s clean, try not to touch it with bare hands, as your skin has oils.
2. Use the Correct Shielding Gas
The type of gas you use depends on the welding process and the type of metal you’re welding.
MIG Welding (GMAW)
- Steel: Usually uses a mix of Argon and CO2 (like 75% Argon / 25% CO2, often called C25) or pure CO2. Argon-rich mixes provide better arc stability and less spatter.
- Stainless Steel: Requires Argon with a small amount of CO2 or Oxygen.
- Aluminum: Needs pure Argon.
TIG Welding (GTAW)
- Most metals: Pure Argon is the standard.
- Some thicker materials: A small amount of Helium might be added.
Stick Welding (SMAW)
For stick welding, the shielding gas is generated by the coating on the electrode. If the electrode is damp or damaged, it can cause porosity. Ensure electrodes are stored properly and are not expired.
3. Set Your Shielding Gas Flow Rate Correctly
Getting the flow rate just right is crucial.
- Too low: The shielding gas won’t cover the weld pool effectively, letting air in.
- Too high: The gas can become turbulent, creating eddy currents that pull air into the weld. It can also blow away the molten metal.
A good starting point for MIG welding is usually between 20-25 cubic feet per hour (CFH), but check your welding machine manual or gas supplier’s recommendations. You can test the flow by holding your hand near the nozzle; you should feel a gentle but steady stream of gas without it pushing too hard.
4. Maintain Proper Electrode/Torch Stick-Out
Stick-out is the distance from the tip of the welding gun (for MIG) or the end of the electrode (for Stick) to the point where the arc hits the metal.
- MIG Welding: The recommended stick-out is typically around 1/2 inch (12-15 mm). Too long a stick-out means the gas shield can’t reach the weld pool properly. Too short can lead to the tip getting too hot or touching the weld, causing problems.
- TIG Welding: The electrode should be extended about 1/4 to 1/2 inch (6-12 mm) from the cup.
- Stick Welding: The electrode should be used at an angle, and you should try to maintain a consistent arc length.
5. Check Your Welding Machine Settings
Your welding machine’s settings play a big part.
Voltage and Amperage (MIG/Stick)
Incorrect voltage or amperage can lead to an unstable arc. An unstable arc might not melt the metal properly or could cause excessive spatter, both of which can contribute to porosity. Refer to your welding machine’s manual or wire/electrode manufacturer’s chart for recommended settings based on the metal thickness and type.
Wire Speed (MIG)
In MIG welding, wire speed controls the amperage. If the wire speed is too high or too low for the set voltage, it can create an erratic arc that traps gases.
Inductance (MIG)
Some advanced MIG machines have an inductance setting. Lowering inductance can sometimes help control the weld puddle and reduce spatter, which can indirectly help with porosity. Higher inductance can give a softer arc.
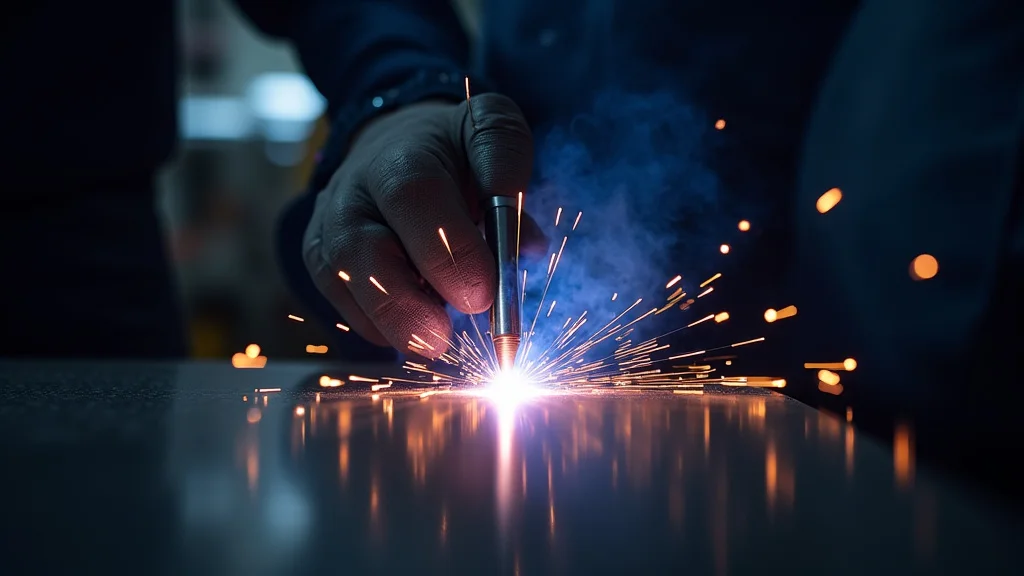
6. Practice Good Welding Technique
Your movement and how you hold the torch/electrode matter a lot.
Travel Speed
Moving too fast means the molten metal solidifies before trapped gases can escape. Moving too slow can overheat the weld area and the surrounding metal, potentially causing other issues, but is generally better than too fast for porosity.
Torch/Electrode Angle
Try to keep your torch or electrode at a slight angle (usually 10-15 degrees) in the direction you are welding. This helps the shielding gas flow over the weld pool and keeps the arc focused.
Weave Pattern
For wider welds, a slight weave can help ensure good fusion. However, avoid excessive or overly wide weaves, as this can disrupt the gas shield. A simple back-and-forth or circular motion is usually best.
Proper Weld Start and Stop
Start your weld with a clean surface. At the end of a weld, especially on a multi-pass weld, make sure you properly fill the crater. A crater can trap gases if not managed correctly.
7. Inspect Your Equipment
Worn-out or damaged equipment can cause a host of problems.
- Nozzle (MIG): A clogged or damaged nozzle can disrupt gas flow.
- Contact Tip (MIG): If the contact tip is worn or the wrong size, it can cause poor electrical contact and affect the arc.
- Gas Diffuser (MIG): This part distributes the gas to the nozzle. If it’s cracked, gas can leak out before it reaches the weld.
- Gas Hose and Regulator: Check for leaks.
- Electrode Holder/Cable (Stick): Ensure good connections and no damage.
8. Consider the Environment
The conditions where you are welding can affect your results.
Drafts
Wind or strong drafts can blow away the shielding gas. If you’re welding outside or in a windy area, use a welding screen or try to shield the area from the wind. Even a slight breeze can be enough to cause problems.
Moisture
Dampness can affect some welding consumables. Make sure your welding area is dry, and if using stick electrodes, store them in a dry place and consider baking them if recommended by the manufacturer.
Frequently Asked Questions
Question: What is the quickest way to check if my shielding gas is flowing correctly?
Answer: You can do a simple test by holding your hand close to the welding torch nozzle. You should feel a gentle, consistent flow of gas without it being strong enough to blow your hand away or feel weak.
Question: Can I use a regular propane torch to clean metal before welding?
Answer: No, a propane torch will likely just add more contaminants like soot and oil to the metal. It’s best to use a solvent like acetone or a degreaser, followed by a good mechanical cleaning like a wire brush or grinder.
Question: How can I tell if my welding wire has gone bad?
Answer: If your welding wire is rusty, appears discolored, or if you’re consistently getting porosity even after cleaning your metal and checking your gas, the wire might be the issue. Older wires can absorb moisture and become less effective.
Question: Is it okay to have a few small pores in my weld if they are not visible?
Answer: Ideally, no weld should have porosity, visible or not. Even small internal pores can weaken the weld, making it more likely to fail under stress. It’s always best to aim for porosity-free welds.
Question: What if I’m welding thick steel and still get porosity?
Answer: On thick steel, you often need multiple weld passes. Ensure each pass is clean and free of porosity. If you’re getting porosity on multiple passes, re-evaluate your base metal cleaning, gas flow, and travel speed for each layer.
Final Thoughts
Avoiding porosity in your welds comes down to careful preparation and consistent technique. Always start with clean metal and the right shielding gas. Pay attention to how much gas is flowing and how far your torch is from the work.
Double-check your machine settings and practice smooth, steady movements. By following these steps, you’ll see fewer holes in your welds and make them stronger. You’ve got this!