It can be frustrating when your Welding Machine Won’t Reach Full Power. This is a common issue, especially for those just starting out in welding. You expect a strong, consistent arc, but instead, you get a weak or sputtering one.
Don’t worry, this problem is usually caused by a few simple things. We’ll walk through them step-by-step to get your machine working like new. Let’s find out why your welder isn’t performing its best.
Key Takeaways
- You’ll learn the most common reasons a welding machine might not deliver full power.
- We’ll show you how to check your power source and connections for issues.
- You’ll discover how welding cable length and condition affect performance.
- We’ll explain the importance of a clean welding ground clamp.
- You’ll understand how consumable wear can impact welding power.
- Simple maintenance tips to keep your machine running strong will be provided.
Why Your Welding Machine Might Not Reach Full Power
When you fire up your welding machine, you expect a reliable spark to join metal. But sometimes, it just doesn’t feel right. The arc might be weak, spattery, or just not hot enough.
This common problem, where a Welding Machine Won’t Reach Full Power, can make welding difficult and frustrating. You might wonder if you did something wrong or if your machine is broken. Most of the time, it’s something easy to fix.
Let’s look at the main things that can stop your welder from working at its best. These are usually simple checks that can make a big difference.
Power Source Issues
The first place to look when your welding machine isn’t giving its all is the power supply. Without enough juice, the machine can’t perform. This is true for both electric welders that plug into the wall and engine-driven ones.
Wall Outlet and Circuit Breakers
For welders that plug into a standard outlet, make sure you’re using the right one. Many powerful welders need a 20-amp or even a 30-amp circuit. A standard 15-amp circuit might not be enough.
Check your home’s electrical panel. If the breaker for the outlet has tripped, reset it. If it trips again right away, there might be a problem with the circuit or the welder drawing too much power for that circuit.
Also, ensure the outlet itself is in good condition and not loose or damaged.
Voltage Drop
Even if you’re on the right circuit, voltage can drop over long extension cords. Think of it like water flowing through a pipe; the longer and narrower the pipe, the less pressure you get at the end. A long, thin extension cord can make your welder’s power weaker.
Here’s a quick way to think about it:
- Use the shortest extension cord possible.
- Use a heavy-duty extension cord with a thick gauge wire (lower gauge number means thicker wire).
- Avoid using adapters that reduce the power flow.
Generator Power
If you use a generator, its output is key. Make sure the generator is rated for enough continuous wattage to handle your welder’s needs. Check your welder’s manual for its power requirements.
A generator that’s too small will struggle to keep up, leading to a weak arc.
Also, ensure the generator is running at the correct speed (RPMs). Many generators have a throttle control that adjusts engine speed based on the electrical load. If it’s not set correctly, it might not produce the full voltage and amperage.
Welding Cable Checks
Your welding cables are the highways for electricity. If these highways have problems, power can’t flow freely to your welding torch or electrode holder.
Cable Condition
Inspect your welding cables for any damage. Look for cuts, nicks, frayed wires, or worn insulation. Damaged cables can lose power and are also a serious safety hazard, as exposed wires can cause shocks.
If you find damage, it’s best to
Connection Points
Loose connections are a major cause of lost power. Check where the welding leads connect to the machine. Ensure they are tight and clean.
Also, look at the connection for the electrode holder and the ground clamp. Any dirt, rust, or looseness here will fight against good power flow.
A common fix is to disconnect the cable, clean the connector and the machine’s terminal with a wire brush, and then reconnect it tightly.
Cable Length and Size
Just like with extension cords, the length and size (gauge) of your welding leads matter. Long or undersized welding cables can cause voltage drop. This means less power reaches your workpiece.
If you’re using very long cables, consider switching to thicker gauge cables. This will help maintain power over the distance.
Generally, for higher amperage welding, you need thicker cables. The recommended cable size often depends on the amperage rating of your welder and the length of the cable runs.
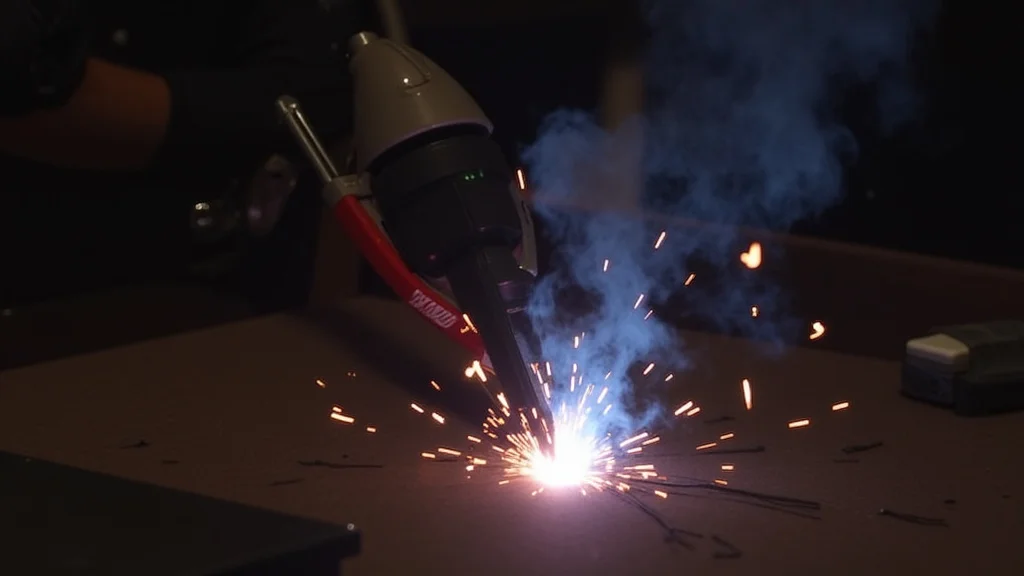
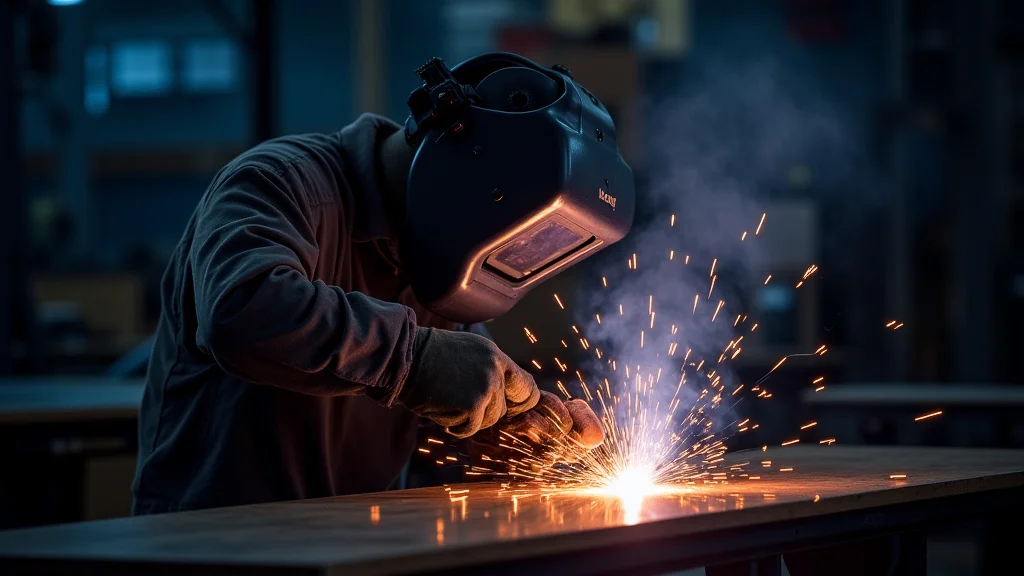
The Ground Clamp Connection
The ground clamp is just as important as the electrode holder. It completes the electrical circuit. A poor ground connection is one of the most frequent reasons a Welding Machine Won’t Reach Full Power.
Cleanliness is Key
The metal surface where you attach the ground clamp must be clean and free of paint, rust, or dirt. These materials act as insulators, preventing a good electrical connection. Use a wire brush or a grinder to get down to shiny, bare metal.
Secure Attachment
Make sure the ground clamp is attached firmly to the workpiece or the welding table. A loose clamp will cause resistance and reduce power. You should hear a good “thump” when you attach it, indicating a solid contact.
Placement
Ideally, the ground clamp should be as close as possible to where you are welding. This minimizes the length of the circuit, reducing resistance and maintaining power.
Consumables and Settings
Sometimes, the problem isn’t the machine itself but what you’re using with it or how it’s set up.
Electrode/Wire Issues
For stick welding (SMAW), the electrodes themselves can become damp or damaged, affecting their performance and the arc. Store electrodes in a dry place or use a rod oven if recommended. For MIG welding (GMAW), the welding wire can become tangled on the spool or dirty, causing feeding problems and inconsistent power delivery.
Check that the wire feeds smoothly.
Tip and Nozzle Wear (MIG Welding)
In MIG welding, the contact tip and nozzle wear out over time. A worn contact tip doesn’t make good electrical contact with the wire, leading to a weaker arc and poor wire feeding. A clogged nozzle can also affect gas flow, which is crucial for a stable arc.
Regularly check and replace contact tips and clean nozzles. This is a simple maintenance step that greatly improves welding quality.
Incorrect Settings
Using the wrong settings for the material thickness and type you are welding is a common beginner mistake. Too low a voltage or amperage will result in a weak, cold weld. Too high, and you’ll burn through.
Consult your welder’s manual or welding charts for recommended settings.
For MIG welding, also ensure the wire speed and voltage are properly balanced.
Internal Machine Issues
While less common for beginners, sometimes the problem is inside the machine itself. These are typically more complex to diagnose and fix.
Cooling Fan
Most welding machines have a cooling fan to prevent overheating. If the fan isn’t working, the machine may have a thermal overload protector that kicks in, reducing power or shutting the machine off to prevent damage. Ensure the fan is running and the air vents are not blocked.
Internal Connections
Over time, internal components can loosen, or connections can corrode. This is more likely in older machines or those that have been subjected to rough handling or harsh environments. Diagnosing and repairing internal issues often requires specialized knowledge and tools.
Troubleshooting Steps Summary
When your Welding Machine Won’t Reach Full Power, follow these steps:
- Check Power Source: Ensure the outlet or generator is adequate. Reset any tripped breakers.
- Inspect Cables: Look for damage on welding leads and power cords. Make sure connections are tight and clean at both ends.
- Evaluate Ground Clamp: Verify it’s making clean, solid contact with bare metal.
- Examine Consumables: Check electrodes, wire, contact tips, and nozzles for wear or damage.
- Verify Settings: Confirm you’re using appropriate voltage and wire speed for your material.
- Listen and Observe: Does the cooling fan run? Are there any unusual noises or smells?
Frequently Asked Questions
Question: My welding machine is new, why isn’t it giving full power?
Answer: Even new machines can have issues. Check that the power cord is fully plugged in, the correct outlet is being used (sufficient amperage), and the ground clamp is making good contact on clean metal. Sometimes a wire feed issue or a worn contact tip (on MIG) can happen even on new equipment.
Question: Can a dirty welding machine cause power loss?
Answer: Yes, dirt and grime can clog cooling vents, leading to overheating and the machine’s thermal protection kicking in, reducing power. Dust can also interfere with electrical contacts, especially where cables connect to the machine.
Question: How does the length of my welding cable affect the power?
Answer: Longer welding cables have more resistance. This resistance causes a voltage drop, meaning less power actually reaches the welding arc. Using the shortest practical cable length and a thicker gauge cable helps maintain power.
Question: My welds are weak. Is it the machine or my technique?
Answer: Weak welds can be a sign of insufficient power, which points to machine or setup issues. However, improper technique, like holding too long an arc or using the wrong angle, can also result in weak welds. First, ensure your machine is delivering adequate power by checking the common causes listed.
Question: What should I do if I suspect an internal problem with my welding machine?
Answer: If you’ve checked all external factors like power source, cables, and ground clamp, and the machine still lacks power, it might have an internal issue. For safety and to avoid further damage, it’s best to stop using the machine and take it to a qualified welding equipment repair service.
Final Thoughts
When your Welding Machine Won’t Reach Full Power, it’s often because of simple issues. Checking your power source, cables, and ground clamp connections can solve most problems. Worn consumables or incorrect settings also play a big part.
By doing these checks, you can get your welder back to working its best. Keep your equipment clean and connections tight for reliable welding power.