Getting your welding machine to work right is important. Sometimes, you might notice it’s not putting out enough power. This can be a bit confusing, especially if you’re new to welding.
Don’t worry, it’s usually something you can fix yourself with a few simple steps. We’ll show you exactly what to look for and how to get your machine back to full strength so you can get back to making cool things. Let’s fix that power problem.
Key Takeaways
- You will learn the common reasons your welding machine might lose power.
- We will show you simple checks you can do yourself.
- You will find out how to fix issues with the power cord and plugs.
- We will explain how to check and clean your welding leads.
- You will learn about common settings that can affect power output.
- We will cover when it might be time to call a professional.
Understanding Welding Machine Power Loss? Quick Solutions
Why Does My Welder Feel Weak?
It’s frustrating when your welding machine doesn’t seem as strong as it used to be. You might get a weak arc, or the metal just doesn’t seem to melt properly. This feeling of Welding Machine Power Loss?
Quick Solutions can happen for a few reasons. For beginners, it’s easy to think something is seriously wrong with the machine. But often, the problem is something simple that can be fixed with a few checks around your welding setup.
It’s like when your car feels sluggish; sometimes it’s just a flat tire or low fuel.
The Power Source: Your Electrical Outlet and Cord
The first place to look when your welder feels weak is where it gets its electricity. Your welding machine needs a good, steady supply of power. If this supply is shaky, your welder will be too.
The Wall Outlet
Make sure the outlet you are using is rated for the power your welder needs. Many welding machines, especially the bigger ones, need a 230-volt outlet. Using a standard 115-volt outlet for a machine that requires more power will definitely cause it to perform poorly, or not work at all.
Check the label on your welder to see what voltage it needs.
Also, check the outlet itself for any signs of damage. Loose wires or discolored plastic can mean the outlet is faulty or worn out. If you’re unsure, it’s best to have an electrician check it.
The Power Cord
The cord that plugs your welder into the wall is just as important. Look for any cuts, nicks, or damage to the insulation. A damaged cord can reduce the amount of power getting to your machine, or even be a safety hazard.
Make sure the cord is the correct gauge for your welder’s power needs. A cord that is too thin for the job can’t carry enough electricity.
Sometimes, the plug on the cord can also become loose or damaged. Check that the prongs are straight and that the plug fits snugly into the outlet. A poor connection here means less power.
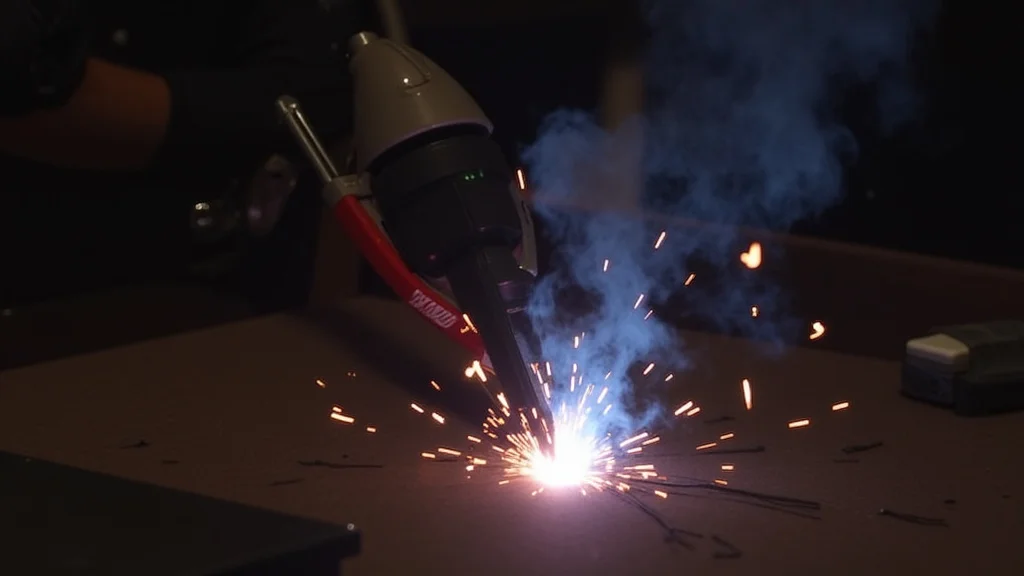
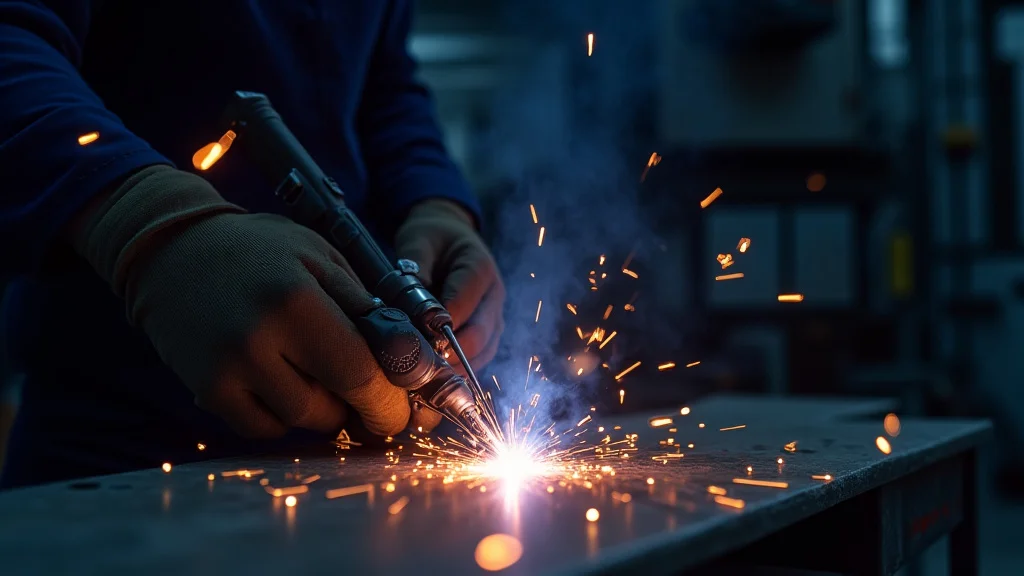
Welding Leads: The Connection to Your Work
After the power cord, the next link in the chain is your welding leads – the ground clamp and the electrode holder (or gun for MIG/TIG). These carry the welding current to your workpiece and the electrode.
Ground Clamp Connection
The ground clamp needs to make a solid connection to the metal you are welding. If the clamp is loose, dirty, or corroded, it can create resistance. This resistance acts like a bottleneck for the electricity.
Clean the surface of the metal where the clamp will attach. Use a wire brush to remove rust, paint, or dirt. Make sure the clamp itself is clean and that its jaws are gripping the metal tightly.
Check the cable that goes from the ground clamp to the welder. Make sure it’s securely connected to the welder’s negative terminal. Loose connections here will also reduce power.
Electrode Holder/Gun Connection
Similarly, the connection where your electrode holder (for stick welding) or MIG gun/TIG torch connects to the welder needs to be secure. For stick welding, ensure the electrode holder is firmly clamped onto the electrode. For MIG and TIG, check the connection point of the gun or torch to the machine.
Make sure there are no loose wires or damaged connectors.
The welding cables themselves should also be in good condition. Look for any signs of wear, fraying, or damage. A damaged cable can lose power.
Keeping these cables clean and free from oil or grease also helps ensure good conductivity.
Machine Settings: The Controls You Use
Even if your power source and leads are perfect, the settings on your welding machine can make it seem like there’s a power loss.
Amperage Settings
The most common setting that affects power is amperage. Amperage is essentially the “push” of the electricity. If your amperage is set too low for the material you are welding or the type of welding you are doing, your arc will be weak and it will feel like you have lost power.
Always refer to welding charts or manufacturer recommendations for the correct amperage for your specific task.
Make sure you are turning the amperage dial correctly. Sometimes, the dial might be sticky or not registering your input properly. Try adjusting it up and down a few times to ensure it’s responding.
Voltage Settings (for MIG/TIG)
For MIG and TIG welding, voltage also plays a key role in the arc. Too low a voltage can make the arc sputter and feel weak. Too high a voltage can lead to excessive spatter.
Ensure your voltage is set appropriately for the amperage and wire speed you are using.
Polarity Settings
Polarity refers to the direction of the electrical current. Different welding processes and electrodes require specific polarities. If your welder is set to the wrong polarity, it will not weld correctly, and the arc will feel weak and inconsistent.
Always double-check your welder’s manual or the electrode packaging to ensure you have the correct polarity selected (DCEN, DCEP, AC).
Internal Issues: When to Seek Help
While most power loss issues are external and easy to fix, sometimes the problem might be inside the welding machine itself. These can be more serious and often require professional attention.
Overheating
Welding machines can overheat, especially if used for extended periods in hot conditions or if the cooling system is blocked. Most machines have a thermal overload protection that will shut them down or reduce power when they get too hot. If your welder feels like it’s losing power after a short time, let it cool down completely.
Check that the cooling fans are working and that the air vents are not clogged with dust or debris.
Component Failure
Internal components like circuit boards, transformers, or rectifiers can fail over time. If you’ve checked all the external factors and the machine still has power issues, it’s possible that a component has broken. These kinds of repairs usually require specialized knowledge and tools.
Faulty Wiring Inside the Machine
Loose internal wiring or damaged connections within the machine can also cause power loss. This is something you should only attempt to diagnose if you have significant experience with electrical repair and the specific model of your welding machine.
Maintenance for Preventing Power Loss
Regular maintenance can prevent many power loss problems before they start. A little bit of care goes a long way.
Cleaning Connections
Periodically clean all electrical connections. This includes the plug and outlet, the connections at the welder for the leads, and the ground clamp itself. A clean connection is a good connection.
Inspecting Cables
Regularly inspect your power cord and welding leads for any signs of wear or damage. Replace them if they look compromised. Damaged cables are not just a power loss issue; they are a safety risk.
Keeping Vents Clear
Ensure the air vents on your welding machine are always clean and free of dust, metal shavings, or other debris. This allows the machine to cool properly and prevents overheating.
Consulting the Manual
Always keep your welding machine’s manual handy. It contains valuable information on operation, maintenance, and troubleshooting specific to your model. It’s your best resource for understanding correct settings and potential issues.
Frequently Asked Questions
Question: My welder won’t even turn on. What could be wrong?
Answer: First, check if the machine is plugged into a working outlet. Make sure the breaker hasn’t tripped. Then, inspect the power cord and plug for any damage.
If these are fine, there might be an issue with the machine’s internal power supply.
Question: I’m getting a weak arc with my stick welder. What should I check?
Answer: Check your amperage setting to make sure it’s high enough for the electrode and material. Ensure the ground clamp has a solid, clean connection to the workpiece. Also, inspect the electrode holder and cable for any damage or loose connections.
Question: My MIG welder is spitting and sputtering. Is that power loss?
Answer: Spitting and sputtering can be a sign of incorrect settings, like low voltage or improper wire speed. It could also mean a poor connection at the ground clamp or a dirty gun liner. Check your gas flow too.
Question: Can a damaged power cord cause my welder to lose power?
Answer: Yes, a damaged power cord can significantly reduce the amount of power reaching your welder. It can also be a serious safety hazard. Always inspect your power cord before use.
Question: When should I stop trying to fix it myself and call a professional?
Answer: If you’ve checked all the external connections, cables, and settings, and the problem persists, or if you see any signs of internal damage or smell burning, it’s time to call a qualified welding equipment repair technician.
Final Thoughts
It’s common for welders to feel like they’ve lost power, but usually, the fix is straightforward. Most issues come down to simple things like dirty connections, damaged cords, or incorrect settings. By checking your power outlet, cord, leads, and machine settings, you can often solve the problem yourself.
Keep your equipment clean and well-maintained, and always consult your manual. If you can’t find the issue after these checks, it’s best to seek professional help. Getting your welder back to full power means you can get back to creating.