Many people start welding and run into a problem: their welding machine seems to have low voltage. This can be frustrating, especially when you’re just learning. It’s a common hurdle for beginners, but don’t worry!
We’ll walk through Welding Machine Low Voltage? Troubleshooting Tips in a simple, step-by-step way. Get ready to learn how to fix this common issue so you can get back to welding with confidence.
Key Takeaways
- You will learn common causes of low voltage in welding machines.
- Simple checks you can do yourself will be explained.
- You will find out how to inspect power cords and connections.
- Tips for checking your welding leads and their condition will be provided.
- Basic advice on understanding your welding machine’s settings is included.
- You will know when it’s time to seek professional help.
Understanding Welding Machine Low Voltage
When your welding machine isn’t delivering the expected voltage, it can lead to poor welds. The arc might be weak, and the metal might not fuse properly. This problem, often summarized as Welding Machine Low Voltage?
Troubleshooting Tips, can stem from a few different areas. For beginners, it’s easy to feel confused about where to start looking for the cause. The good news is that many of these issues have simple solutions you can find yourself.
Common Causes of Low Voltage
Several factors can contribute to a welding machine showing low voltage. Understanding these common culprits is the first step in fixing the problem. We’ll look at power supply issues, connection problems, and problems with the machine itself.
Power Supply Issues
The electricity coming into your welding machine is very important. If it’s not strong enough, the machine can’t perform at its best.
Input Voltage
The most basic thing to check is the voltage from your wall outlet or generator. Welding machines need a specific amount of power to work right. If the outlet itself is providing less voltage than the machine needs, the machine will struggle.
This can happen if the circuit is overloaded or if the power source is weak.
Extension Cords
Using extension cords can be a common trap. Long or thin extension cords can drop voltage. This is because electricity has to travel further, and some power is lost along the way.
Thicker cords, rated for the amperage your welder uses, are essential. Always check the gauge of your extension cord; a lower gauge number means a thicker cord.
Circuit Breakers and Fuses
Sometimes, a circuit breaker might be tripped or a fuse might be blown. This directly cuts off or reduces power to the welder. Even a partially tripped breaker can cause issues.
It’s worth checking your main power source’s breaker box to ensure everything is fully engaged.
Connection Problems
Loose or bad connections are another major reason for voltage drops. Electricity needs a clear path to flow. Any interruption or poor contact can reduce the voltage that reaches your welding torch.
Power Cord and Plug
Inspect the power cord that plugs into the wall. Look for any nicks, cuts, or damaged insulation. The plug itself should also be in good shape, with all prongs firmly attached.
A loose connection at the plug or where the cord meets the machine can cause a voltage drop.
Machine Input Connections
Some welding machines have a plug where the power cord connects. Make sure this connection is tight and clean. If your machine has screw terminals for the power cord, ensure they are snug.
Any dirt or corrosion here can act like a resistor, lowering the voltage.
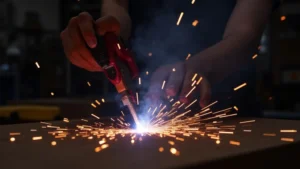
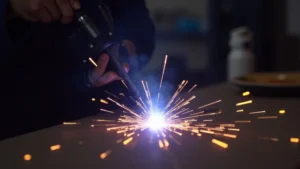
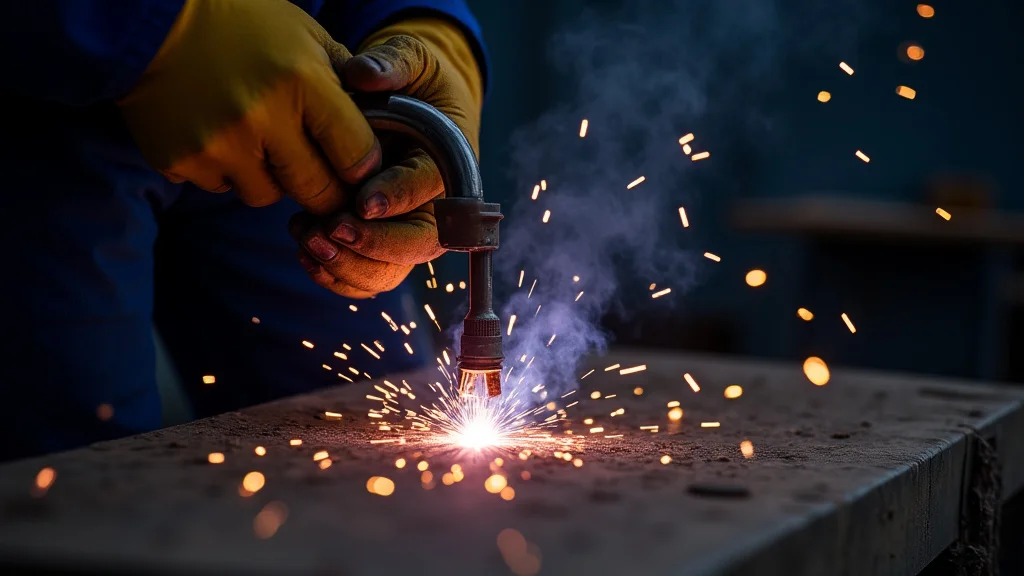
Welding Leads and Connections
The leads are the cables that carry the welding current from the machine to your work. Problems here are very common.
Electrode Holder and Ground Clamp
Ensure the electrode holder and the ground clamp are securely attached to their respective cables. A loose connection at either of these points is a prime suspect for low voltage. These connections need to be clean and tight for good electrical contact.
Cable Condition
Inspect the welding cables themselves. Look for any signs of damage, such as cuts, burns, or fraying. Damaged cables can have internal breaks or weakened conductors, leading to voltage loss.
If the cables are old and stiff, they might also have internal issues.
Connector Quality
The connectors that attach the welding leads to the machine (like Dinse connectors) can become worn or dirty. Make sure they are fully inserted and making good contact. Clean any dirt or corrosion from these connectors with a wire brush or contact cleaner.
Machine Settings and Internal Issues
While external factors are often the cause, sometimes the machine itself or its settings can be the issue.
Amperage Settings
While we are talking about voltage, it’s important to note that sometimes perceived low voltage is related to incorrect amperage settings. If you set the amperage too low for the material thickness, the weld might look weak, similar to a low voltage issue. Always ensure your amperage is appropriate for the job.
Machine Overheating
Most welding machines have thermal protection. If the machine overheats, it may reduce its output to prevent damage. Let the machine cool down if it has been running for a long time or in a hot environment.
Check for any blocked air vents that might be causing it to overheat.
Internal Faults
In rare cases, there could be an internal problem with the welding machine. This might involve a faulty component inside the unit. If you have checked all the external factors and the problem persists, this becomes a more likely cause.
This is when professional help is usually needed.
Step-by-Step Troubleshooting Guide
Let’s put this into a clear plan. Follow these steps to find and fix the low voltage problem.
-
Check the Power Source
Start with the most basic: your wall outlet or generator. Is it providing the correct voltage? A multimeter can help here.
Ensure the circuit breaker for the welder is fully on.
-
Inspect the Power Cord
Look closely at the power cord that plugs into the wall. Is it damaged? Is the plug in good shape?
-
Examine Extension Cords (If Used)
If you’re using an extension cord, make sure it’s the right size (thick enough, low gauge number) and not too long. Try plugging the welder directly into the wall if possible to rule out the extension cord.
-
Verify Machine Input Connections
Check where the power cord plugs into the welder. Is it a secure fit? Are the terminals clean and tight?
-
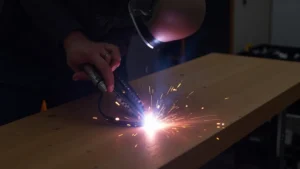
Inspect Welding Leads
Look at your electrode holder, ground clamp, and the cables connecting them. Are the connections tight and clean? Are the cables themselves in good condition?
-
Clean Connectors
Unplug the welding leads from the machine. Clean the connectors on both the leads and the machine. A wire brush or contact cleaner works well.
-
Check Machine Settings
Make sure your amperage and voltage (if adjustable separately) are set correctly for the type of welding and material you are using. Consult your machine’s manual.
-
Allow for Cool Down
If the machine feels hot, let it cool down. Make sure its vents are not blocked.
-
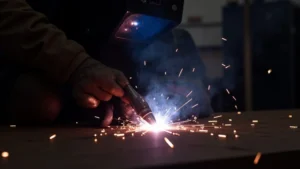
Test Again
After performing these checks, try welding again. See if the arc is stronger and the voltage seems normal.
When to Call a Professional
If you’ve gone through all these steps and your welding machine is still showing low voltage, it’s time to consider calling a qualified repair technician. Internal issues within the machine can be complex and require specialized knowledge and tools to diagnose and fix safely. Trying to repair internal components yourself could lead to further damage or safety hazards.
Frequently Asked Questions
Question: What is the most common reason for low voltage in a welding machine?
Answer: The most common reasons are loose connections at the ground clamp, electrode holder, or where the welding leads connect to the machine. Damaged or undersized extension cords can also cause this.
Question: Can I use any extension cord with my welding machine?
Answer: No, you must use an extension cord that is rated for the amperage your welding machine draws. Using a cord that is too thin or too long can cause a significant voltage drop.
Question: How do I know if my welding leads are bad?
Answer: Inspect your welding leads for any cuts, burns, or frayed insulation. If the cables are very stiff or old, they might have internal damage even if they look okay on the outside.
Question: Should I try to fix a problem inside the welding machine myself?
Answer: It is generally not recommended for beginners to attempt internal repairs. Welding machines contain high voltages, and internal faults require professional diagnosis and repair to ensure safety and proper function.
Question: How often should I check my welding machine connections?
Answer: It’s a good practice to check your connections before each welding session. This quick inspection can prevent many common problems and ensure a safe and effective weld.
Final Thoughts
Dealing with Welding Machine Low Voltage? Troubleshooting Tips can seem tricky, but by following these simple steps, you can often find and fix the issue yourself. Checking your power source, connections, and welding leads are key.
Remember to keep your equipment in good shape. If the problem continues after these checks, it’s time for expert help to keep you welding safely and effectively.