Starting with TIG welding can feel a bit tricky. You might notice your arc isn’t smooth, and that’s a common worry for new welders. This issue, often summed up as the TIG Welder Uneven Arc Problem?
Solutions, can make your welds look messy. But don’t worry! We’ll walk through simple steps to fix it.
We’ll show you how to get that steady, clean arc you want.
Key Takeaways
- An uneven TIG arc is usually caused by simple things you can fix.
- Checking your gas flow is a key step to a stable arc.
- The right tungsten and collet size matter a lot for a smooth arc.
- Your welding technique can directly affect how steady the arc is.
- Troubleshooting your TIG welder’s settings can solve arc issues.
- Consistent practice is important for achieving a perfect arc.
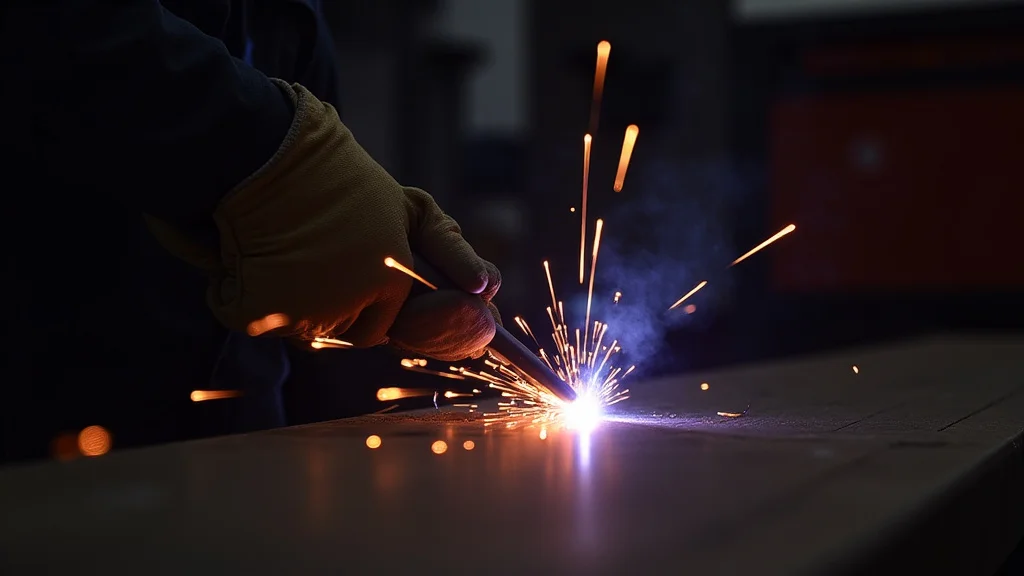
What Causes an Uneven TIG Arc?
An uneven arc in TIG welding can be frustrating. It looks jumpy, unstable, and makes it hard to get a good weld. Many beginners face this.
It’s often not a sign of a broken machine but a few simple things needing adjustment. Let’s look at the common culprits.
Gas Flow Issues
One of the biggest reasons for a shaky arc is not enough shielding gas. The gas protects the weld from the air. If there’s not enough, the air gets in and messes with the arc.
Not Enough Argon
Argon is the most common gas for TIG welding. If your tank is low, or your regulator is set too low, you won’t have enough gas.
Leaky Gas Lines
Check all your connections from the tank to the torch. A small leak means gas escapes before it reaches the weld.
Drafts
Welding in a windy area can blow away your shielding gas. This can make the arc unstable and lead to a poor weld.
Tungsten Electrode Problems
The tungsten electrode is what creates the arc. If it’s not set up right, the arc will suffer.
Wrong Tungsten Type
Different metals need different types of tungsten. Using the wrong one can cause a poor arc. For example, pure tungsten is for AC welding aluminum, while thoriated or ceriated tungsten is better for DC.
Dull or Contaminated Tungsten
If your tungsten tip is dull, rounded, or has metal on it, the arc will spread out and be uneven. Always sharpen your tungsten to a point. Clean any contamination off it.
Tungsten Stick-Out
How much of the tungsten sticks out of the cup is important. Too much stick-out makes the arc unstable and prone to contamination. Too little can make it hard to see and control.
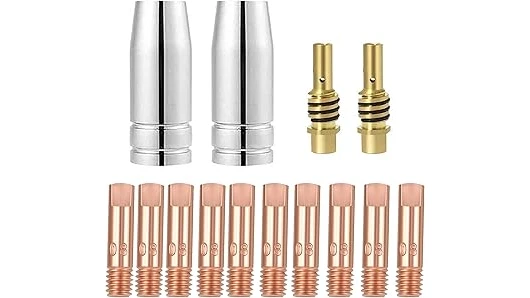
Collet and Collet Body Issues
The collet holds the tungsten electrode. The collet body holds the collet and fits into the torch. Problems here affect how the tungsten is positioned.
Incorrect Collet Size
You need to use the right size collet for your tungsten. If the collet is too big, the tungsten will be loose and wobble. If it’s too small, you won’t be able to get the tungsten in.
Worn Out Parts
Over time, collets and collet bodies can wear out. This can cause a loose fit for the tungsten, leading to an uneven arc.
Machine Settings
Your TIG welder has many settings. If they are wrong, your arc will be unstable.
Amperage Too High or Too Low
Setting the amperage too high for the material thickness can cause a wild, sputtering arc. Too low an amperage might not maintain a stable arc, especially on thicker materials.
AC Balance and Frequency (for AC welding)
On AC machines, the balance and frequency settings control the arc’s shape and cleaning action. Incorrect settings can lead to an uneven arc and poor weld quality.
High-Frequency (HF) Start Issues
If your HF start isn’t working correctly, you might be trying to start the arc by touching the tungsten to the metal. This contaminates the tungsten and causes an uneven arc. Or, if the HF is too strong, it can make the arc jumpy.
Welding Technique
How you move and use the torch also affects the arc.
Torch Angle
Holding the torch at a steep angle can disrupt the gas shield and make the arc unstable. Keep the torch close to a perpendicular angle to the workpiece.
Distance to Workpiece
Maintaining a consistent distance between the tungsten and the workpiece is key. If you move too far away, the arc weakens and becomes uneven. If you get too close, you risk dipping the tungsten.
Filler Metal Addition
How you add filler metal can also impact the arc. If you dip the filler rod into the arc too much or too often, it can disrupt the arc’s stability.
Troubleshooting Steps for an Uneven Arc
Now that we know what can go wrong, let’s walk through how to fix it step-by-step. You can get a smooth, clean arc with a little attention to detail.
1. Check Your Gas Supply
This is the first and easiest thing to check. Make sure your Argon tank has plenty of gas. Look at the pressure gauge.
Next, check your flow meter or regulator. A good starting point for most TIG welding is 15-25 cubic feet per hour (CFH), or 10-15 liters per minute (LPM). Turn on the gas and listen for leaks.
You can use soapy water on connections to spot bubbles if there’s a leak.
2. Inspect Your Tungsten Electrode
Remove the tungsten electrode from your torch. Look at the tip. Is it sharp?
Is it clean? If it’s dull, grind it to a sharp point using a dedicated tungsten grinder. If it looks like it has metal melted onto it, you’ll need to grind it clean.
Make sure you grind it lengthwise, not around the sides, to keep it pointed. For DC welding, a pointed tip is best. For AC welding aluminum, the tip will often ball up, which is normal.
3. Verify Collet and Gas Lens
Ensure you have the correct size collet for your tungsten. If your tungsten feels loose, try a different collet. Also, consider using a gas lens.
A gas lens is a type of ceramic cup and assembly that provides a much better gas shield, especially at a distance. This can greatly improve arc stability and reduce turbulence.
4. Review Machine Settings
Look at your TIG welder’s settings. For steel, start with a moderate amperage. For thin material, you might need 50-75 amps.
For thicker material, 100-150 amps or more might be needed. If you’re welding aluminum on AC, experiment with the balance and frequency settings. A good starting point for balance is often 30% cleaning.
For frequency, 60-100 Hz is common.
5. Practice Your Technique
Hold the torch so it’s almost straight up and down, aiming it directly at where you want to weld. Keep the distance from the tungsten to the metal about the same as the diameter of the tungsten. Try to keep this distance steady.
When adding filler rod, gently dip it into the puddle just before the arc. Avoid hitting the tungsten with the filler rod.
Common Materials and Settings
Different metals require different approaches. Here’s a quick guide for common materials.
| Material | Tungsten Type | Amperage Range (Approx.) | Gas Flow (CFH) | Notes |
|---|---|---|---|---|
| Mild Steel (Thin) | 2% Thoriated or Ceriated | 30-75 A | 15-20 CFH | DC Electrode Negative (DCEN). Keep tungsten sharp. |
| Mild Steel (Thick) | 2% Thoriated or Ceriated | 75-150+ A | 20-25 CFH | DCEN. Be mindful of heat input. |
| Stainless Steel | 2% Thoriated or Ceriated | 50-120 A | 15-20 CFH | DCEN. Slower travel speed. |
| Aluminum (Thin) | Pure Tungsten or Zirconiated | 40-90 A | 20-25 CFH | AC. Tungsten will ball up. Adjust balance for cleaning. |
| Aluminum (Thick) | Pure Tungsten or Zirconiated | 90-200+ A | 25-30 CFH | AC. Higher frequency may help. |
Understanding AC Balance
When welding aluminum with AC, balance affects how much time the arc spends on the electrode-negative (EN) side versus electrode-positive (EP) side. More EN means better penetration. More EP means better cleaning of the aluminum oxide layer.
Finding the right balance is key for a smooth arc and good weld on aluminum.
Understanding AC Frequency
AC frequency controls how fast the arc switches direction. Higher frequencies (e.g., 100-200 Hz) create a tighter, more focused arc. This can help with control and arc stability, especially on thinner materials or when making small beads.
Lower frequencies result in a wider, softer arc.
When to Seek Professional Help
While most uneven arc problems are solvable with the steps above, sometimes there might be an issue with the welder itself. If you’ve checked everything and your arc is still very unstable, it might be time to get your machine serviced. Internal components can fail over time.
Frequently Asked Questions
Question: Why is my TIG arc spitting and popping?
Answer: Spitting and popping usually means there’s contamination in your weld area or your shielding gas isn’t sufficient. Make sure your tungsten is clean and your gas flow is adequate. Also, check for drafts.
Question: Can I use the same tungsten for steel and aluminum?
Answer: No, it’s best to use different types. Pure tungsten is good for aluminum on AC. For steel and stainless steel on DC, 2% thoriated or ceriated tungsten is recommended.
Switching between metals can contaminate the tungsten.
Question: How sharp should my tungsten be?
Answer: For DC welding, you want a sharp, pencil-point tip. For AC welding aluminum, the tungsten tip will often form a ball shape naturally. Grinding is usually done for DC applications.
Question: My arc seems weak, what could be wrong?
Answer: A weak arc could be due to low amperage setting, insufficient gas flow, or the tungsten being too far from the workpiece. Double-check these settings and your distance.
Question: Is it normal for the arc to be jumpy when I first start?
Answer: A little jumpiness is sometimes normal as the tungsten heats up and the puddle forms. However, if it’s consistently jumpy, check your gas flow, tungsten condition, and machine settings.
Final Thoughts
Getting a smooth TIG arc is an important skill. Many beginners worry about the TIG Welder Uneven Arc Problem? Solutions, but it’s usually fixable.
By carefully checking your gas supply, making sure your tungsten is clean and sharp, and using the right machine settings, you can achieve a stable arc. Practicing your torch angle and distance to the workpiece will also make a big difference. Don’t get discouraged; consistent effort leads to better welds.
Keep practicing, and you’ll get that clean, steady arc you’re aiming for. Remember to always use the correct safety gear, including a welding helmet, gloves, and protective clothing, whenever you are welding.

Leave a Reply