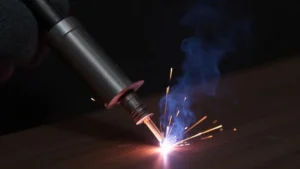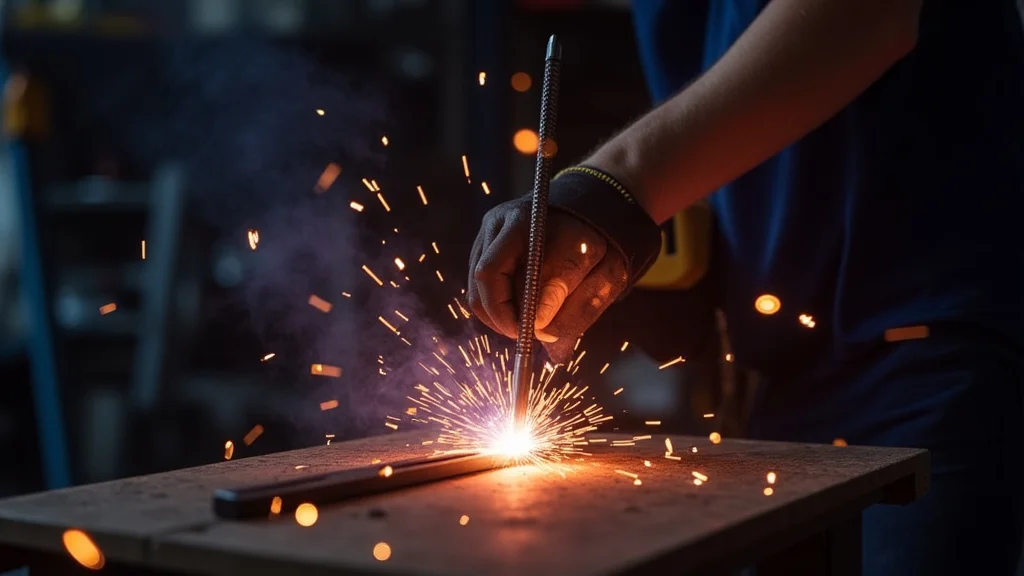
Having a wobbly arc on your TIG welder can be super frustrating, especially when you’re just starting out. It makes it hard to get clean welds, and that’s why you might see phrases like “TIG Welder Arc Not Stable? Solution Inside.” Don’t worry, it’s a common hurdle!
We’re going to break down why this happens and give you simple, step-by-step ways to fix it. Get ready to see your welds get smoother.
Key Takeaways
- Understand the main reasons why a TIG arc becomes unstable.
- Learn how to properly set your TIG welding machine for a stable arc.
- Discover the impact of tungsten electrode choice and preparation.
- Recognize how filler metal selection affects arc stability.
- Identify issues with shielding gas flow and its role in a steady arc.
- Find solutions for common electrical and ground connection problems.
Why Your TIG Arc Might Be Unstable
It’s a common problem for new TIG welders to struggle with an unstable arc. This happens when the electricity that forms the arc jumps around instead of staying steady. It’s like trying to draw with a shaky hand.
This can make your welds look messy and weak.
There are a few main reasons why this happens. Think of it like a recipe with a few missing ingredients or something not quite right. We’ll look at each part so you can figure out what’s going on with your machine and your setup.
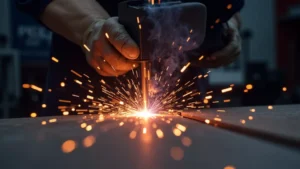
Machine Settings Matter
The settings on your TIG welder are super important for a stable arc. If they’re not right, the electricity won’t flow smoothly. It’s like setting the wrong temperature for baking – things won’t turn out well.
Amperage
The amperage is the amount of electrical current you’re using. Too high, and the arc can be wild. Too low, and it might not even form properly.
For thinner metals, you need less amperage. For thicker metals, you need more.
Finding the sweet spot for amperage depends on the metal you’re welding and its thickness. Always start with the manufacturer’s recommendations for your machine and material. You can then fine-tune it as you weld.
Frequency (AC Machines)
If you’re using an AC TIG welder, like for aluminum, the frequency setting is key. This controls how fast the electricity switches direction. A higher frequency can help make the arc tighter and more focused.
This leads to a more stable weld, especially on thin materials.
Many modern TIG welders allow you to adjust AC frequency. Experimenting with this setting can make a big difference. Generally, higher frequencies (100-200 Hz) give a more stable, concentrated arc.
Balance (AC Machines)
On AC welding, balance controls the ratio of cleaning to penetration. Too much cleaning can make the arc spread out. Not enough can leave oxide on the metal.
You want a good balance for a steady arc and clean welds.
Adjusting balance helps control the heat input. This is important for preventing issues that can cause arc instability. It might take some practice to find the right balance for different aluminum alloys.
Pulse Settings
Some TIG welders have a pulse feature. This makes the amperage go up and down rapidly. It can help control heat and bead width.
When used correctly, pulsing can lead to a very stable arc.
Pulse settings include pulse frequency, pulse width, and background amperage. Learning to set these can give you more control. It can help with thin metals and out-of-position welding.
A well-tuned pulse can keep the arc from wandering.
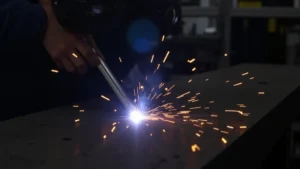
Tungsten Electrode Issues
The tungsten electrode is what creates the arc. If it’s not the right kind or not prepared correctly, your arc will be all over the place. It’s the tip of the spear for your welding.
Tungsten Type
There are different types of tungsten electrodes, each with specific uses. Pure tungsten isn’t used much anymore. Thoriated, ceriated, lanthanated, and zirconiated are more common.
Lanthanated and ceriated are good all-around choices and provide a stable arc.
For DC welding, 2% lanthanated (blue band) or 2% ceriated (grey band) are excellent choices. They start easily and maintain a steady arc. For AC welding, pure tungsten (green band) or zirconiated (white band) are often used, but lanthanated and ceriated can also perform well.
Tungsten Grinding
How you grind your tungsten is critical. For DC welding, you want to grind it to a sharp point. This focuses the arc.
For AC welding, you usually want to round the tip slightly. This helps prevent arc wander.
Always grind the tungsten along its length, not across the tip. This creates a smooth, conical shape. A rough or uneven tip will cause the arc to be unstable.
Keep a dedicated grinder for your tungsten to avoid contamination.
Tungsten Stick-Out
How much of the tungsten electrode sticks out from the torch nozzle is also important. Too much stick-out means the arc can spread out. Too little can make it hard to see your weld puddle and can lead to contamination of the tungsten.
A good rule of thumb is to have about 1/8 to 1/4 inch (3-6 mm) of tungsten sticking out. This varies slightly depending on the gas lens you use. Shorter stick-out generally leads to a more focused and stable arc.
Tungsten Contamination
If your tungsten touches the weld puddle or filler metal, it gets contaminated. This creates a “balled” or uneven tip. A contaminated tungsten will cause the arc to be erratic and difficult to control.
It will also make your welds look bad.
If you contaminate your tungsten, you need to stop welding, grind it to a fresh point, and try again. This is why it’s important to maintain good torch control and add filler metal carefully.
Filler Metal Choices
The filler metal you use can also affect arc stability. It’s not just about the base metal; the rod you add matters too.
Filler Rod Type
Make sure your filler rod is the correct type and size for the base metal you’re welding. Using the wrong filler rod can lead to poor fusion, porosity, and an unstable arc. Always use a filler metal that is compatible with your base metal.
Filler Rod Diameter
The diameter of your filler rod should match the thickness of the material and your amperage. A rod that is too thick for the job can cause issues. It might not melt properly or can disrupt the arc.
Generally, for thinner materials, use a thinner filler rod. For thicker materials, you can use a thicker rod. Work on feeding the filler rod smoothly into the puddle.
Avoid jamming it into the arc.
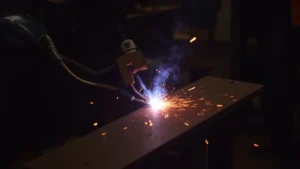
Shielding Gas Problems
Shielding gas is like an invisible shield that protects your molten weld pool from the air. If it’s not working right, your arc will suffer.
Gas Flow Rate
The flow rate of your shielding gas is crucial. Too little gas and the weld pool is exposed to oxygen and nitrogen, causing contamination and an unstable arc. Too much gas can create turbulence, which also disrupts the arc and can pull in air.
For most TIG welding with Argon, a flow rate of 15-25 CFH (cubic feet per hour) is typical. This depends on your torch size, gas lens, and environmental conditions. Always use a flowmeter on your regulator to accurately set the gas flow.
Gas Leaks
Check your entire gas system for leaks. This includes the gas cylinder, regulator, hose, and torch connections. Even a small leak can reduce the amount of shielding gas reaching the weld.
This will cause arc instability and poor weld quality.
You can check for leaks by applying soapy water to the connections. If bubbles form, there’s a leak. Make sure all connections are tight and the O-rings are in good condition.
Gas Contamination
Ensure your shielding gas cylinder is pure Argon or the correct blend. If the cylinder is nearly empty, the gas can become contaminated. Also, make sure the gas hose and torch are clean and free of oil or grease.
Avoid using gas from a cylinder that has been sitting in a dirty environment for a long time. Always purge the gas line for a few seconds before starting to weld. This blows out any stale air or contaminants.
Electrical Connections
Loose or dirty electrical connections are a major cause of unstable TIG arcs. Electricity needs a clear path to flow.
Ground Clamp
Your ground clamp must be securely attached to a clean piece of metal. A dirty or loose ground clamp creates resistance. This makes the electricity jumpy and the arc unstable.
Always scrape away any paint, rust, or dirt from the connection point.
Make sure the clamp itself is clean and makes good contact. A strong, clean ground is essential for a stable arc and good weld penetration.
Torch Connections
Check the connections on your TIG torch. The power cable and gas line should be securely connected to the machine. Loose connections can cause intermittent power or gas flow issues, leading to an unstable arc.
Sometimes, the internal connections within the torch handle or the cable itself can become damaged. If you suspect this, it might be time to have your torch serviced or replaced.
Power Cord and Wall Outlet
Ensure the power cord connecting your TIG welder to the wall outlet is in good condition. Look for any damage to the cord or plug. Also, make sure the outlet can provide enough power for your welder.
An undersized circuit or a loose connection at the outlet can cause power fluctuations.
If your welder is plugged into an extension cord, make sure it’s the correct gauge for the amperage draw and the length of the cord. Using an undersized cord can cause voltage sag and an unstable arc.
Troubleshooting Quick Guide
When your arc is acting up, follow these steps:
- Check your ground clamp: Is it tight and on clean metal?
- Inspect your tungsten: Is it the right type and properly ground? Is it contaminated?
- Verify gas flow: Is the flow rate correct? Are there any leaks?
- Review machine settings: Are amperage, frequency, and balance set appropriately?
- Examine filler rod: Is it the right type and size?
- Look for damage: Check torch connections, cables, and power cord.
Frequently Asked Questions
Question: What is the most common reason for a TIG arc to be unstable?
Answer: Often, it’s a combination of incorrect machine settings and a poorly prepared tungsten electrode. These are the two most direct influences on the arc.
Question: Can using the wrong gas cause an unstable arc?
Answer: Yes, using the wrong type of shielding gas or having an improper flow rate can definitely lead to an unstable arc and poor weld quality.
Question: How does tungsten contamination affect the arc?
Answer: A contaminated tungsten electrode becomes irregular, causing the arc to spread out, sputter, and become very difficult to control. It often looks like a small ball on the tip.
Question: Should I use the same tungsten preparation for AC and DC TIG welding?
Answer: No, for DC, you typically want a sharp, pointed tungsten to focus the arc. For AC, a slightly rounded tip is usually preferred to help stabilize the arc.
Question: My arc is sputtering. What could be wrong?
Answer: Sputtering can be caused by a number of things, including insufficient shielding gas, a contaminated tungsten electrode, a loose ground connection, or improper AC balance settings.
Final Thoughts
Fixing an unstable TIG arc usually comes down to checking the basics. Make sure your machine settings are right for the job. Ensure your tungsten is clean and properly shaped.
Verify your shielding gas is flowing correctly and there are no leaks. Double-check all your electrical connections are clean and tight. With these simple steps, you can achieve a smooth, stable arc and much better welds.