When you’re just starting out with stick welding, the electrode sticking to your work can be a really common and frustrating problem. It feels like the metal is glued together! But don’t worry, this is something almost every beginner runs into.
We’ll break down why it happens and give you a simple, step-by-step way to fix it. Get ready to learn how to keep that electrode moving smoothly for better welds.
Key Takeaways
- Understand the main reasons your stick welder electrode sticks.
- Learn how to adjust amperage for better arc control.
- Discover the importance of electrode angle and movement.
- Find out how to clean your metal properly for good welds.
- See how to select the right electrode for your project.
- Gain confidence in fixing electrode sticking issues.
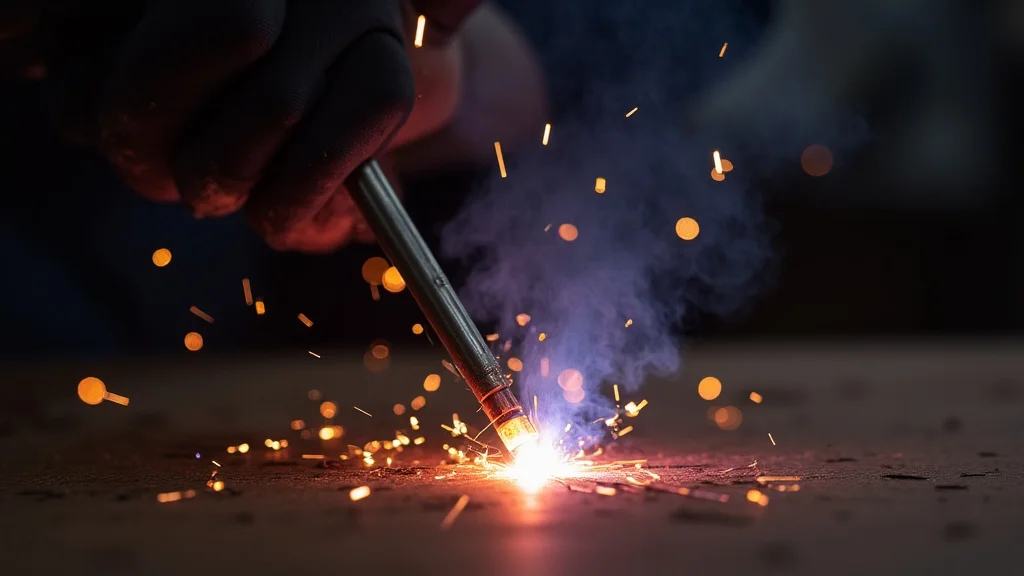
Why Does My Stick Welder Electrode Stick?
It’s a question many new welders ask: “Stick Welder Electrode Sticking? Solution.” This happens a lot when you’re learning stick welding. You strike an arc, and instead of a nice, clean melt, the electrode just glues itself to the metal.
It’s like trying to draw with a pencil that’s stuck to the paper. This can be disheartening because you want to make good welds, but it feels impossible when the electrode won’t cooperate.
The good news is that electrode sticking is usually a simple problem with a simple fix. It’s not a sign that you’re a bad welder; it’s just part of the learning curve. There are a few key things that cause this.
Once you know what they are, you can easily avoid them.
Common Causes of Electrode Sticking
Several factors can lead to your stick welder electrode sticking. Let’s look at the most common ones.
Amperage Settings
One of the biggest culprits is the amperage setting on your welder. Amperage is the amount of electrical current your welder puts out. If the amperage is too low for the type of electrode you’re using, the electrode won’t melt properly.
Instead, it just heats up enough to stick to the base metal.
Think of it like trying to melt butter with a weak flame. It just gets soft and sticky, but it doesn’t really flow. With stick welding, too little amperage means the electrode tip gets hot but doesn’t melt away fast enough.
This causes it to fuse with the workpiece.
Electrode Angle and Movement
How you hold and move the electrode also plays a big role. If you hold the electrode too close to the metal for too long, or if your arc length is too short, the electrode can stick.
When you start a weld, you need to “strike” the arc. This is like scratching a match. You want to hit the metal quickly and then pull back slightly to establish a consistent arc.
If you press down too hard or hold it there, it will stick. Similarly, if you move too slowly, the electrode can overheat and stick.
Dirty Base Metal
The surface of the metal you’re welding on matters a lot. If the metal is dirty, rusty, oily, or covered in paint, it can interfere with the arc. These impurities can cause the arc to be unstable, leading to the electrode sticking.
A clean surface allows for a clean, consistent arc. Dirt and rust can act like an insulator or create inconsistent melting, making it harder for the electrode to burn off properly. This often results in a poor connection and the electrode sticking.
Incorrect Electrode Type
Different welding jobs require different types of electrodes. Electrodes are like different types of pencils, each suited for a specific task. If you use the wrong type of electrode for the metal you’re welding or the welding position, it can lead to problems, including sticking.
For example, some electrodes are designed for flat positions, while others are better for overhead or vertical welding. Some are for thick metal, and others for thin. Using an electrode that’s too large or not suited for the job can make it harder to control the arc and increase the chance of sticking.
Moisture in the Electrode
Electrodes, especially certain types, can absorb moisture from the air over time. When a moist electrode is heated by the welding arc, the water turns to steam. This steam can disrupt the arc, making it unstable and leading to the electrode sticking.
It can also cause spatter and poor weld quality.
Most welding electrodes are stored in waterproof containers for this reason. If you suspect your electrodes might be old or have been stored improperly, they might be the cause of your sticking issues.
Solutions for Electrode Sticking
Now that we know why electrodes stick, let’s look at how to fix it. These are simple steps you can take to improve your welding and keep that electrode moving.
1. Adjust Your Amperage
This is the most common fix. If your electrode is sticking, your amperage is likely too low. Check the recommended amperage range for your specific electrode.
This information is usually printed on the electrode wrapper or available from the manufacturer’s website.
How to adjust:
- Identify your electrode type: Look at the numbers and letters printed on the electrode.
- Find the recommended amperage: Consult the electrode packaging or a welding chart.
- Increase amperage on your welder: Turn the amperage dial up slightly. A small increase can make a big difference.
You want enough amperage to melt the electrode smoothly without burning through your base metal too quickly. It might take a little trial and error to find the sweet spot for your specific setup.
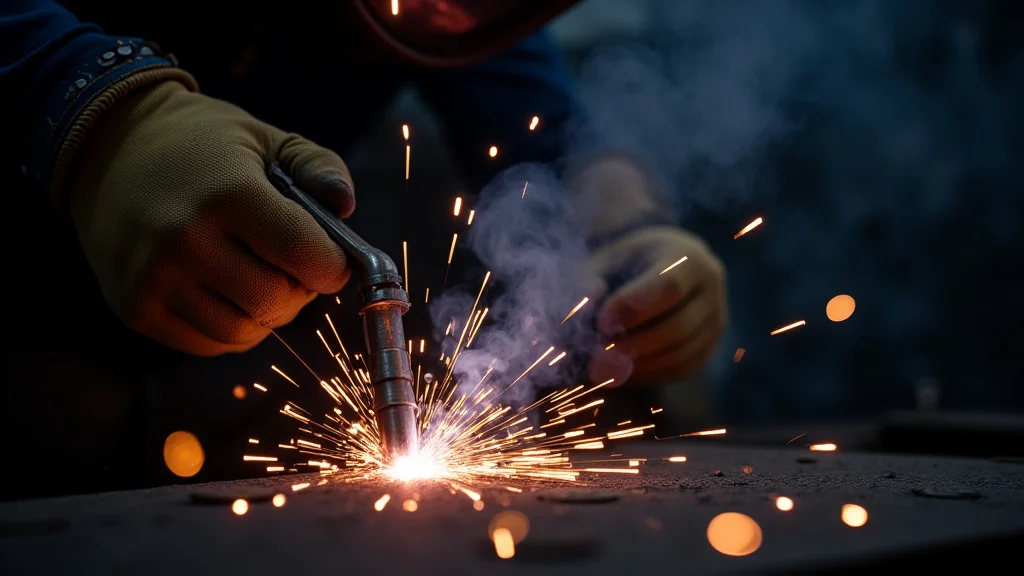
2. Master the Arc Strike
How you start the weld is crucial. Don’t just press the electrode onto the metal. Instead, use a quick, “scratching” motion, like lighting a match.
Then, pull the electrode back to establish a consistent arc length.
Steps for a good strike:
- Hold the electrode at an angle: About 10-15 degrees from vertical.
- Quickly scratch the surface: A short, sharp motion.
- Immediately pull back slightly: To create the arc. The distance should be about the diameter of the electrode’s core wire.
If the electrode sticks, don’t force it. If it’s stuck, you might need to quickly twist your wrist to break it free, or turn off your welder if it’s really stuck.
A good strike prevents sticking from the start.
3. Maintain Proper Arc Length and Travel Speed
Once the arc is struck, keeping the right arc length and moving at the correct speed is important. The arc length is the distance between the tip of the electrode and the weld puddle. Too short, and it sticks.
Too long, and the arc becomes unstable, creating spatter and weak welds.
Key points:
- Consistent arc length: Aim for a distance roughly equal to the diameter of the electrode core wire.
- Steady travel speed: Move the electrode along the joint at a speed that creates a consistent weld puddle. If you move too slowly, the electrode melts too much and can stick. If you move too fast, the weld won’t penetrate well.
Think of it as a smooth, controlled glide.
The electrode should be feeding into the puddle naturally.
4. Clean Your Base Metal
Always start with clean metal. Use a wire brush and a grinder to remove any rust, paint, oil, or other contaminants from the area where you’ll be welding. A clean surface ensures a stable arc and better weld penetration.
Cleaning steps:
- Wire brush: Remove loose rust and debris.
- Grind (if necessary): For thicker rust or scale, use a grinder with a grinding wheel or flap disc.
- Wipe down: Use a clean rag to remove any dust or oil.
This might seem like extra work, but it makes a huge difference in weld quality and prevents many problems, including electrode sticking.
5. Choose the Right Electrode
Using the correct electrode for the job is essential. If you’re welding mild steel, a 6013 or 7018 electrode is common. For thinner materials, you might need a smaller diameter electrode.
Consider these:
- Electrode diameter: Smaller diameters (e.g., 3/32″) are for thinner metals and lower amperages. Larger diameters (e.g., 1/8″ or 5/32″) are for thicker metals and higher amperages.
- Electrode type (AWS classification): Different numbers mean different coatings and properties. 6013 is forgiving and easy to use for beginners.
7018 is a low-hydrogen electrode that produces stronger welds but requires drier electrodes and can be a bit trickier.
Always check the recommendations for your project and material.
6. Keep Electrodes Dry
If you’re using electrodes that are sensitive to moisture (like 7018), make sure they are stored in a dry place. If they’ve been out in humid conditions, they might need to be re-baked in a special electrode oven to remove moisture. For most beginner projects with common electrodes like 6013, this is less of an issue, but it’s good practice to keep them in their original sealed containers.
7. Practice Electrode Angles
The angle at which you hold the electrode affects the arc and the weld puddle. For most welding, you’ll want to hold the electrode at a slight drag angle, meaning the electrode is angled slightly backward in the direction of travel.
General angle guide:
- Drag angle: Usually 10-20 degrees. This helps push the molten metal into the puddle and create a smoother bead.
- Perpendicular: Holding it straight up and down can sometimes lead to sticking or uneven beads.
Experiment with slight adjustments to find what works best. This control comes with practice.
When the Electrode Stays Stuck
If your electrode is really stuck and you can’t break it free, the safest thing to do is turn off your welder. Forcing it can damage your electrode holder or even your welding machine. You might need to use pliers or a hammer to carefully tap and dislodge it.
Sometimes, a quick twist of the wrist right after striking can free it if it’s just starting to stick.
Frequently Asked Questions
Question: Why does my electrode stick right when I start welding?
Answer: This usually means your amperage is too low, or you’re pressing the electrode down too hard without striking an arc. Try scratching the surface quickly and pulling back to create the arc, and increase your amperage slightly.
Question: How do I know if my amperage is too high?
Answer: If your amperage is too high, you’ll see a lot of spatter, the arc will be very loud and unstable, and you might be burning through your metal quickly. The electrode may melt very fast.
Question: Can I weld with rusty metal?
Answer: It’s best to clean rusty metal thoroughly with a wire brush and grinder before welding. Welding on rusty metal can cause a weak weld and makes it harder to maintain a stable arc, increasing the chance of sticking.
Question: What’s the difference between 6013 and 7018 electrodes?
Answer: 6013 electrodes are generally easier for beginners. They are more forgiving of surface contaminants and less sensitive to moisture. 7018 electrodes produce stronger, cleaner welds, but they require drier conditions and a bit more skill to use properly.
Question: How much electrode should I stick out of the holder?
Answer: You should stick out about half of the electrode length. This gives you enough length to weld with but keeps the electrode holder from getting too hot.
Final Thoughts
Dealing with a Stick Welder Electrode Sticking? Solution is a common hurdle for beginners. It often comes down to a few key factors: the right amperage, a proper arc strike, clean metal, and correct electrode choice.
By adjusting your amperage slightly higher, using a quick scratch-and-pull motion to start your arc, cleaning your workpiece well, and selecting the appropriate electrode, you’ll find your electrodes stop sticking so much. Keep practicing these simple adjustments, and you’ll soon be making smooth, strong welds.
Leave a Reply