Many beginners find that their stick welder doesn’t work right, and it’s often because the cables aren’t hooked up right. This can be really frustrating when you’re just trying to learn. But don’t worry!
We’ll walk through how to fix these common Stick Welder Cable Connection Issues Solved problems with easy steps. Get ready to make your welder work like it should.
Key Takeaways
- Proper cable connections are vital for stick welder function.
- Incorrect connections can lead to poor arc, no arc, or safety hazards.
- You’ll learn to identify the electrode holder and ground clamp.
- Understanding polarity is key to getting your welder to work.
- Simple checks can solve most connection problems quickly.
- Keeping connections clean ensures good conductivity.
Understanding Stick Welder Cable Connections
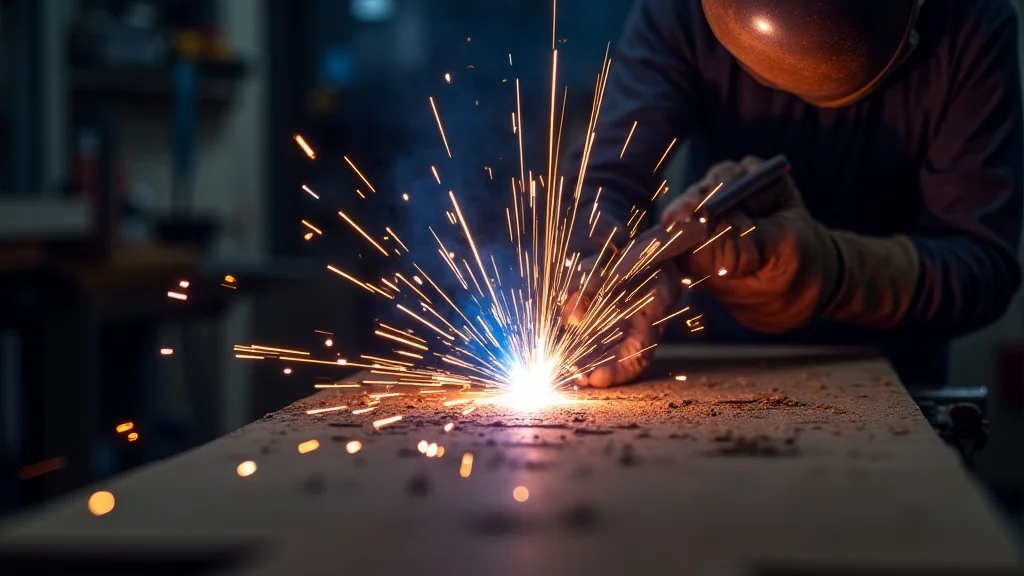
A stick welder, also called a SMAW (Shielded Metal Arc Welding) machine, uses electricity to melt metal and join pieces together. For it to work, you need two main cables running from the welder to your work area. One cable connects to the electrode holder, where you put your welding rod.
The other cable is the ground clamp, which attaches to the metal you are welding or a sturdy metal surface nearby. Getting these connected correctly is super important.
When these connections are not right, you’ll often notice it right away. The welding arc might be weak, or you might not get an arc at all. Sometimes, the welding rod can stick to the metal instead of creating a steady arc.
These issues can make you feel like you’re doing something wrong, but usually, it’s just a simple fix with the cables.
The Electrode Holder Cable
The electrode holder is the part you grip to hold the welding rod. It’s connected to the welder by a thick cable. This cable is usually marked or has a specific connector that fits one of the terminals on your welder.
It carries the positive or negative electrical current needed to create the arc.
When you’re setting up, make sure the electrode holder cable is plugged firmly into the correct port on your welder. These ports are often labeled. If it’s loose, the connection will be poor, and you won’t get enough power to the welding rod.
This is a very common reason why welding doesn’t start properly.
The Ground Clamp Cable
The ground clamp is just as important. It’s the other cable that comes from your welder. This clamp needs to make a good, solid connection to the metal you are welding.
Think of it like completing the electrical circuit. Without a good ground, the electricity can’t flow properly, and you won’t be able to weld.
Attaching the ground clamp correctly means you should clip it directly onto the piece of metal you’re working on. If that’s not easy, you can clamp it to a welding table or a sturdy piece of metal that’s connected to your workpiece. The key is a clean, metal-to-metal contact.
Rust, paint, or dirt can prevent a good connection.
Why Cleanliness Matters for the Ground Clamp
A rusty or dirty clamp won’t conduct electricity well. This is a big deal. You might need to use a wire brush to clean the spot where you’re attaching the clamp.
This removes any gunk that’s stopping a good electrical path. A clean connection means a stronger, more stable arc.
Polarity: The Hidden Key
Welders have something called polarity. This tells you whether the electricity is flowing in one direction or the other. Most stick welders can be set to DC (Direct Current) or AC (Alternating Current).
DC has two options: DC+ (Direct Current Electrode Positive) and DC- (Direct Current Electrode Negative).
The type of welding rod you use will tell you what polarity you need. Some rods work best on DC+, others on DC-. Some might even work on AC.
If you use the wrong polarity, your welding will be difficult, or the weld might not be strong. Always check the instructions on the welding rod packaging.
Setting the Right Polarity
Your welder will have a dial or a switch to change the polarity. It’s usually clearly marked. You’ll connect the electrode holder and ground clamp based on the polarity setting.
For example, if the rod says DC+, you’ll connect the electrode holder to the positive terminal and the ground clamp to the negative terminal on your welder.
If you’re unsure about polarity, it’s always a good idea to start with the setting recommended for your welding rod. Experimenting can help you find what works best for different types of metal and rod sizes, but start with the basics to solve your connection problems.
Troubleshooting Common Connection Issues
Let’s look at some typical problems you might face and how to fix them.
No Arc at All
If you strike the rod and nothing happens, it’s usually a connection problem. First, check if both cables are securely plugged into the welder. Then, make sure the ground clamp has a good grip on clean metal.
If the welder is on and receiving power, a loose cable or a poor ground is the most likely culprit.
Weak or Unstable Arc
A weak arc means the electricity isn’t flowing as it should. This can be caused by loose connections at either the welder or the ground clamp. It could also be a dirty ground connection.
Sometimes, the welding rod itself might be damp, which affects the arc.
Rod Sticking to the Workpiece
This is a classic sign of a connection issue or wrong polarity. If the rod sticks immediately, your ground might be too far away, or the connection isn’t good. If you’re using DC, try reversing the polarity.
For AC welding, ensure your welder is set to AC and that the connections are secure.
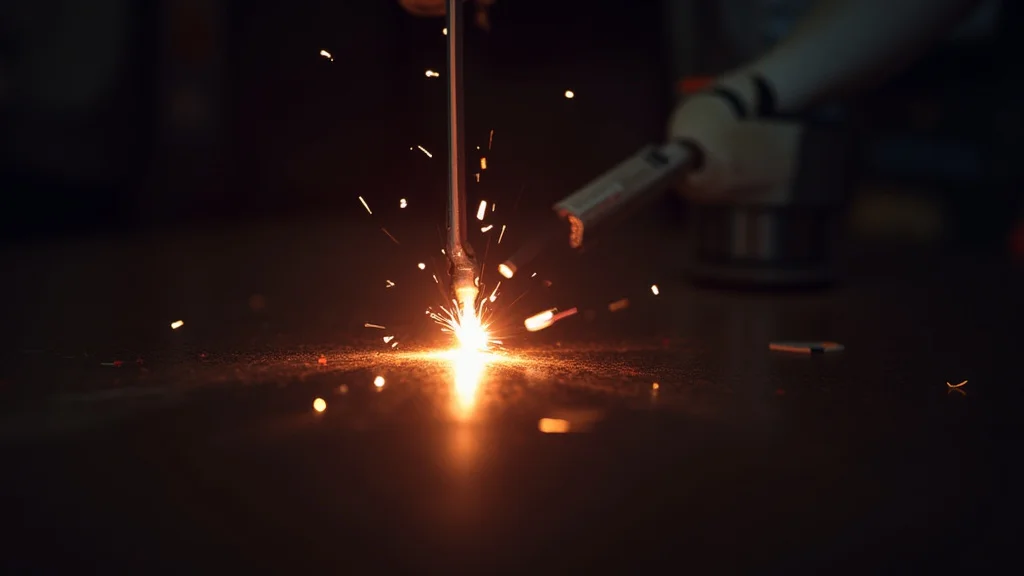
Sparks Flying Randomly
If you see sparks but can’t get a controlled arc, your ground clamp might be too far from where you’re trying to strike the arc. The electricity is finding a path, but it’s not a direct one. Move the ground clamp closer to your welding spot, or ensure it’s on the same piece of metal you intend to weld.
Simple Maintenance for Good Connections
Keeping your welding equipment in good shape is key. This includes your cables and connectors.
Cleaning Connectors
Over time, the metal connectors on your cables can get dirty or corroded. A quick clean with a wire brush or fine sandpaper can make a big difference. Shiny metal means a good connection.
Do this for the plugs that go into your welder and the jaws of your ground clamp.
Checking Cable Condition
Inspect your cables for any damage, like cuts, nicks, or fraying. Damaged cables can be dangerous and won’t carry electricity effectively. If you find damage, it’s best to repair or replace the cable.
Frequently Asked Questions
Question: What should I do if my stick welder won’t strike an arc?
Answer: First, check that both the electrode holder cable and the ground clamp cable are securely plugged into your welder. Next, ensure the ground clamp has a clean, solid metal-to-metal connection to your workpiece. Also, verify that your welder is turned on and receiving power.
Question: How do I know which polarity to use?
Answer: The polarity setting depends on the type of welding rod you are using. Always check the packaging of your welding rods for recommended polarity settings (like DC+, DC-, or AC). Your welder will have a way to adjust this setting.
Question: My welding rod keeps sticking to the metal. What’s wrong?
Answer: This often means the electrical circuit isn’t complete. Make sure your ground clamp is attached to clean metal and is close to where you are welding. If you are using DC, try reversing the polarity on your welder.
Ensure your connections are snug.
Question: Can I weld if my cables are a bit dirty?
Answer: It’s not ideal. Dirt, paint, or rust on your ground connection can create a poor electrical path, leading to a weak or unstable arc. It’s best to clean the metal surface where the ground clamp attaches with a wire brush for a good connection.
Question: What if I don’t have a good spot to attach the ground clamp directly to the workpiece?
Answer: You can clamp the ground to a metal welding table, a sturdy metal workbench, or another substantial metal object that is electrically connected to your workpiece. The goal is a good, continuous path for electricity.
Final Thoughts
Fixing your stick welder’s cable connections is usually straightforward. You’ve learned how to identify your electrode holder and ground clamp, and why making a good, clean connection with both is so important. We covered how polarity plays a role and how to check your cables.
By following these simple steps, you can solve most connection issues and get back to welding smoothly. Keep those connections clean and tight for the best results.