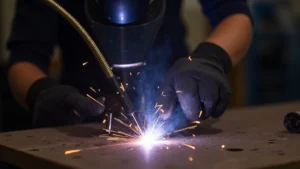
If your MIG welder wire is feeding too slowly, it can be frustrating, especially when you’re just starting out. It feels like you’re doing everything right, but the wire just won’t cooperate. This is a super common issue for new welders, and thankfully, it usually has a simple fix.
We’ll walk through exactly what to check and how to get your welder working smoothly again, so you can get back to creating great welds. Let’s look at the quick fixes first.
Key Takeaways
- You will learn the common reasons why MIG welder wire feeds too slowly.
- This post will provide simple, step-by-step solutions to fix wire feeding issues.
- You will discover how to check and adjust different parts of your MIG welder for proper wire feed.
- This article will help you identify and solve problems with your MIG gun, drive rolls, and liner.
- You will understand how proper tension and clean equipment are key to consistent wire feeding.
- You will gain confidence in troubleshooting your MIG welder to achieve smooth welds.
Why is MIG Welder Wire Feeding Too Slowly? Solution is Common
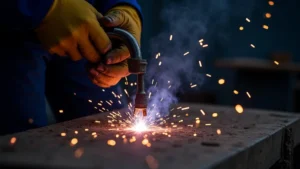
When you’re learning to weld with a MIG (Metal Inert Gas) setup, one of the most frequent hiccups is the wire not feeding consistently or at the right speed. It’s a problem that pops up for many beginners, and it can make you scratch your head. You might be trying to lay down a nice, steady bead, but the wire sputters, jams, or just inches out of the gun.
ThisMIG Welder Wire Feeding Too Slowly? Solution is so common because several small things can go wrong, and they aren’t always obvious to a new eye. The good news is, these issues are usually straightforward to fix once you know what to look for.
Think of your MIG welder’s wire feed system like a well-oiled machine. Every part needs to work together perfectly. If even one small gear or connection isn’t quite right, the whole system can slow down or stop.
For beginners, figuring out which part is causing the trouble can feel like a puzzle. Is it something with the wire itself? The machine?
The gun? This article aims to clear up that confusion. We’ll break down the most likely culprits and give you easy steps to get your wire feeding like it should, making your welding experience much smoother.
Common Causes for Slow Wire Feed
Several things can make your MIG welder wire feed too slowly. Often, it’s not just one big problem, but a combination of small issues that add up. Understanding these common causes is the first step to fixing them.
1. Incorrect Drive Roll Setup
The drive rolls are the parts inside your welder that grip the wire and push it through the welding gun. If they aren’t set up right, they can’t grip the wire properly, leading to slow or inconsistent feeding.
- Wrong Size Rolls: MIG machines use different drive rolls for different wire sizes. If you have rolls for 0.030-inch wire installed but are trying to feed 0.035-inch wire, they won’t grip well. Always make sure your drive rolls match the wire diameter you’re using.
- Incorrect Groove Type: Drive rolls come with V-grooves for solid wire or U-grooves for flux-cored wire. Using the wrong groove type means the wire can slip.
- Rolls Installed Backward: Some drive rolls can be installed in reverse. Double-check that the numbers on the rolls are facing outwards, matching the wire size you’re feeding.
2. Insufficient Drive Roll Tension
The tension arm on your welder presses the drive rolls against the wire. If this tension is too loose, the rolls will slip on the wire instead of pushing it forward. If it’s too tight, it can deform the wire and cause jams or bird’s nesting.
You want enough tension to grip the wire firmly but not so much that it crushes or flattens it. A good test is to try and pull the wire out of the gun while the feeder is running. You should be able to stop the wire with some effort, but it shouldn’t be completely effortless.
3. Dirty or Damaged Drive Rolls
Over time, the drive rolls can pick up metal shavings, dirt, or residue from the wire. This build-up reduces their grip on the wire. Worn-out or damaged rolls will also have a harder time pushing the wire.
Clean your drive rolls regularly with a wire brush. If they look worn down or have nicks, it’s time to replace them. Most welders have reversible rolls, so you can flip them over to use the other side if one gets worn.
4. Kinked or Damaged Wire
A bent or kinked section of wire is a sure way to cause feeding problems. When the wire is bent, it can get stuck in the liner or jam in the drive rolls. This is especially common with cheaper wire spools or if the wire has been stored improperly.
If you find a kink, cut it out and discard that section of wire. It’s also a good idea to run a little bit of wire through your welder to clear any debris or damaged wire from the system before you start welding.
5. Obstructions in the Gun Liner
The liner is a flexible tube inside your welding gun that guides the wire from the drive rolls to the tip. If this liner gets clogged with debris, dirt, or even a bent piece of wire, it creates friction and resistance, slowing down or stopping the wire feed.
This is a very common cause. You can often clear a minor obstruction by pushing a clean piece of wire through the gun. For more stubborn clogs, you might need to remove the liner and clean it or replace it entirely.
6. Dirty or Worn Contact Tip
The contact tip is the small brass part at the very end of your welding gun. It not only transfers electricity to the wire but also guides it out. If the hole in the tip becomes enlarged, clogged with spatter, or worn out, the wire won’t feed smoothly.
Clean the contact tip regularly by using a tip cleaner tool or a small drill bit that matches the wire size. If the hole looks enlarged or the tip is heavily damaged, replace it. Always use the correct size tip for your wire diameter.
7. Welding Gun Cable Issues
The welding gun cable houses the wire liner and the electrical leads. If the cable is bent sharply, kinked, or damaged, it can create resistance for the wire to pass through. A strained cable can also put pressure on the drive rolls or liner.
Keep the welding gun cable as straight and free of sharp bends as possible. Inspect it for any signs of damage or wear and tear. If you notice it’s stiff or bent in a way that impedes wire movement, it might need to be replaced.
8. Incorrect Wire Speed Setting
Your MIG welder has a wire speed control. If this is set too low, the wire will simply feed out too slowly, regardless of whether other parts are working correctly. This might sound obvious, but it’s an easy setting to overlook when you’re troubleshooting.
Refer to your welder’s manual or a welding chart to find the recommended wire speed for the material thickness and wire type you are using. Start with the recommended setting and adjust as needed.
9. Improper Ground Clamp Connection
While less direct, a poor ground connection can sometimes affect the welding process, including wire feeding. If the electrical circuit isn’t complete and strong, the welder might not perform optimally.
Ensure your ground clamp is securely attached to a clean metal surface. Remove any paint, rust, or debris from the workpiece and the clamp to ensure a solid connection.
10. Spool Tension Issues
The spool of wire itself has a tension adjustment. If the spool rotates too freely, the wire can become slack before it reaches the drive rolls, leading to tangles and feeding problems. If it’s too tight, it can put extra drag on the system.
The spool tension should be just enough to prevent the spool from unspooling freely when you move the welder. It should still spin easily when the drive rolls pull the wire.
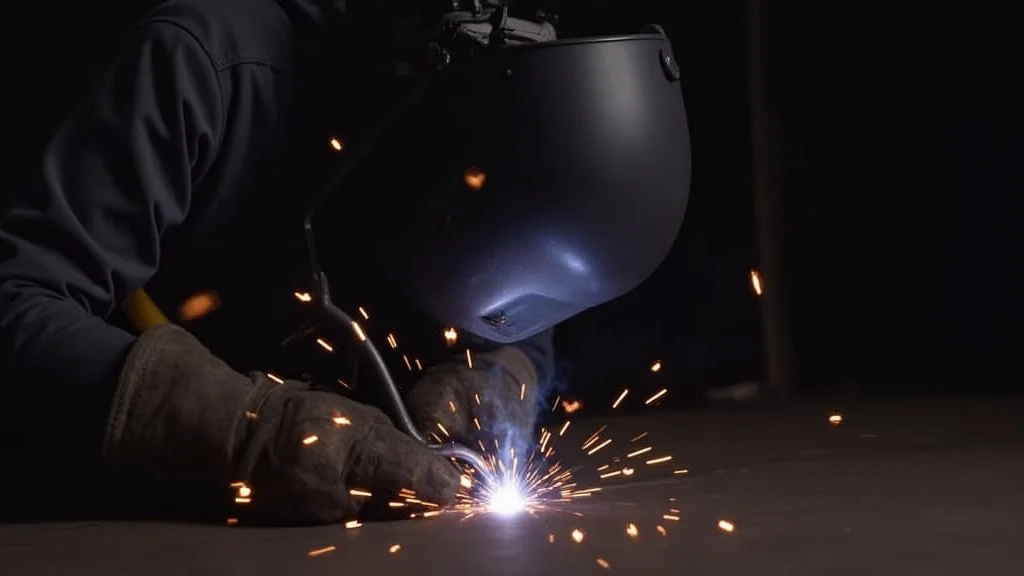
Troubleshooting Steps: A Step-by-Step Guide
When you encounter slow wire feeding, don’t panic. Follow these steps to systematically identify and fix the problem.
Step 1: Check Wire Spool and Drive Rolls
Start with the most common culprits: the wire spool and the drive rolls.
- Inspect the Wire Spool: Make sure the spool is loaded correctly and the wire is feeding off without any twists or tangles. Check the spool tension knob on the welder; it should be snug enough to prevent the spool from unwinding on its own but loose enough to allow the wire to feed.
- Verify Drive Roll Size and Groove: Open the wire feed compartment. Check the size of the drive rolls. They must match the diameter of the wire you are using (e.g., 0.030″, 0.035″). Also, ensure you are using the correct groove type (V-groove for solid wire, U-groove for flux-cored wire).
- Check Drive Roll Installation: Make sure the drive rolls are installed with the correct numbers facing outwards.
- Examine Drive Roll Tension: Adjust the tension arm. Start with a moderate setting. Too loose and the wire will slip; too tight and it can deform the wire.
Step 2: Inspect the Welding Gun and Liner
Next, focus on the path the wire takes through your welding gun.
- Clear the Contact Tip: Remove the contact tip and clean the inside of its hole with a tip cleaner or a small drill bit matching your wire size. Also, clean any spatter from the tip’s exterior.
- Check the Gun Liner: Disconnect the gun cable from the feeder. Gently push a known good piece of wire through the liner by hand. If you feel resistance or it gets stuck, the liner is likely clogged or damaged.
- Push Wire Through the Liner: A good way to test the liner is to disconnect the gun from the feeder and push a length of wire from the back of the gun, where it connects to the feeder, all the way through to the tip. If it’s hard to push or stops, the liner has an issue.
- Consider Liner Replacement: If the liner is clogged or damaged, it’s usually best to replace it. This is a common maintenance item.
Step 3: Examine the Wire Itself
Sometimes, the wire itself is the problem.
- Look for Kinks: Unspool a few feet of wire and carefully inspect it for any bends or kinks. If you find any, cut them out and discard that section of wire.
- Try New Wire: If you suspect the wire is old, damaged, or of poor quality, try a new spool.
Step 4: Verify Welder Settings
Ensure your machine is set up correctly.
- Wire Speed Setting: Double-check that your wire speed dial is set to an appropriate level for the material you are welding. It’s easy to accidentally turn it down too low.
- Voltage Setting: While not directly related to wire feeding speed, the voltage setting affects the arc. Incorrect voltage can make it seem like the wire feed is off.
Step 5: Test and Adjust
After making any adjustments or replacements, test the wire feed.
- Feed Wire Without Welding: Engage the welder’s wire feed trigger (without an arc) to see if the wire feeds smoothly and at a consistent speed.
- Make a Test Weld: Once you’re confident the wire is feeding well, make a short test weld on some scrap material to check the arc and overall performance.
- Fine-tune Tension: If the wire is still slipping, slightly increase the drive roll tension. If it’s deforming or causing jams, reduce the tension.
Comparing Common Wire Feed Issues
To help you quickly diagnose problems, here’s a comparison of how different issues might present themselves:
| Problem | Symptom | Likely Cause | Quick Fix |
|---|---|---|---|
| Drive Roll Slippage | Wire feeds intermittently or not at all; you might hear a grinding noise. | Loose tension, worn rolls, wrong roll size/groove. | Tighten tension, clean/replace rolls, check size/groove. |
| Liner Obstruction | Wire feeds very slowly and with significant resistance, can stop completely. | Dirt, debris, or a kinked wire stuck in the liner. | Push wire through, clean liner, or replace liner. |
| Contact Tip Clog | Wire feeds inconsistently, often with spitting or poor arc. | Spatter buildup or worn hole in the contact tip. | Clean or replace the contact tip. |
| Kinked Wire | Wire jams frequently or stops feeding altogether. | Damaged wire on the spool or during unreeling. | Cut out kinked section, replace spool if badly damaged. |
| Incorrect Settings | Wire speed is far too low or high, not matching welding needs. | Wire speed dial set too low. | Adjust wire speed dial to recommended setting. |
Frequently Asked Questions
Question: How do I know if my drive rolls are the right size?
Answer: Check the numbers stamped on the drive rolls; they usually indicate the wire diameter they are designed for (e.g., 0.030 or 0.035). Make sure this matches the wire spool you are using.
Question: My MIG welder wire is feeding fine, but it keeps jamming. What could be the issue?
Answer: Jamming often points to a kink in the wire, a clogged gun liner, or too much tension on the drive rolls which deforms the wire. Check these areas first.
Question: Can I use a wire brush to clean the welding gun liner?
Answer: A wire brush is generally used for the drive rolls or to clean the contact tip. To clean a liner, it’s best to push a clean piece of wire through it or use specialized liner brushes if available.
Question: How often should I clean my MIG welder’s contact tip?
Answer: You should clean your contact tip regularly, ideally before each welding session or whenever you notice spatter buildup that affects the arc. Consistent cleaning prevents major feeding issues.
Question: My wire feed motor sounds weak or is making strange noises. What should I do?
Answer: If the wire feed motor sounds strained, it could indicate excessive resistance in the wire path (like a clogged liner) or that the motor itself is starting to fail. Check for obstructions first, then consider if the motor needs service.
Final Thoughts
Dealing with a MIG welder wire feeding too slowly is a learning curve, but it’s manageable. You’ve learned that issues with drive rolls, liners, and wire condition are the usual suspects. Simple checks like ensuring the right rolls are on, cleaning the gun, and looking for kinks can solve most problems.
Don’t forget to verify your welder’s settings are correct. By following a step-by-step approach, you can get your MIG welder feeding wire smoothly again, leading to better welds and less frustration.