Having trouble with your MIG welder not heating up right can be frustrating, especially when you’re just starting out. You might wonder if you’re doing something wrong or if the equipment is broken. Don’t worry, this is a common issue many new welders face!
We’ll walk through simple steps to fix it. Let’s get your welder working like it should so you can get back to your projects. We’ll cover the most common reasons and how to fix them, step-by-step.
Key Takeaways
- You will learn the most common reasons why a MIG welder might not heat properly.
- Simple checks for your power source and connections will be explained.
- You will find out how to adjust your MIG welder settings for better heat.
- Troubleshooting wire feed issues that affect heating will be covered.
- Basic maintenance tips to keep your welder running smoothly will be shared.
- You will gain confidence in diagnosing and fixing common MIG welding heating problems.
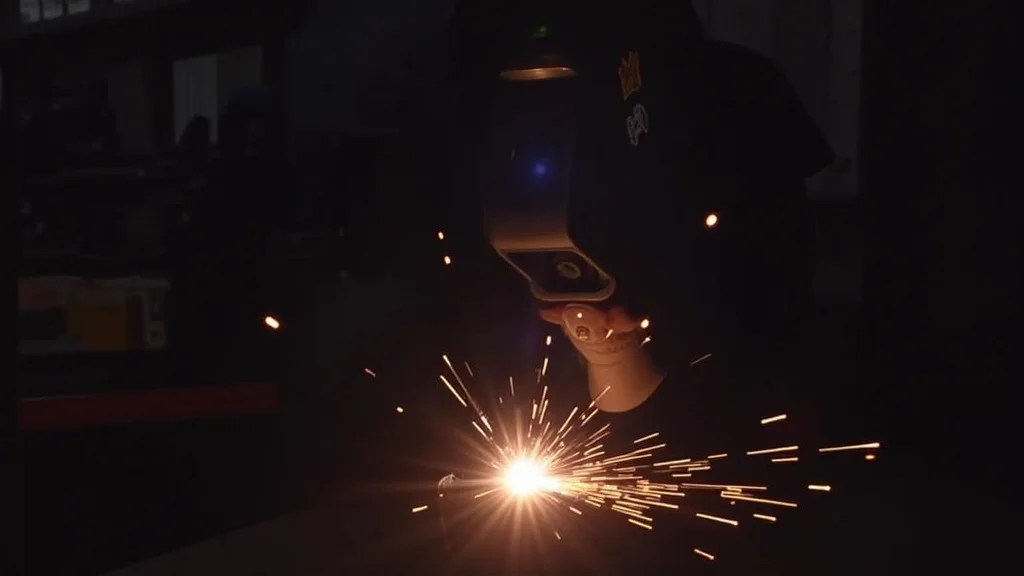
Why Your MIG Welder Might Not Be Heating Properly
It’s a bummer when your MIG welder acts up. You’re ready to weld, but the metal just isn’t getting hot enough. This usually means your welder isn’t producing the heat it should.
It’s not always a big, scary problem. Often, it’s something simple that’s easy to fix. We’ll go through the usual suspects one by one.
Checking Your Power and Connections
The first thing to look at is where your welder gets its power. Without enough juice, it can’t make enough heat. This seems obvious, but it’s often the simplest fix.
Is the Power Source Sufficient?
MIG welders need a good amount of electricity. Make sure your welder is plugged into the correct outlet. Some need a 20-amp circuit, while others might need a special 240-volt plug.
Check your welder’s manual for the exact power requirements. If your home or shop circuit isn’t strong enough, the welder won’t get the power it needs. This can make it seem like it’s not heating properly.
Are the Cables and Connections Secure?
Loose cables can cause big problems. Check the power cord where it enters the welder and where it plugs into the wall. Make sure these connections are tight and not damaged.
Also, check the ground clamp. It needs to be firmly attached to the metal you’re welding. A loose ground clamp means the electrical circuit isn’t complete, and you won’t get good heat transfer.
Look closely at all the cables. Are they frayed or damaged? Damaged cables can reduce the power going to your welding torch.
Sometimes, a bad connection inside the machine can also be the culprit, but this is less common for beginners.
Understanding Wire Feed Issues
The wire is like the fuel for your MIG welder. If it’s not feeding right, it affects how well your welder works, including the heat output.
Wire Speed vs. Heat
Most MIG welders have a wire speed control. If the wire is feeding too slowly, it won’t deliver enough molten metal to the weld puddle. This means less heat is being transferred to the workpiece.
You might think the welder isn’t hot, but it’s actually a wire feed problem.
Conversely, if the wire speed is too fast, you might get spatter, but it could also lead to a weak weld if not enough heat is being generated to melt the base metal properly. The goal is to match the wire speed to the voltage and amperage for the right amount of heat.
Checking the Drive Rollers
The drive rollers push the welding wire through the gun. If these rollers are dirty, worn, or not set correctly, they can slip. This leads to inconsistent wire feed.
Make sure the rollers are clean and that the tension is set just right. It should be tight enough to grip the wire but not so tight that it crushes it.
Also, ensure the rollers are the correct size for the wire you are using. Different wire sizes need different rollers. If you’re using a 0.030-inch wire, you need 0.030-inch rollers.
Using the wrong size will cause feeding problems.
The Liner and Tip Condition
The gun liner is a flexible tube inside the welding gun that guides the wire. If the liner is kinked or blocked, the wire will have trouble feeding. You might need to
A dirty or worn tip can also cause arc instability, which affects heat. Clean out any spatter and replace the tip if it looks worn out. It’s a cheap part, and a new tip can make a big difference.
Adjusting Your Welder Settings
The settings on your MIG welder control the heat output and penetration. Incorrect settings are a very common reason for poor heating.
Voltage and Amperage Explained
Voltage controls the arc length. Higher voltage means a longer arc and more heat. Lower voltage means a shorter arc and less heat.
Amperage is the amount of electrical current. Higher amperage provides more power to melt the metal. For MIG welding, voltage and wire speed are often linked.
Increasing one usually requires adjusting the other.
If your welder isn’t heating enough, you might need to increase the voltage. But don’t just crank it up. You need to find the right balance.
A welding chart, often found inside the welder’s lid or in the manual, can help you select starting settings based on the thickness of the metal you’re welding and the type of wire you’re using.
Using the Right Settings for Your Material
Welding thin metal requires less heat than welding thick metal. If you’re trying to weld a thin sheet of steel with settings meant for a thick plate, you’ll likely burn through or won’t get good fusion. Conversely, if you’re welding thick material with settings for thin metal, you won’t get enough penetration and heat.
Always consult a welding chart or your welder’s manual. Start with the recommended settings for your material thickness and adjust as needed. Pay attention to the sound of the arc and the appearance of the weld puddle.
A good arc sounds like a consistent sizzle, not a crackle or a weak hiss.
Shielding Gas Issues
Shielding gas is vital for MIG welding. It protects the molten weld puddle from the air, which can cause contamination and weaken the weld. Gas flow also plays a role in the arc characteristics and heat.
Is the Gas Flowing Correctly?
Make sure your shielding gas cylinder has gas in it and that the regulator is set correctly. A common mistake is having the gas flow too low. If there isn’t enough gas, the weld won’t be protected, and you’ll see porosity and poor fusion.
This can make it seem like the welder isn’t heating properly because the weld isn’t forming correctly.
You can check the gas flow by briefly pressing the trigger on your welding gun while the machine is powered on. You should hear and feel the gas flowing. A good starting point for gas flow is usually around 15-25 cubic feet per hour (CFH), but check your gas manufacturer’s recommendations.
Checking for Leaks
Leaks in the gas hose or connections can cause gas to escape before it reaches the weld puddle. Check all the connections from the cylinder to the welding gun. Make sure they are tight and free of damage.
You can often detect gas leaks by listening for a hissing sound or using a soapy water solution on the connections.
If you suspect a leak, tighten the connections. If the problem persists, you may need to replace a faulty hose or fitting.
Basic Maintenance for Your Welder
Keeping your MIG welder clean and in good working order is key to consistent performance. Regular maintenance prevents many common issues, including poor heating.
Cleaning the Welder
Dust and debris can build up inside your welder, especially around cooling fans. This buildup can cause the machine to overheat, which might trigger thermal overload protection, making it seem like it’s not heating. Periodically clean the inside and outside of your welder with compressed air.
Pay special attention to ventilation slots and cooling fans.
Checking and Replacing Consumables
Consumables are parts that wear out over time. These include the contact tip, nozzle, and liner. As mentioned before, a clogged or worn contact tip restricts wire flow and can affect the arc.
The nozzle can also get spatter buildup, which can interfere with gas flow.
Regularly inspect these parts. Clean them with a wire brush or replace them when they show signs of wear or damage. It’s a good habit to replace the contact tip every so often, as they are inexpensive and critical for a good weld.
Troubleshooting Flow Chart (Simple Version)
If your MIG welder is not heating properly, follow these steps:
- Check Power: Is the welder plugged in? Is the outlet correct? Is the circuit breaker tripped?
- Check Connections: Are the power cord and ground clamp tight? Are the cables in good condition?
- Check Wire Feed: Is the wire speed set correctly? Are the drive rollers clean and tensioned properly? Is the liner clear?
- Check Settings: Are the voltage and wire speed appropriate for the metal thickness?
- Check Gas: Is the gas cylinder on? Is the regulator set correctly? Are there any gas leaks?
- Check Consumables: Is the contact tip clean and not worn? Is the nozzle clear of spatter?
Frequently Asked Questions
Question: Why is my MIG welder not melting the metal?
Answer: This usually means the welder is not producing enough heat. Check your power source, ensure all connections are tight, verify your wire speed and voltage settings are appropriate for the metal thickness, and make sure your shielding gas is flowing correctly. Also, check that your contact tip is clean and not worn out.
Question: I replaced the contact tip, but my MIG welder still isn’t heating well. What else could it be?
Answer: If a new tip didn’t fix it, look at the wire feed system. Dirty or worn drive rollers, a kinked liner, or incorrect tension can all cause poor wire feed, which affects heat. Also, ensure your ground clamp is making good contact with the workpiece.
Question: My MIG welder is making a weak arc. What does this mean?
Answer: A weak arc usually indicates insufficient power or a poor electrical connection. Double-check your power source and make sure the welder is plugged into an adequate outlet. Inspect all cables and connections for tightness and damage.
A low gas flow can also sometimes cause a weaker-feeling arc.
Question: How do I know if my shielding gas is flowing correctly?
Answer: You can test the gas flow by briefly pressing the trigger on your welding gun while the machine is powered on. You should hear and feel the gas escaping. Check your regulator to ensure it’s set to the recommended flow rate, usually between 15-25 CFH.
Question: Can a dirty MIG welder cause it to stop heating properly?
Answer: Yes, dust and debris can clog cooling fans and ventilation slots. This can cause the welder to overheat and potentially trigger its thermal overload protection, which will shut down or reduce power, making it seem like it’s not heating. Regular cleaning is important.
Final Thoughts
Having your MIG welder not heat properly is a fixable issue. We’ve covered checking power, connections, wire feed, settings, and gas. We also talked about simple maintenance.
By going through these steps, you can find out why your welder isn’t heating right. Most problems are simple to solve. Keep these checks in mind, and you’ll be welding smoothly again in no time.
Happy welding!


