Seeing burn marks with your MIG welder can be frustrating, especially when you’re just starting out. It feels like you’re doing something wrong, and figuring out why can be tough. But don’t worry, it’s a common issue many welders face!
This guide will walk you through the simple steps to fix those burn marks and get you welding like a pro. We’ll cover the common causes and how to solve them easily.
Key Takeaways
- You will learn the common reasons behind MIG welder burn marks.
- This post will show you how to adjust your welder settings to prevent burn marks.
- You will understand the role of your welding gun and consumables.
- Simple, step-by-step solutions will be provided to fix burn marks.
- You will gain confidence in troubleshooting common MIG welding issues.
Understanding MIG Welder Burn Marks
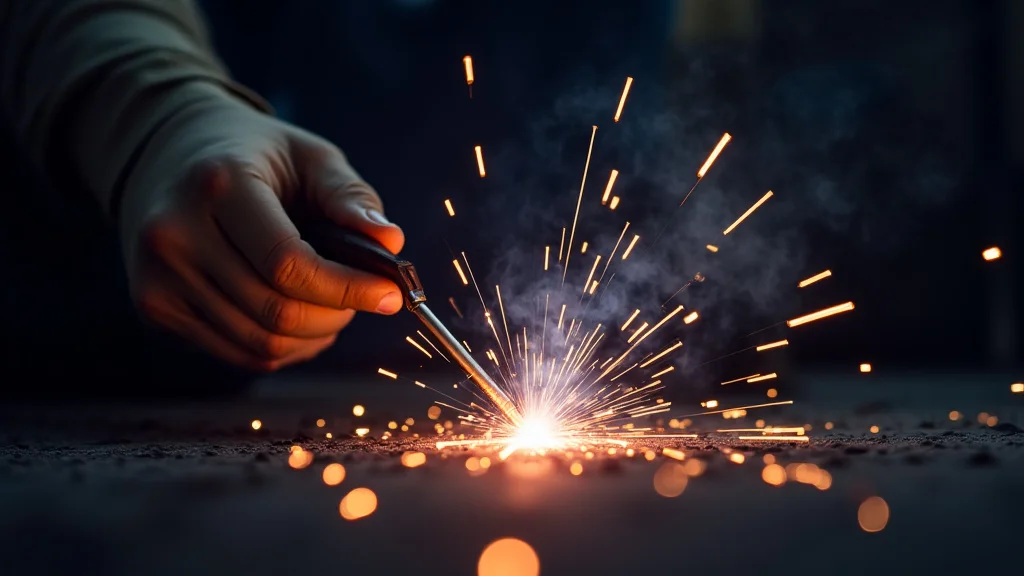
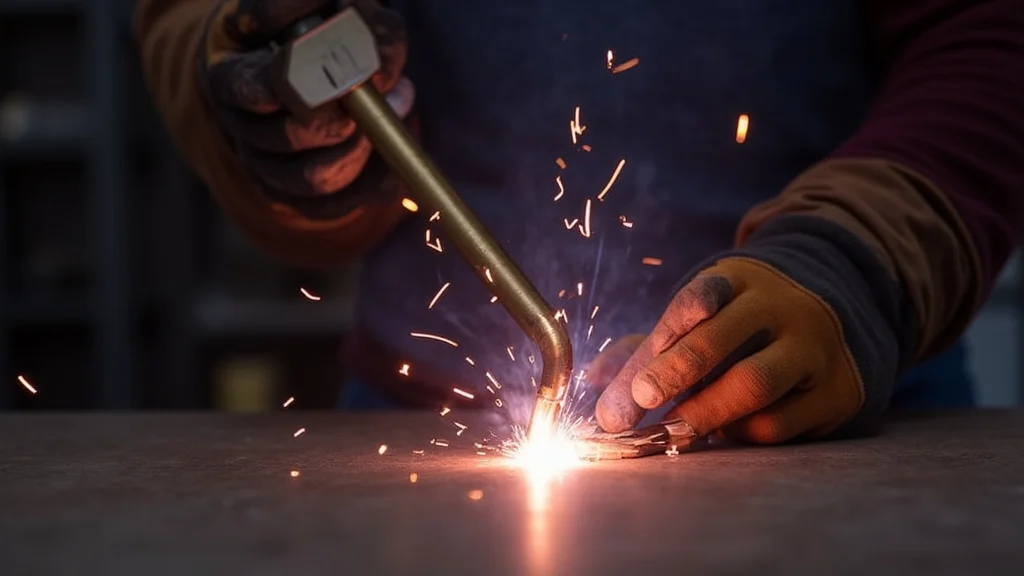
When you’re MIG welding, you want neat, strong welds. Burn marks, often looking like black soot or excessive spatter around the weld, are a sign that something isn’t quite right. For beginners, this can be confusing.
You’re trying to create a good bond, but instead, you’re left with a mess. These marks aren’t just ugly; they can sometimes point to weaker welds.
The good news is that identifying and fixing MIG Welder Burn Marks? Troubleshoot issues is usually straightforward. It often comes down to a few key adjustments you can make to your machine and your technique.
Let’s break down what might be causing them and how to get rid of them.
Common Causes of Burn Marks and Spatter
Several factors can lead to burn marks and spatter when using a MIG welder. Think of it like cooking: if your heat is too high or your ingredients aren’t right, the food won’t turn out well. Welding is similar.
Your goal is to melt the metal just enough to fuse it together, not to burn it away or send molten metal flying everywhere.
1. Incorrect Voltage and Wire Speed Settings
The voltage and wire speed are the two main controls on most MIG welders that affect the heat and the amount of filler metal you’re feeding. Getting these two in sync is crucial. If they are off, you’ll see problems.
- Too Much Heat (High Voltage/Wire Speed): When the voltage and wire speed are too high for the metal thickness, you’re feeding too much wire and applying too much heat. This melts through the base metal too quickly, causing burn-through and excessive spatter. The metal can get so hot that it boils and ejects small droplets, which is spatter.
- Too Little Heat (Low Voltage/Wire Speed): Conversely, if the settings are too low, you won’t have enough heat to melt the wire and the base metal properly. This results in a weak weld, and you might still get spatter because the arc isn’t stable.
Finding the sweet spot for your material thickness is key. Most welding machines have charts or guides that suggest starting points for different types and thicknesses of metal. Always refer to these when you begin.
2. Improper Ground Clamp Connection
A good electrical connection is vital for any welding process. The ground clamp provides the return path for the electrical current. If this connection is poor, the current can jump around, causing arc instability and lots of spatter.
- Loose Clamp: Make sure the ground clamp is firmly attached to the workpiece or the welding table. Any dirt, rust, or paint on the metal surface where the clamp is attached can prevent a good connection.
- Too Far Away: The ground clamp should be as close to the weld as possible. A long ground cable can increase resistance, leading to a weaker current and arc issues.
Always clean the metal surface where you attach the ground clamp. A quick brush with a wire wheel can make a big difference.
3. Wrong Shielding Gas Flow Rate
MIG welding uses a shielding gas to protect the molten weld pool from the air. The air contains oxygen and nitrogen, which can cause defects in the weld if they get in. The gas flows from the welding gun nozzle.
- Too High Gas Flow: If the gas flow is too high, it can create turbulence. This turbulence can actually pull air into the weld pool, causing contamination and spatter. It can also blow the shielding gas away from the weld area.
- Too Low Gas Flow: If the gas flow is too low, there isn’t enough protection for the molten metal. This leads to porosity (small holes) in the weld and can also cause increased spatter.
The recommended gas flow rate depends on the type of gas, your location (indoors vs. outdoors), and the distance from the nozzle to the workpiece. A good starting point is usually around 15-25 cubic feet per hour (CFH) for common gas mixes like 75% Argon / 25% CO2.
4. Travel Speed and Angle
How fast you move your welding gun and the angle you hold it at also play a big role. These are part of your welding technique.
- Moving Too Fast: If you move the gun too quickly, you don’t give the wire and metal enough time to melt and fuse properly. This can result in a thin, weak weld with spatter because the arc is too concentrated.
- Moving Too Slow: Moving too slowly can cause you to put in too much heat, leading to burn-through and excessive spatter as the metal gets overheated.
- Incorrect Gun Angle: Holding the gun at too much of a “drag” angle (pulling the gun behind you) or “push” angle (pushing the gun in front of you) can affect gas coverage and how the molten metal flows. For most steel applications, a slight drag angle is preferred.
Aim for a consistent speed that creates a smooth, even bead. The gun should generally be held at a slight angle, pointing in the direction you are welding.
5. Dirty or Damaged Welding Consumables
The parts of your welding gun that come into contact with the arc and molten metal are called consumables. These include the contact tip, nozzle, and diffuser.
- Dirty Contact Tip: If the contact tip gets clogged with spatter, it can reduce the electrical conductivity. This leads to an unstable arc and poor wire feeding, resulting in spatter and poor weld quality.
- Worn Contact Tip: Over time, the inside of the contact tip can wear out, making the hole larger or misshapen. This affects how the wire feeds and the arc’s stability.
- Dirty or Damaged Nozzle: Spatter can build up inside the nozzle, restricting gas flow and affecting shielding. A bent or damaged nozzle can also cause issues.
Regularly cleaning or replacing your contact tip and nozzle is essential maintenance. A quick spray of anti-spatter can help prevent build-up.
6. Wrong Wire Diameter or Type
The diameter and type of welding wire you use must match the material you are welding and the capabilities of your machine.
- Wire Diameter: Using a wire diameter that is too large for your machine’s amperage rating will result in too much heat and wire feed issues. Conversely, a wire that is too small might not provide enough filler metal for thicker materials.
- Wire Type: Different wires are designed for different metals and shielding gases. Using the wrong type of wire can lead to poor weld quality and spatter. For instance, using a solid wire designed for pure Argon with an incorrect gas mix will cause problems.
Always check the manufacturer’s recommendations for wire to use with your specific welder and application.
7. Material Surface Contamination
Just like with the ground clamp, dirt, oil, rust, or paint on the base metal can cause problems.
- Oil and Grease: These can burn and create gases that get trapped in the weld, leading to porosity and spatter.
- Rust and Scale: These impurities can prevent proper fusion and lead to a weak weld with a rough appearance.
- Paint: Paint can burn, producing fumes and affecting the weld quality.
Thoroughly cleaning the metal surfaces before welding is a critical step for a good weld.
Troubleshooting Steps: Fixing MIG Welder Burn Marks
Now that you know the common culprits, let’s walk through how to fix them. Think of this as a checklist to go through when you notice burn marks or excessive spatter.
Step 1: Check Your Settings
This is usually the first and easiest thing to adjust. Look at the chart on your welder or in the manual.
- For thicker metal: You might need to increase voltage and wire speed.
- For thinner metal: You likely need to decrease voltage and wire speed.
Make small adjustments. Change one setting at a time and test. For example, if you have burn-through, try reducing the voltage slightly first, then if needed, reduce the wire speed.
Step 2: Inspect Your Ground Clamp
Is it secure? Is the metal surface clean? Scrape away any paint, rust, or dirt where the clamp connects.
Ensure the cable is not damaged.
Step 3: Check Shielding Gas Flow
Turn on your gas. Listen to the flow. If you have a flowmeter, check the reading.
If you’re unsure, try adjusting it slightly. A good test is to hold the gun about half an inch from the workpiece (without welding) and pull the trigger. You should hear a steady hiss, not a roaring sound (too high) or a weak puff (too low).
Step 4: Evaluate Your Technique
Slow down or speed up your travel speed. Try holding the gun at a slight drag angle. Practice on a scrap piece of metal to get a feel for the right speed and angle.
Step 5: Clean or Replace Consumables
Remove the nozzle and the contact tip. Clean the tip with a wire brush. If it looks worn or damaged,
Step 6: Verify Wire and Material Compatibility
Double-check that you’re using the correct wire diameter and type for the metal you’re welding. Ensure the wire is feeding smoothly without kinks in the cable.
Step 7: Clean the Metal Surface
Use a wire brush or grinder to clean the weld area. Remove any oil, grease, rust, or paint. A clean surface is essential for a good weld and arc stability.
Advanced Tips for Cleaner Welds
Once you’ve got the basics down, you can fine-tune your process even further.
Preheating Material
For some thicker materials, a little preheating can help prevent burn-through and ensure a more even melt. This isn’t always necessary, but it can be helpful in specific situations.
Using Anti-Spatter Spray
Applying anti-spatter spray to the nozzle and around the contact tip before welding can significantly reduce spatter build-up. This makes cleaning easier and helps maintain good gas flow.
Proper Wire Feed System Maintenance
Ensure your drive rolls are clean and set to the correct tension for your wire type and diameter. Kinks in the welding lead or a dirty liner can also cause inconsistent wire feed, leading to arc instability and spatter.
Checking Your Welder’s Output
If you suspect your welder might not be performing optimally, consider having it serviced. Sometimes, internal components can wear out, affecting the power output and arc quality.
Frequently Asked Questions
Question: Why do I get black soot around my weld with MIG welding?
Answer: Black soot usually means your shielding gas coverage is poor. This can happen if the gas flow is too low, the gas flow is too turbulent, or if you’re welding in a drafty area without enough protection. It indicates that oxygen from the air is reacting with the molten metal.
Question: How do I stop my MIG wire from sticking to the workpiece?
Answer: Wire sticking to the workpiece, called “stubbing,” typically happens when your wire speed is too high for the voltage setting, or when you move too fast. Try lowering the wire speed or increasing the voltage slightly. Also, ensure your travel speed is consistent and not too rapid.
Question: Can I use any welding wire with my MIG welder?
Answer: No, you cannot. You need to use wire that is compatible with your welder’s capacity and the type of metal you are welding. Also, solid wire requires specific shielding gases, while flux-cored wire might not need external gas or uses a different type of gas.
Always check your welder’s manual and the wire manufacturer’s recommendations.
Question: How often should I clean my MIG welding gun consumables?
Answer: It’s a good idea to clean your contact tip and nozzle every time you weld, or at least frequently during a long welding session. Spatter build-up can happen quickly and directly impacts your weld quality and arc stability. A quick clean with a wire brush or a blast of air can make a big difference.
Question: What is the best welding angle for MIG welding?
Answer: For most steel welding, a slight drag angle is recommended. This means you pull the gun behind you at about a 10-15 degree angle. Pushing the gun (push angle) can be used in some situations, like welding aluminum, but a drag angle generally provides better penetration and a cleaner bead for steel.
Final Thoughts
Dealing with MIG welder burn marks and spatter is a normal part of learning to weld. By understanding the common causes like incorrect settings, poor grounding, and gas issues, you can quickly fix them. Focus on consistent adjustments to your voltage and wire speed.
Always ensure a clean surface and a good ground. With practice and these simple troubleshooting steps, you’ll get cleaner, stronger welds and feel more confident with your MIG welder.