Getting your stick welder set just right can seem tricky at first. Knowing How to Properly Set Stick Welder Amperage is key for making good welds, but many beginners find it confusing. Don’t worry, it’s simpler than you think!
We’ll walk through it step-by-step so you can start welding like a pro. Ready to make your welds strong and clean? Let’s find out what makes a good weld setting.
Key Takeaways
- You’ll learn how amperage affects your weld.
- We will show you simple ways to pick the right amperage for different jobs.
- Understand how rod type changes the amperage needed.
- Discover how metal thickness plays a big role.
- Tips for adjusting amperage while you weld will be covered.
- You will feel more confident setting your stick welder.
Understanding Stick Welder Amperage
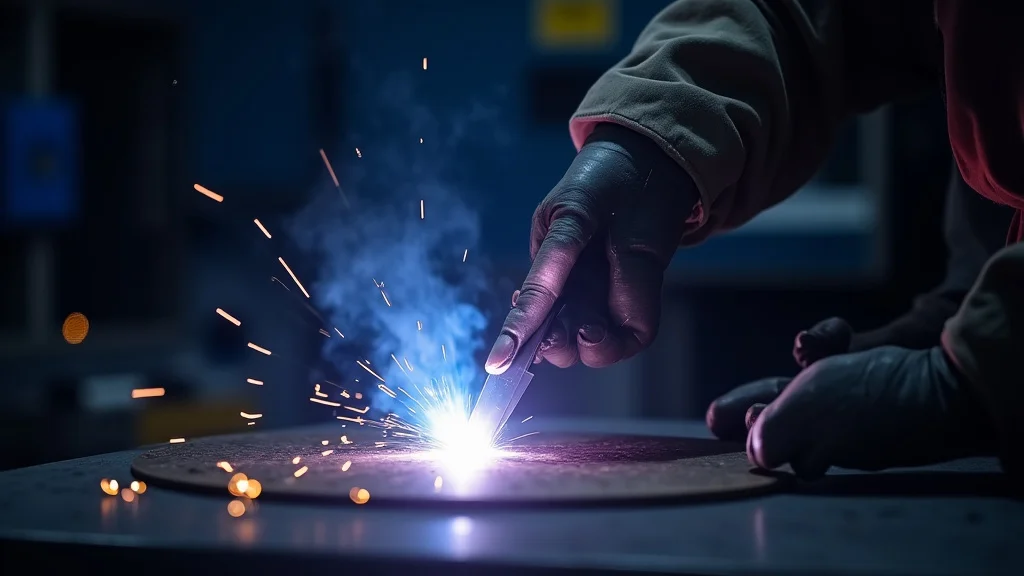
Amperage is like the “heat” your stick welder puts out. It’s the electrical current that melts the metal rod and the base metal to create your weld. Too little amperage, and your weld won’t penetrate deeply enough, leaving it weak and looking like a messy bead on top of the metal.
Too much amperage, and you risk burning through the metal, especially if it’s thin, creating a hole instead of a strong joint. Finding that sweet spot is what makes a good weld.
Why Amperage Matters
The amount of amperage you use directly controls how hot your welding arc is. This heat is what fuses the two pieces of metal together. When the amperage is correct, you get good fusion, a smooth bead shape, and minimal spatter.
It also makes the welding process easier. You’ll be able to control the puddle of molten metal more effectively. This leads to cleaner looking welds and, most importantly, stronger welds.
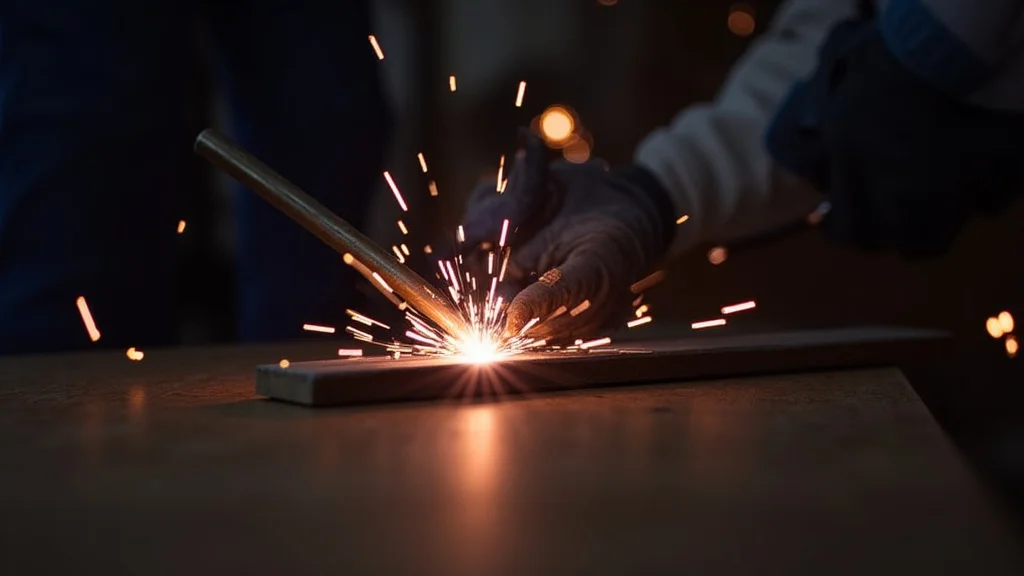
Heat Input and Penetration
Amperage dictates the depth of penetration. Penetration is how deep the weld metal goes into the base metal. For structural integrity, you need enough penetration to create a strong bond.
Lower amperage means less heat and shallower penetration. Higher amperage means more heat and deeper penetration. It’s a balance: you want enough penetration for strength without burning through the material.
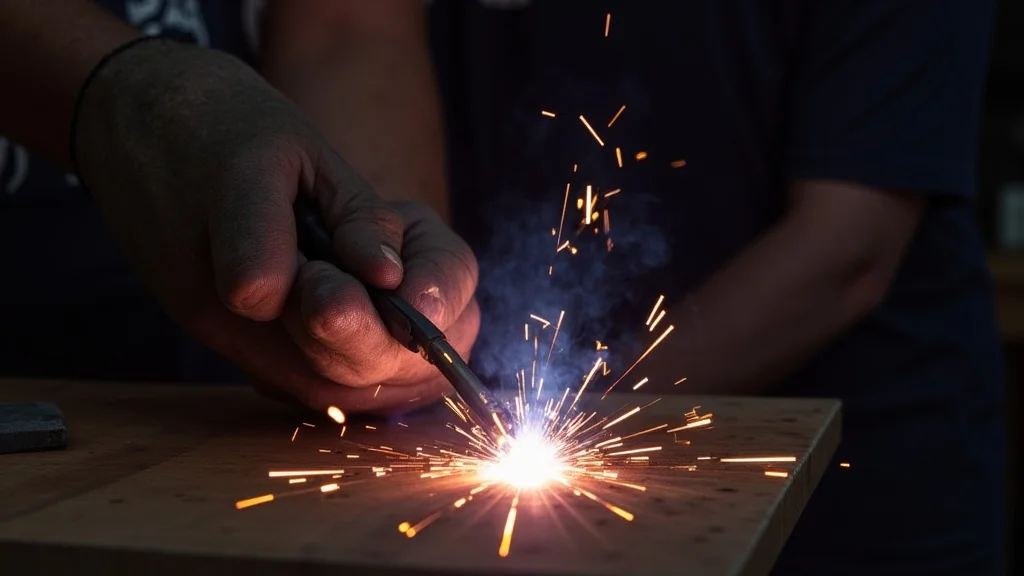
Spatter and Arc Stability
Setting the correct amperage also helps control spatter. Spatter is the small droplets of molten metal that fly out of the arc. Too much spatter can be a nuisance and can weaken the weld if it attaches to the surface instead of fusing into the bead.
A stable arc, achieved with proper amperage, reduces spatter and makes for a cleaner weld. A sputtering, unstable arc often means your amperage is off.
Factors Affecting Amperage Settings
Several things influence the perfect amperage setting for your stick welder. Ignoring these can lead to poor welds. We will look at the most important ones so you can make informed decisions.
Electrode (Rod) Type and Diameter
This is one of the biggest factors. Different welding rods are designed for different metals and welding positions, and they all need specific amperage ranges. The number on the electrode packaging usually gives you a hint.
For example, 6013 rods are generally more forgiving and can run at a wider range of amperages compared to, say, a 7018 rod, which often requires a bit more precision. The diameter of the rod is also crucial. Thicker rods need more amperage to melt properly than thinner rods.
Common Electrode Types and Their Amperage Needs
Let’s look at a few common rods:
- E6010: This rod is great for dirty or rusty metal and creates a deep penetrating arc. It usually runs a bit hotter and requires a specific amperage range.
- E6011: Similar to 6010 but can be used with AC or DC current. It also offers good penetration.
- E6013: A very popular all-around rod. It’s known for its easy arc starting and less spatter, making it good for beginners. It has a wider amperage range.
- E7018: This is a “low-hydrogen” rod used for strong welds, especially on thicker materials or where high strength is needed. It requires a cleaner surface and a more precise amperage setting, often a bit higher than 6013 for the same diameter.
How Diameter Changes Things
A 1/8-inch E6013 rod will need a different amperage than a 3/32-inch E6013 rod. Generally, as the rod diameter increases, the required amperage also increases. You can often find recommended amperage ranges for specific rod sizes printed on the rod packaging or in welding charts.
Metal Thickness
The thickness of the metal you are welding is a critical consideration. Welding thin sheet metal requires much lower amperage than welding thick steel plates. If you use too much amperage on thin metal, you’ll burn right through it, leaving a hole.
If you use too little amperage on thick metal, you won’t get enough penetration, resulting in a weak weld.
Thin Metals (Under 1/8 inch or 3mm)
For very thin metals, you need to be gentle. Start with the lowest recommended amperage for your rod and metal thickness. You might even need to “stitch” your welds, meaning you weld for short bursts and let the metal cool slightly.
This prevents overheating and burn-through. A rod like a 6013 or a specific thin-metal rod is often a good choice here.
Medium Thickness Metals (1/8 inch to 1/4 inch or 3mm to 6mm)
This is a common range for many projects. You’ll likely use standard rod sizes like 1/8-inch. The amperage settings here will be in the middle of the recommended ranges for your chosen rod.
You’ll aim for good penetration without burning through.
Thick Metals (Over 1/4 inch or 6mm)
Thick steel needs more heat to achieve proper fusion. You’ll use higher amperages and often thicker diameter rods. For very thick sections, you might need to weld multiple passes (layers) to build up enough weld metal for strength.
Rods like E7018 are often preferred for their strength on thicker materials.
Welding Position
The position you’re welding in can also affect your amperage choice. When welding out of position (like overhead or vertical up), you might need to reduce the amperage slightly. This helps control the molten puddle.
Gravity pulls the molten metal down. A lower amperage makes the puddle smaller and easier to manage, preventing it from sagging or dripping.
Flat Position (1G, 1F)
This is the easiest position. Gravity works with you, so you can usually use the higher end of the recommended amperage range for your rod and metal thickness. The puddle is easy to see and control.
Horizontal Position (2G, 2F)
In the horizontal position, the molten metal tends to sag. You might need to slightly lower the amperage compared to the flat position. You also need to adjust your torch angle to push the metal up against the top plate.
Vertical Position (3G, 3F)
Welding vertical can be done in two ways: vertical up or vertical down.
- Vertical Up: This is generally preferred for strength as it builds up the weld better. You’ll typically use a slightly lower amperage than flat.
The puddle needs to be controlled carefully so it doesn’t drip.
- Vertical Down: This is faster but often results in less penetration and a weaker weld. It’s sometimes used for quick repairs or thin materials where speed is more important than strength. You might use a slightly higher amperage than vertical up, and the rod angle is critical.
Overhead Position (4G, 4F)
This is the most challenging position. You’ll need to use the lowest amperage within the recommended range for your rod. A smaller, more manageable puddle is essential to prevent molten metal from falling on you.
Rods like E6013 or E7018 are often used, but with reduced amperage and a faster travel speed.
Machine Type and Settings
Different welding machines have different characteristics. Some are transformer-based, while others are inverter-based. Inverters are generally lighter, more portable, and offer more precise control over the welding arc.
AC vs. DC Amperage
Some stick welders can run on both AC (alternating current) and DC (direct current). The type of current affects how the arc behaves.
- DCEN (Direct Current Electrode Negative) or Straight Polarity: The electrode is negative, and the workpiece is positive.
This typically provides deeper penetration.
- DCEP (Direct Current Electrode Positive) or Reverse Polarity: The electrode is positive, and the workpiece is negative. This provides a shallower penetration and a broader arc.
- AC (Alternating Current): This cycles between positive and negative, offering a balance of penetration and arc stability. It’s often used with certain rod types like E6013.
The rod packaging will usually specify which polarity is recommended.
Base Metal Type
While most beginners will be welding mild steel, different metals require different approaches. For example, stainless steel and cast iron have different welding characteristics and may require specific rods and amperage settings, often higher or lower than mild steel.
How to Find the Right Amperage: Step-by-Step
Now let’s put it all together. Here’s a straightforward way to figure out your amperage settings.
1. Identify Your Materials
What are you welding? What is the thickness of the metal? This is your starting point.
For most DIY projects, you’ll be working with mild steel.
2. Choose Your Electrode (Rod)
Based on the metal thickness and the type of weld you need (strength, appearance), select an appropriate electrode. If you’re unsure, a general-purpose rod like an E6013 is a good bet for beginners.
3. Consult the Packaging or a Welding Chart
Look at the packaging for your chosen welding rods. There will almost always be a recommended amperage range listed for different rod diameters and sometimes for different welding positions or polarities. If you don’t have the packaging, a quick online search for “stick welding amperage chart” will give you plenty of helpful resources.
Here’s a simplified example of what you might find on a rod package or chart:
| Electrode Diameter | Amperage Range (e.g., E6013) | Amperage Range (e.g., E7018) |
|---|---|---|
| 3/32″ (2.4mm) | 30-60 amps | 40-70 amps |
| 1/8″ (3.2mm) | 50-90 amps | 60-100 amps |
| 5/32″ (4.0mm) | 80-130 amps | 90-150 amps |
Note: These are just examples. Always check the specific recommendations for your rods.
4. Start in the Middle of the Recommended Range
Once you have a range, pick a setting that’s roughly in the middle for your first try. If your range is 50-90 amps, try setting your machine to 70 amps.
5. Make a Test Weld
Grab two scraps of the same material you plan to weld. Make a test bead. Pay attention to how the arc feels and how the weld looks.
What to Look For in a Test Weld:
- Good Arc Stability: The arc should be steady and not sputtering excessively.
- Smooth Bead: The weld bead should have a consistent width and a slight ripple, not look lumpy or uneven.
- Proper Penetration: After cooling, check if you can see a distinct fusion line where the weld metal meets the base metal, and the weld isn’t just sitting on top. If you can, try to break the test pieces apart to see how deep the weld went.
- Minimal Spatter: A bit of spatter is normal, but excessive spatter indicates a problem.
- No Burn-Through: If you see holes in your test piece, your amperage is too high.
- No Lack of Fusion: If the weld looks like it’s just sitting on the surface and breaks off easily, your amperage is too low.
6. Adjust Based on Your Test Weld
This is where you fine-tune.
- Too hot, burning through, lots of spatter? Turn the amperage down by 5-10 amps.
- Too cold, poor penetration, arc feels weak? Turn the amperage up by 5-10 amps.
Repeat the test weld and adjustments until you get a satisfactory result. It might take a few tries, and that’s perfectly normal!
7. Consider Adjusting for Position
If you’re welding vertical or overhead, you might need to reduce the amperage by 5-10 amps from your flat position setting, even if the metal thickness is the same.
Troubleshooting Common Amperage Issues
Even with the best intentions, you might run into problems. Here are some common issues and how to fix them by adjusting amperage.
Problem: Arc “Sticking” to the Metal
This happens when the electrode fuses to the workpiece too quickly. It means your amperage is likely too low, or you’re holding the electrode too close to the metal for too long without moving. Try increasing the amperage slightly or moving faster.
Problem: Arc “Blowing Through” the Metal
This is when the arc is too hot and burns a hole. Your amperage is too high for the material thickness. Lower the amperage.
Also, check that you’re using the correct rod for the metal thickness.
Problem: Weld Puddle is Too Large and Unmanageable
A large, runny puddle usually means the amperage is too high, or you’re moving too slowly. Lower the amperage or increase your travel speed. If you’re welding out of position, this is especially important.
Problem: Weld Bead is Too Tall and Narrow (Poor Fusion)
This often indicates low amperage or insufficient travel speed. The metal isn’t melting together properly. Increase the amperage slightly or slow down your welding speed.
Problem: Excessive Spatter
While some spatter is normal, a lot of it can indicate incorrect amperage, incorrect polarity, or a dirty workpiece. If the amperage is too high, it can cause excessive spatter. Ensure you’re using the recommended polarity for your rod.
Clean your metal!
Frequently Asked Questions
Question: What’s the best amperage for welding 1/8 inch steel with an E6013 rod?
Answer: For 1/8 inch (3.2mm) steel with an E6013 rod, a good starting point is usually between 50 and 90 amps. Begin around 70 amps and make a test weld. Adjust up or down by 5-10 amps based on how the arc feels and how the weld looks.
Question: Do I need to change my amperage for different welding positions?
Answer: Yes. Generally, you’ll want to decrease your amperage by about 5-10 amps when welding vertical or overhead compared to welding flat. This helps control the molten puddle and prevent it from sagging or dripping.
Question: How do I know if my amperage is too low?
Answer: If your amperage is too low, the arc will feel weak and might be hard to maintain. Your weld bead will be narrow and tall, sitting on top of the metal rather than fusing into it. You might also have trouble getting the electrode to melt properly.
Question: Can I use the same amperage for AC and DC welding?
Answer: Not always. Some rods perform differently on AC versus DC, and on DCEP (reverse polarity) versus DCEN (straight polarity). Always check the rod packaging for recommended settings, including polarity and amperage range for each.
Question: What if I don’t have an amperage setting on my welder, just a dial?
Answer: Many simpler welders don’t have precise digital readouts. In this case, you’ll rely on practice and feel. Start with a setting that seems about right, make a test weld, and then adjust the dial higher or lower based on the results you see and how the arc feels.
Final Thoughts
Figuring out How to Properly Set Stick Welder Amperage becomes much easier with practice. Start by understanding your rod and metal. Use the recommended ranges, but always test on scrap first.
Small adjustments can make a big difference. Don’t be afraid to experiment a little. You’ll soon develop a feel for what works best.
Keep welding, and your skills will grow.