Many people new to MIG welding wonder, How Do You Set Correct Gas Flow for MIG Welds? It can seem tricky at first because getting it just right makes a big difference in your weld. Too little gas and you get a messy weld with holes. Too much and it blows away your shielding gas.
It’s a common puzzle for beginners! Don’t worry, we’ll break it down simply. This guide will show you exactly how to find that sweet spot for perfect welds.
Let’s learn how to make your welds strong and clean.
Key Takeaways
- Correct gas flow protects your weld from air.
- Gas flow is set using your MIG welder’s regulator.
- The right gas flow depends on your shielding gas type.
- Material thickness influences the ideal gas flow rate.
- Proper gas flow prevents weld defects like porosity.
- Listen to your welder and watch your puddle for clues.
Why Gas Flow Matters in MIG Welding
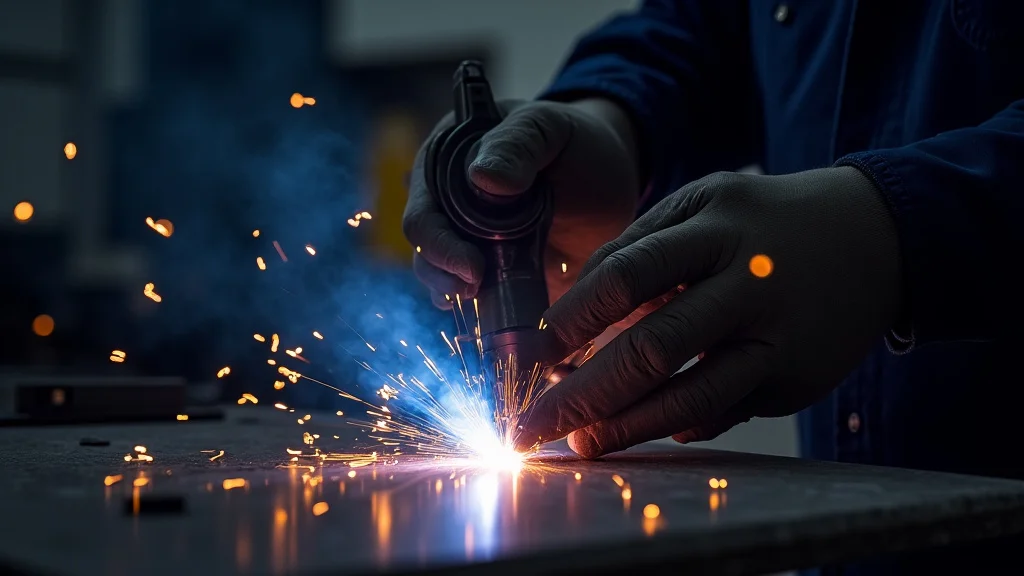
MIG welding, also called Gas Metal Arc Welding (GMAW), uses a shielding gas to protect the molten weld puddle. This gas stops oxygen and nitrogen from the air from getting into your hot metal. If these gases get in, they can make your weld weak and full of tiny holes called porosity.
This is why learning How Do You Set Correct Gas Flow for MIG Welds? is so important for strong, good-looking welds.
Think of the shielding gas like a blanket. It covers the hot, liquid metal so it doesn’t get contaminated by the air around it. The gas comes from a big cylinder and flows through a special device called a regulator and flowmeter attached to your welder.
This device controls how much gas comes out.
Understanding Your Shielding Gas
The type of shielding gas you use is the first big step in setting your gas flow. Different gases do different jobs. For MIG welding, you’ll usually see two main types:
1. Pure Carbon Dioxide (CO2)
CO2 is a popular choice because it’s cheap and readily available. It works well for welding steel. It creates a very stable arc.
However, it can cause more spatter (little bits of hot metal flying out) than other gases. It also produces more of a “coffee can” sound when welding. When using CO2, you generally need a higher flow rate compared to other gas mixes.
2. Argon/CO2 Mixes
These mixes are very common and offer a good balance. A common mix is 75% Argon and 25% CO2. This mix gives you a cleaner weld with less spatter than pure CO2.
It also provides a nice, smooth arc. Argon is a heavier gas that helps with shielding. The CO2 in the mix helps with penetration (how deep the weld goes into the metal).
Other mixes exist, like Argon with a bit of oxygen (Argon/O2) or Argon with a bit of Helium. These are used for specific metals like stainless steel or aluminum. For most beginner steel projects, you’ll likely use either pure CO2 or an Argon/CO2 mix.
The Role of the Regulator and Flowmeter
To control your gas flow, you need a regulator and flowmeter. This is the device that attaches to your gas cylinder. It has a few key parts:
- Pressure Gauge: This shows you how much gas pressure is left in the cylinder.
- Flowmeter: This part tells you how much gas is flowing out. It often has a ball that floats up in a clear tube. The higher the ball, the more gas is flowing.
The flowmeter usually has markings in “liters per minute” (LPM) or “cubic feet per hour” (CFH). For MIG welding, LPM is more common. Your welder will have a setting for gas flow, but the regulator is what physically controls the amount.
Factors Affecting Gas Flow Settings
Figuring out How Do You Set Correct Gas Flow for MIG Welds? isn’t just about picking a number. Several things change the best setting:
1. Type of Shielding Gas
As we talked about, different gases need different flow rates. Pure CO2 usually needs a bit more gas than an Argon/CO2 mix. Heavier gases like Argon tend to stay closer to the weld puddle, so you might not need as much.
2. Material Thickness
This is a big one. Thicker metal needs more gas to protect the larger weld puddle. Thin metal needs less gas so it doesn’t blow away and cause problems.
You can think of it like this: more metal to protect means more gas needed.
3. Welding Position
If you are welding overhead or vertically, gravity can affect how the gas covers the weld. You might need to adjust your gas flow slightly to make sure the gas is still doing its job.
4. Drafts and Wind
Welding outside or in a shop with fans can create drafts. These drafts can blow your shielding gas away from the weld. In windy conditions, you might need to increase your gas flow or use a windbreak.
If you can feel the wind on your face, it’s probably strong enough to affect your weld.
5. Nozzle Size
The size of the welding gun’s nozzle can also play a small role. A larger nozzle might require slightly more gas to fill it adequately.
Recommended Gas Flow Rates (General Guidelines)
These are good starting points. You will often need to fine-tune them based on what you see and hear.
Here’s a general guide based on common shielding gases and material thickness. Remember, your regulator’s flowmeter will show this in Liters Per Minute (LPM).
| Shielding Gas | Material Thickness | Recommended Flow Rate (LPM) |
|---|---|---|
| 75% Argon / 25% CO2 | Thin (1/16″ or 1.5mm) | 15-20 LPM |
| 75% Argon / 25% CO2 | Medium (1/8″ or 3mm) | 18-23 LPM |
| 75% Argon / 25% CO2 | Thick (1/4″ or 6mm+) | 20-25 LPM |
| Pure CO2 | Thin (1/16″ or 1.5mm) | 20-25 LPM |
| Pure CO2 | Medium (1/8″ or 3mm) | 23-28 LPM |
| Pure CO2 | Thick (1/4″ or 6mm+) | 25-30 LPM |
These numbers are just a starting point. Always check your welder’s manual for specific recommendations for your machine.
How to Tell if Your Gas Flow is Correct
Setting the flow and then forgetting it is not the way to go. You need to check it while you weld. Here are some signs:
Signs of Too Little Gas Flow:
- Porosity: Your finished weld will have small holes or bubbles. This means air got into the molten metal.
- Poor Appearance: The weld might look rough and dirty.
- Weak Weld: The weld won’t be as strong as it should be.
Signs of Too Much Gas Flow:
- “Blowback” or “Turbulence”: The gas is flowing so fast it’s blowing the molten puddle around.
- “Spitting”: The arc might seem unstable, with lots of spatter.
- Weld Defects: You can get inclusions (like dirt) or lack of fusion if the gas blows the filler metal away before it can melt into the base metal.
- Wasting Gas: You’re using up your gas cylinder much faster than needed.
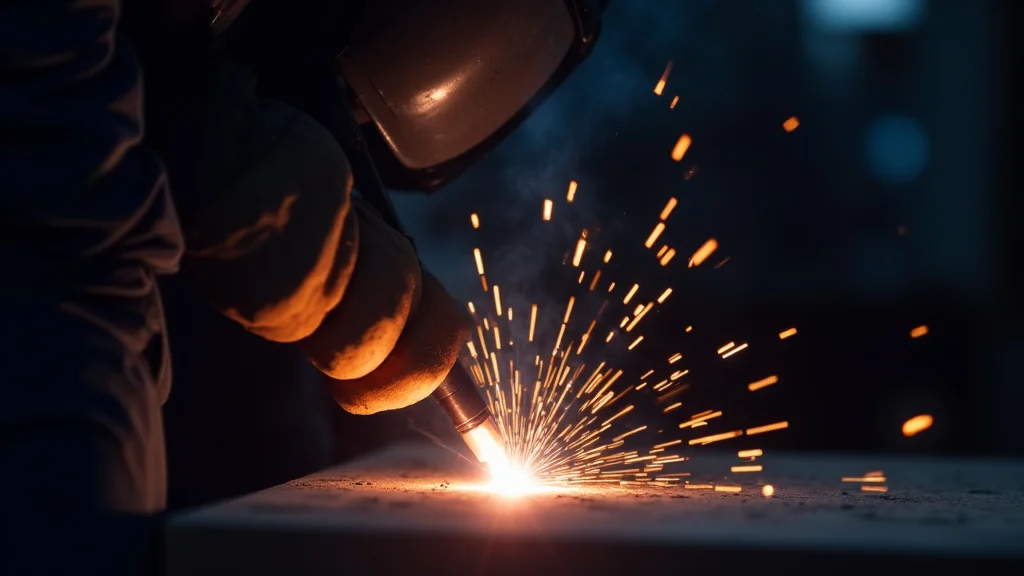
Signs of Just Right Gas Flow:
- Smooth Arc: The welding arc is steady and consistent.
- Clean Puddle: The molten puddle looks bright and clean.
- Good Weld Appearance: The finished weld looks smooth, with consistent ripples and no visible holes.
- Minimal Spatter: Only a small amount of spatter, if any.
- Good Penetration: The weld melts nicely into the base metal.
Step-by-Step Guide to Setting Your Gas Flow
Let’s walk through it. This is how you find the right setting:
Step 1: Check Your Gas Cylinder and Regulator
Make sure your gas cylinder is turned on. The pressure gauge on your regulator should show pressure. If it’s empty, you need a new cylinder.
Step 2: Set Your Initial Flow Rate
Start with the recommended flow rate from the table above for your gas type and material thickness. For example, if you’re welding 1/8″ steel with a 75/25 gas mix, try setting your flowmeter to around 20 LPM.
Step 3: Turn on the Gas and Listen
Pull the trigger on your welding gun (without welding). You should hear a steady flow of gas. Listen for any sputtering or inconsistent sounds.
If it sounds too loud or like it’s blowing hard, it might be too high.
Step 4: Weld a Test Piece
Find a scrap piece of metal similar to what you’ll be welding. Make a few test welds. Pay close attention to the arc, the puddle, and the sound.
Step 5: Observe Your Weld
After welding, look at your test welds. Are there small holes (porosity)? Does the weld look rough?
These are signs that your gas flow might be too low.
Step 6: Adjust and Test Again
- If you see porosity or the weld looks bad: Turn your gas flow up slightly (e.g., by 1-2 LPM). Weld another test piece.
- If the gas seems to be blowing the puddle around, or you have excessive spatter: Turn your gas flow down slightly (e.g., by 1-2 LPM). Weld another test piece.
Keep making small adjustments and testing until you get a smooth arc, a clean puddle, and a good-looking weld with no porosity. This process is often called “dialing it in.”
Step 7: Listen to the Sound
As you get closer to the right setting, the sound of the arc will become smooth and consistent. For 75/25 gas, it often sounds like a steady “hiss.” Pure CO2 can sound a bit more like a “crackly” or “coffee can” sound, but it should still be steady, not erratic.
Tips for Different Welding Situations
Here are some extra tips to help you:
- Thin Metal: Be extra careful. Too much gas can blow holes right through thin metal. Start low and increase slowly.
- Thick Metal: You need good coverage. Don’t be afraid to use a little more gas to ensure the entire puddle is shielded.
- Outdoors/Drafty Areas: You will likely need to turn your gas flow up higher than usual to counteract the wind. Consider using a windbreak if possible.
- Aluminum: Aluminum often uses pure Argon or Argon/Helium mixes. These gases are lighter, so you might need a slightly higher flow rate than with CO2 mixes.
Common Mistakes to Avoid
Beginners often make a few common errors:
- Not checking gas flow before welding: Always do a quick test run to ensure the gas is flowing.
- Assuming a number works for all jobs: Settings change based on gas, metal, and conditions.
- Ignoring the sound of the arc: The sound tells you a lot about how the gas is working.
- Not doing test welds: Always practice on scrap metal before starting your actual project.
Frequently Asked Questions
Question: What is the best gas flow for 1/8 inch steel with 75/25 gas?
Answer: For 1/8 inch steel with a 75% Argon / 25% CO2 gas mix, a good starting point is between 18-23 LPM. Always test and adjust based on your specific setup and welding conditions.
Question: How much gas do I need for welding thin sheet metal?
Answer: For thin sheet metal, you need less gas to avoid blowing it away. Try starting around 15-18 LPM for Argon mixes or 20-23 LPM for pure CO2, and adjust as needed.
Question: Why does my weld have small holes in it?
Answer: Small holes, called porosity, usually mean you don’t have enough shielding gas. The air is getting to your molten weld. Increase your gas flow rate.
Question: What if the gas is blowing my weld puddle around?
Answer: That means your gas flow is too high. The gas is too strong and is disturbing the molten metal. Turn down your gas flow rate.
Question: Do I need a flowmeter or just a regulator?
Answer: You need both. A regulator controls the high pressure from the cylinder, and a flowmeter (often built into the regulator) measures and controls the actual amount of gas flowing to your torch, usually in Liters Per Minute (LPM).
Final Thoughts
Getting your gas flow right for MIG welding is key to strong, clean welds. Start with recommended settings for your gas and metal thickness. Then, listen to your arc and watch your weld puddle.
Adjust your flowmeter slowly until the arc is smooth and the weld looks good without holes. Practice on scrap metal. Soon, you’ll be setting the perfect gas flow every time, making your welding projects look professional.