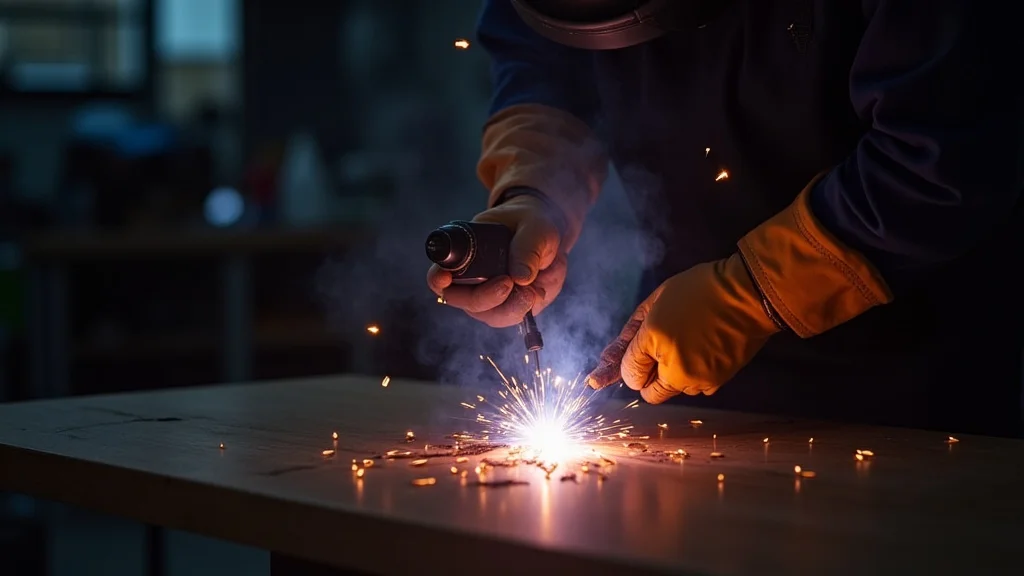
Getting your TIG welds on aluminum to look smooth and shiny can be a puzzle for many people starting out. It seems like there’s a lot to remember, but don’t worry! We’ll walk through it step-by-step.
You’ll learn how to get those nice, clean beads that everyone wants. Stick around, and we’ll show you the simple tricks to make your aluminum TIG welds look great.
Key Takeaways
- Cleanliness is the most important first step for good aluminum TIG welds.
- Using the right tungsten and filler rod makes a big difference in how your welds look.
- Proper gas flow and torch angle help prevent common appearance issues.
- Technique, like consistent arc length and travel speed, is key to a smooth bead.
- Troubleshooting common problems like black spots or porosity leads to better appearance.
What Makes Aluminum TIG Welds Tricky?
Aluminum is a great metal for many projects, but welding it with TIG can be a bit of a challenge, especially when you want the weld to look really nice. One of the biggest reasons is how aluminum acts when it gets hot. It has a tough oxide layer that forms super fast on its surface.
This layer has a much higher melting point than the aluminum itself. If you don’t remove it properly, it can cause problems with your weld, making it look rough or even causing defects.
Another thing is that aluminum conducts heat really well. This means heat spreads out quickly through the metal. You have to manage your heat input carefully.
Too much heat and you might burn through or get a messy puddle. Too little, and you won’t get good fusion. For beginners, getting this balance right while also trying to make the weld bead look uniform and pretty can feel like juggling.
Then there’s the issue of contamination. Aluminum is very sensitive to dirt, oils, and other things. Even a tiny bit of grease can cause porosity, which are tiny holes in your weld.
This makes the weld look bad and weaker. So, before you even strike an arc, a lot of preparation is needed.
The Foundation: Cleaning is King
If you want to learn How to Improve TIG Weld Appearance on Aluminum, the absolute first thing you need to focus on is cleaning. This is not an option; it’s a requirement. Think of it as the bedrock of a good-looking, strong weld.
Why Cleaning Matters So Much
Aluminum oxide, as we mentioned, is the main culprit. It’s like a stubborn shield on the surface. If you try to weld over it, your TIG torch won’t be able to melt through it easily.
This leads to what we call “cracking” or “lack of fusion.” The weld might look like it’s there, but it’s not properly joined to the base metal.
This oxide layer also contains moisture. When you heat it up, this moisture turns into steam, and that steam can get trapped in your weld, causing porosity. Porosity looks like little bubbles or holes in the weld bead.
They make the weld weak and, visually, they make it look unprofessional and dirty.
How to Clean Your Aluminum
There are two main ways to clean aluminum before TIG welding:
- Mechanical Cleaning: This involves using a stainless steel wire brush dedicated only for aluminum. Do not use a brush that has been used on steel, as this will transfer iron particles and cause contamination. Brush the area you plan to weld in a single direction. After brushing, wipe the area with a clean, lint-free cloth. You can also use a clean grinding wheel (again, dedicated for aluminum) to remove thicker oxide or surface imperfections.
- Chemical Cleaning: This usually involves using a strong alkaline cleaner or a degreaser. For most hobbyist or DIY applications, mechanical cleaning is often sufficient and more practical. However, if you’re working with parts that might have oil or grease on them, a good degreaser is essential. Always follow the manufacturer’s instructions for chemical cleaners and work in a well-ventilated area.
After brushing or grinding, it’s a good idea to wipe the area down with a clean cloth dampened with acetone or a dedicated aluminum prep solvent. This removes any remaining oils or fine dust. Remember, the cleaner the surface, the smoother and more consistent your weld will be.
Choosing the Right Tools for the Job
The equipment you use plays a huge role in the look of your TIG welds on aluminum. From the tungsten to the filler rod, each choice impacts the final result.
Tungsten Electrodes
For AC TIG welding on aluminum, you’ll typically use a pure tungsten electrode or a zirconiated/lanthanated tungsten electrode. Pure tungsten is known for its balling tip during AC welding, which can be tricky to manage for a consistent arc. However, some welders prefer it for the characteristic rounded tip.
Zirconiated and lanthanated tungstens are generally preferred because they hold a sharper point longer and create a more stable arc. This stability is vital for controlling the heat and the puddle, which directly affects the weld bead’s appearance. A stable arc means you can maintain a consistent distance and heat, leading to a smoother, more even bead.
Filler Rod
The most common filler metals for aluminum are 4043 and 5356. They have different properties that affect the weld appearance and strength.
- 4043: This is a great all-around filler rod. It’s easier to use, has good wetting action (meaning it flows nicely into the joint), and is less prone to cracking than some other aluminum alloys. It produces a weld bead that’s generally a bit duller in appearance than 5356. It’s a good choice for general fabrication and when appearance is important but not the absolute top priority.
- 5356: This alloy has higher tensile strength and is more corrosion-resistant than 4043. It produces a brighter, shinier weld bead after welding and polishing. However, it can be a bit more difficult to control and may be more prone to cracking in certain situations, especially on thicker aluminum or when welding to dissimilar aluminum alloys.
For beginners wanting to improve appearance, 4043 is often recommended because it’s more forgiving. However, if a bright, shiny finish is the goal, 5356 might be worth practicing with once you’re comfortable with the basics.
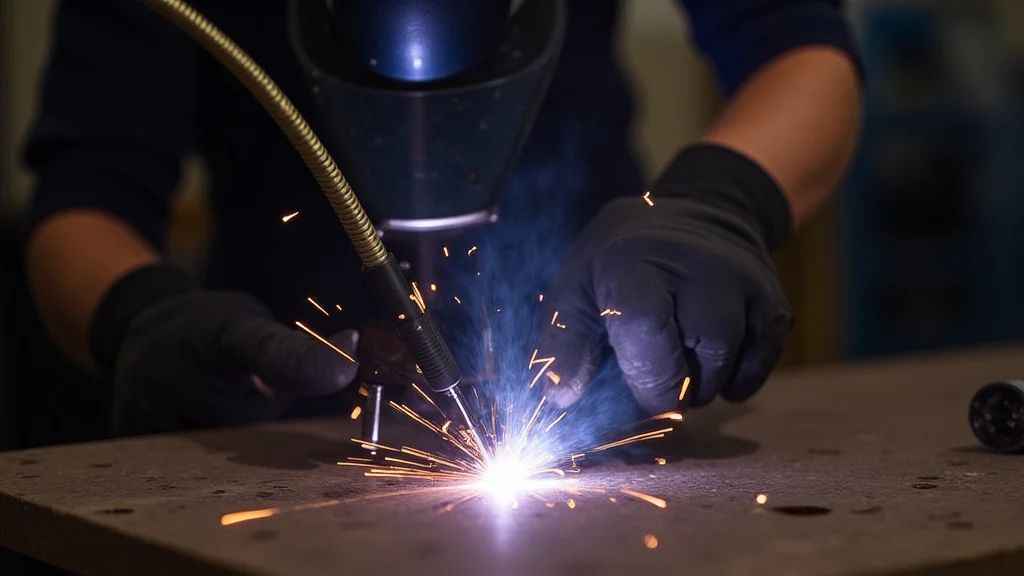
Mastering the Arc and Torch Technique
Your hands are the control center for TIG welding. How you hold the torch and move it makes a big difference in the final look of your weld.
Torch Angle
The angle of your torch relative to the workpiece is important. For aluminum, a slight drag angle (pushing the torch away from the direction of travel) is often preferred. This helps to push the molten puddle ahead of you and allows the AC cleaning action of the torch to work effectively on the oxide layer.
A drag angle usually results in a cleaner, more uniform bead. Avoid a push angle, as this can cause more contamination and a rougher surface. Experiment with small adjustments to find what works best for your specific setup and the joint you’re welding.
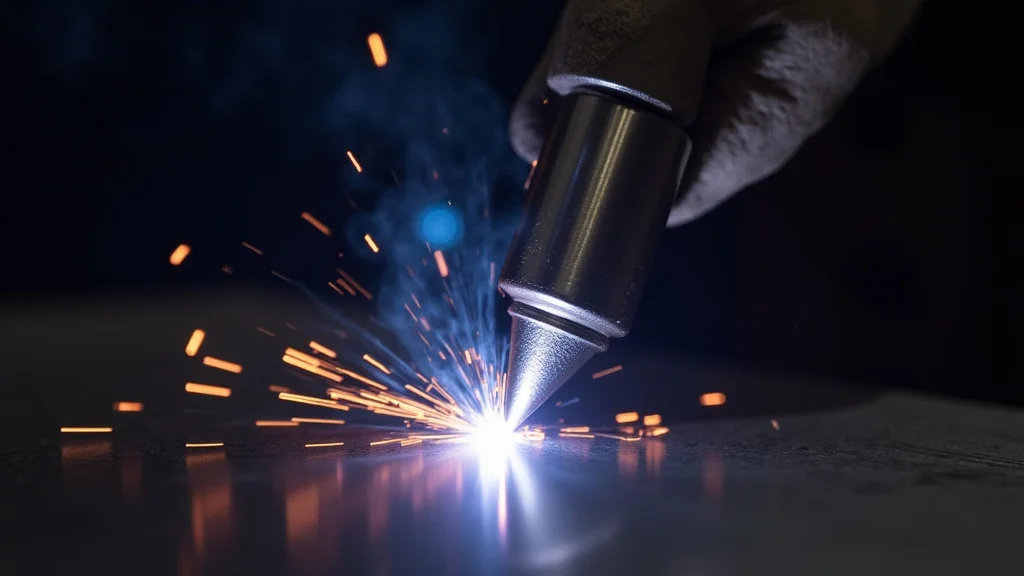
Arc Length
Maintaining a consistent arc length is crucial. The arc is the stream of electricity from the tungsten to the workpiece. For aluminum, you generally want a short arc.
A short arc means the tungsten is close to the surface, typically about the diameter of your tungsten electrode.
A short arc provides better control over the heat and the puddle. It also helps to prevent the AC arc from wandering, which can lead to uneven bead width and a less attractive finish. If your arc is too long, the weld will be wider, flatter, and more prone to contamination.
Travel Speed
Your speed of movement along the weld joint directly impacts the shape and uniformity of the bead. If you move too fast, you won’t deposit enough filler metal, and the bead will be narrow and possibly incomplete. If you move too slowly, the heat builds up, creating a wide, “washed out” looking bead that can be difficult to control.
The goal is a consistent travel speed that allows the filler metal to melt smoothly into the puddle and form a nice, uniform bead with even ripples. Aim for a speed that creates these consistent ripples. These ripples are a good indicator of a stable welding process and a well-formed bead.
Controlling the Puddle and Filler Metal
The molten puddle is where the magic happens. Learning to control it is key to achieving that smooth, appealing weld bead.
Puddle Control
With aluminum, the puddle can be fluid and changes quickly. You need to keep an eye on its size and shape. A good puddle is one that is just big enough to fuse the base metals and accept the filler metal without spreading too thin or becoming too large.
You control the puddle size with your amperage and your travel speed. If the puddle gets too big, slow down slightly or briefly reduce amperage. If it’s too small, speed up slightly or increase amperage.
A consistent puddle size leads to a consistent bead width.
Filler Metal Addition
How you add filler metal is also important for appearance. The goal is to add it smoothly and consistently into the leading edge of the puddle. You don’t want to dip the filler rod into the arc itself, as this can contaminate the tungsten.
Dip the filler rod into the puddle just ahead of where the arc is working. As the puddle moves forward, you dip and withdraw the filler rod. Try to keep the filler rod tip clean and out of the shielding gas stream as much as possible when you’re not adding metal.
This prevents oxidation and contamination of the rod itself.
For a really smooth appearance, try to keep the filler rod dipping consistent. If you have a steady rhythm of dipping and withdrawing, you’ll get a more uniform bead profile.
Understanding AC Settings for Aluminum
AC (Alternating Current) welding on aluminum has specific settings that you need to get right for good results and appearance.
Amperage
The amperage setting determines the heat input. For aluminum, you generally need higher amperage than for steel because of its excellent heat conductivity. The right amperage depends on the thickness of the aluminum you’re welding.
Too low amperage results in poor fusion and a bead that looks “cold.” Too high amperage can lead to burn-through, excessive spatter, and a difficult-to-control puddle. You’ll need to practice to find the sweet spot for different thicknesses.
AC Balance (Electrode Positive/Negative %)
AC welding involves alternating current. The balance setting controls how much time the current spends in the electrode positive (EP) or electrode negative (EN) part of the cycle. This affects the arc’s cleaning action and penetration.
- More EN (e.g., 70% EN): This gives more penetration and less cleaning action. It’s good for thicker materials where you need to melt deep.
- More EP (e.g., 30% EN or 70% EP): This provides more cleaning action on the aluminum surface and less penetration. This is generally what you want for improving appearance, as it helps to break up the oxide layer and get a cleaner puddle.
For achieving a good-looking weld, a balance that favors electrode positive (around 30-50% EN) is often preferred. This helps with the cleaning action without sacrificing too much penetration.
AC Frequency
Frequency controls the focus of the arc. Higher frequencies (e.g., 100-200 Hz) tend to create a more focused and stable arc. A tighter arc can make it easier to control the puddle and deposit metal precisely, leading to a more uniform and aesthetically pleasing bead.
Lower frequencies produce a wider, more diffused arc. For beginners wanting a better appearance, experimenting with higher AC frequencies can help achieve a more controlled and smoother bead.
Troubleshooting Common Appearance Problems
Even with good prep, you might run into issues. Knowing how to fix them will save your welds.
Black Spots and Discoloration
These are usually signs of contamination or oxidation. If you see black spots or a rainbow-like discoloration right next to the weld bead, it means your shielding gas wasn’t adequate, or there was residual dirt on the metal.
Fix: Ensure your gas flow rate is correct and that you’re not experiencing drafts. Re-clean the area if possible before welding. Always let the weld cool before handling to avoid further oxidation.
Porosity
These are tiny holes within the weld bead. They are caused by trapped gases, usually from contamination (like oil, dirt, or moisture) or poor shielding gas coverage.
Fix: The primary solution is superior cleaning of the base metal and proper gas flow. If you see porosity, stop and re-evaluate your cleaning process and gas setup. Sometimes, a slightly longer pre-flow time on your TIG machine can help purge the nozzle with gas before you start welding.
Uneven Bead Width and Ripples
This is a classic sign of inconsistent travel speed, arc length, or filler metal addition.
Fix: Focus on maintaining a steady rhythm. Practice holding the torch at a consistent angle and distance. Try to move your hand smoothly along the joint.
Using a filler rod with a consistent dip and withdrawal pattern is also key.
“Sugaring” or Under-Bead Cracking
This is a brittle condition that can occur in aluminum welds. It often happens when welding 5
Fix: Use the recommended filler alloy for the base aluminum you are welding. If using 5356, be aware of its limitations. For critical applications, stress relieving might be needed.
FAQ
Question: What is the most common mistake beginners make when trying to improve TIG weld appearance on aluminum?
Answer: The most common mistake is not cleaning the aluminum thoroughly enough. The oxide layer and any surface contaminants are the biggest enemies of a clean, shiny weld.
Question: Should I use a brush or a grinder to clean aluminum before welding?
Answer: Both can work. A dedicated stainless steel wire brush is great for removing the oxide layer. A clean grinding wheel can remove thicker scale or imperfections.
For best results, you might even do both, followed by a solvent wipe.
Question: How do I get that really bright, shiny finish on my aluminum TIG welds?
Answer: Achieving a bright finish often involves using the 5356 filler rod (after proper cleaning and preparation), optimizing your AC balance to favor electrode positive for better cleaning, and maintaining a very consistent arc and travel speed. Polishing after welding also helps.
Question: What does AC balance on my TIG welder do for aluminum welding appearance?
Answer: AC balance controls the arc’s cleaning power versus its penetration. A setting that favors electrode positive (more cleaning) helps to break up the oxide layer on aluminum, leading to a smoother, cleaner weld bead appearance.
Question: Is it okay to use the same tungsten for steel and aluminum?
Answer: No, it’s not recommended. Tungsten used for steel welding can become contaminated with iron particles, which will carry over to your aluminum welds and cause defects and poor appearance.
Final Thoughts
Getting great-looking TIG welds on aluminum is absolutely achievable. It comes down to a few key practices. Always start with spotless metal; this is non-negotiable for a clean weld.
Pick the right tungsten and filler rod for the job. Pay close attention to how you hold and move your torch – keep that arc short and steady. Your travel speed should be consistent, creating those nice, even ripples.
Don’t be afraid to adjust your AC settings like balance and frequency to find what works best.
With a bit of practice and by focusing on these simple steps, you’ll see a big improvement. You’ll start creating those smooth, clean beads that make your aluminum projects really stand out. Keep welding, and enjoy the process of getting better!