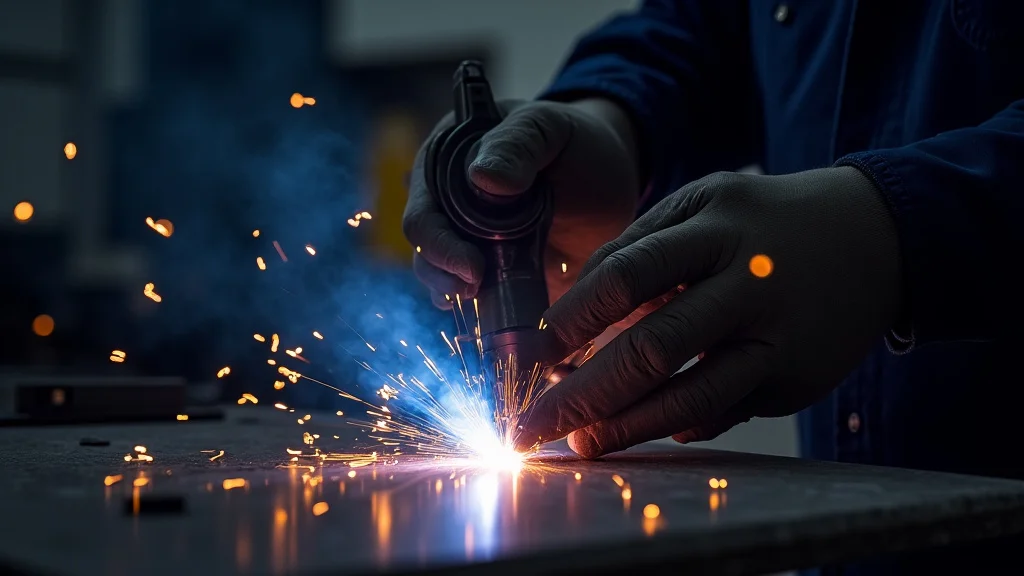
It’s a common puzzle for people new to welding: Why Is My MIG Arc Weak on Thick Metal? You’re trying to join thicker pieces, and the weld just doesn’t seem to stick like it should. The arc feels soft, and the metal doesn’t melt in properly. This can be frustrating when you’re learning.
But don’t worry, the reasons are usually pretty straightforward. We’ll break it down step-by-step so you can get strong, solid welds on thicker materials.
Key Takeaways
- Thick metal needs more heat to melt properly.
- The right wire size matters for thicker materials.
- Weld settings (amperage and voltage) are key to a strong arc.
- Good electrical contact is essential for a powerful weld.
- Proper shielding gas helps the arc stay stable.
- Keeping your MIG gun clean prevents arc issues.
Understanding the MIG Arc on Thick Metal
When you’re MIG welding, the arc is like a tiny, super-hot lightning bolt. It melts the metal you’re working on and the wire you’re feeding into it, creating a puddle that solidifies into a strong joint. Think of it like trying to melt two big ice blocks with a small candle versus a blowtorch.
For thin metal, a little heat goes a long way. But for thick metal, you need a lot more power and heat to get the job done.
The challenge with thick metal is that it acts like a big heat sink. It soaks up the heat from the arc very quickly. If your arc isn’t strong enough, it can’t supply enough heat to melt through that thick material and create a good, deep weld.
You end up with a weak weld that sits on top, not really joining the pieces well.
Common Causes for a Weak MIG Arc on Thick Metal
Several things can make your MIG arc feel weak when you’re trying to weld thicker steel. It’s usually a combination of factors rather than just one big problem.
1. Insufficient Heat Input
This is the most common reason. Thick metal needs more heat to melt. If your welder isn’t set to deliver enough heat, the arc will feel weak.
It’s like trying to boil water with a low flame – it just won’t get hot enough fast enough.
Amperage and Voltage Settings
Amperage controls the heat. Voltage controls the arc length and width. For thicker metals, you generally need higher amperage.
Higher amperage means more electricity flowing, which creates a hotter arc. If your amperage is too low, the arc won’t penetrate well.
Voltage also plays a role. If your voltage is too low for the amperage you’re using, the arc can become too short and “spitty.” If it’s too high, the arc gets long and airy, and you lose heat concentration.
Wire Speed
Wire speed is directly related to amperage in most MIG welders. As you increase wire speed, the machine sends more wire into the arc. To melt that extra wire and maintain a stable arc, the machine automatically increases amperage.
So, increasing wire speed is a good way to increase heat input. If your wire speed is too low for the metal thickness, you won’t get enough heat.
2. Incorrect Wire Diameter
The size of your welding wire matters a lot when you’re dealing with different metal thicknesses. Smaller wires (like 0.023″ or 0.030″) are great for thin sheet metal. They melt quickly and are easier to control.
However, for thicker metals (say, 1/4 inch or more), you need a larger diameter wire. Wires like 0.035″, 0.045″, or even larger are designed to carry more current and deliver more heat. Trying to weld thick metal with a small wire means the wire melts before it can deposit enough filler metal and heat into the base metal.
It’s like trying to fill a large bucket with a tiny straw.
3. Poor Electrical Contact
A strong MIG arc depends on a good electrical circuit. This circuit starts at the power source, goes through the welding cable, the MIG gun, the contact tip, the wire, and finally to the metal you’re welding. Any weak point in this chain can weaken the arc.
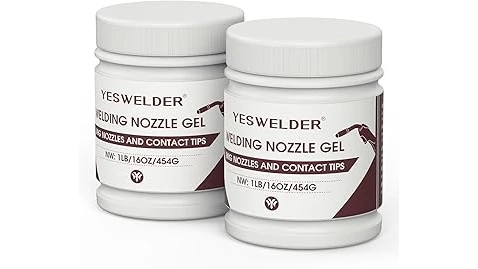
Dirty or Worn Contact Tip
The contact tip is a small copper or brass piece inside your MIG gun’s nozzle. It makes direct contact with the welding wire. If this tip is dirty, spattered with metal, or worn out, the electrical connection to the wire will be poor.
This restricts the flow of electricity, leading to a weak, inconsistent arc. Always keep your contact tip clean and replace it when it looks worn or enlarged.
Loose Ground Clamp
The ground clamp provides the return path for the electrical current. It needs to be securely attached to the workpiece or a clean metal surface nearby. If the clamp is loose, dirty, or attached to painted or rusted metal, the electrical connection will be poor.
This adds resistance to the circuit, reducing the available current and weakening the arc. Always ensure your ground clamp has a clean, direct metal-to-metal connection.
Damaged Welding Cable or Gun
A damaged welding cable or a worn-out MIG gun can also cause resistance and reduce the current flow. Look for any signs of wear, kinks, or damage to your cables.
4. Inadequate Shielding Gas
Shielding gas is crucial for a stable MIG arc. It protects the molten weld pool from atmospheric contamination (like oxygen and nitrogen), which can weaken the weld. It also helps shape the arc and control the transfer of metal from the wire to the puddle.
Incorrect Gas Type or Flow Rate
For thicker metals, especially steel, a mix of Argon and CO2 (like 75% Argon / 25% CO2) is common. This gas blend provides good penetration and a stable arc. If you’re using straight CO2 or a different mix, it might not provide the best arc characteristics for thicker material.
More importantly, if the gas flow rate is too low, the shielding gas won’t adequately protect the arc and weld puddle. You might see a “spitting” or unstable arc, and the weld will be weaker.
On the other hand, too much gas flow can cause turbulence, pulling in air and contaminating the weld. A good flow rate is usually between 15-25 cubic feet per hour (CFH), but this can vary.
Drafts and Air Movement
Even with the correct gas flow, strong drafts can blow the shielding gas away from the weld area. This is especially problematic outdoors or in windy workshops. The arc will become unstable, and the weld quality will suffer significantly.
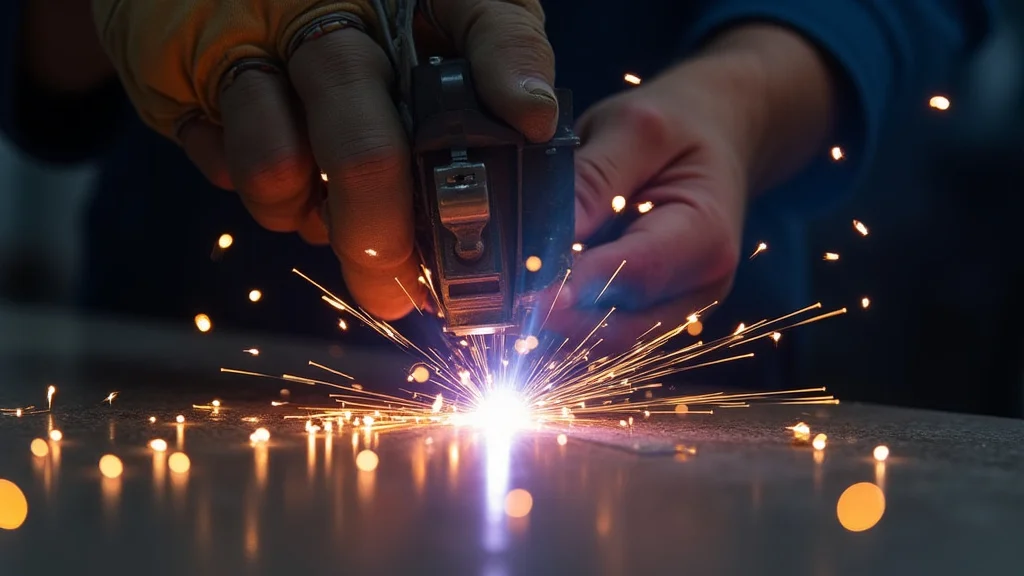
5. Incorrect Welding Technique
How you move the MIG gun and position yourself can also affect the arc and weld quality on thick metal.
Travel Speed
If you move too fast, you don’t give the arc enough time to melt the base metal deeply. This results in a shallow weld. On thick metal, you need to move slower to allow the heat to penetrate.
This is often called “dragging” the weld, but it’s more about controlled speed to ensure fusion.
Gun Angle
The angle of your MIG gun affects how the shielding gas flows and how the molten metal is deposited. For steel, a slight push angle (pushing the gun forward) is generally recommended, combined with a slight tilt towards the direction of travel. Experimenting with your gun angle can help achieve better penetration and a more stable arc.
6. Dirty Metal Surfaces
The metal you are welding needs to be clean. Rust, paint, oil, grease, and dirt all act as contaminants. When the arc hits these, it can cause sputtering, porosity (tiny holes in the weld), and weak joints.
Always clean the metal thoroughly with a wire brush and a degreaser before welding, especially on thicker materials where these contaminants are more common.
Troubleshooting Steps for a Stronger MIG Arc
When you find yourself asking, “Why Is My MIG Arc Weak on Thick Metal?” here’s a practical checklist to go through:
1. Check Your Settings
Refer to your welder’s manual or online charts for recommended settings for the thickness of metal you’re welding and the wire diameter you’re using. For thicker steel (1/4 inch and up):
- Increase wire speed significantly. This is often the first thing to adjust to add more heat.
- Adjust voltage accordingly. You might need to increase voltage to match the higher wire speed for a stable arc.
- Consider a higher amperage setting if your machine has it. Some machines have separate amperage controls.
2. Select the Right Wire
If you’re welding 1/4 inch or thicker steel, make sure you are using at least 0.035″ diameter wire. For very thick material (1/2 inch or more), 0.045″ or even larger diameter wire is often recommended, along with a welder that can handle the higher amperage required.
3. Inspect Your Consumables
Do a quick check of your MIG gun consumables:
- Contact Tip: Is it clean? Is the hole enlarged or misshapen? Clean it with a wire brush or replace it.
- Nozzle: Is it clean? Spatter buildup can restrict gas flow.
- Gas Diffuser: This sits behind the contact tip. If it’s damaged, it can affect gas flow.
Regularly clean these parts. A good habit is to clean your contact tip every time you change a wire spool or at least every few hours of welding.
4. Verify Electrical Connections
- Ground Clamp: Make sure it’s firmly attached to clean, bare metal.
- Work Lead: Ensure the cable connecting your welder to the ground clamp is in good condition and securely fastened at both ends.
- MIG Gun Connection: Check that the MIG gun cable is securely connected to the welder.
5. Examine Your Shielding Gas System
- Cylinder Pressure: Is your CO2 or Argon mix cylinder turned on and has sufficient pressure?
- Regulator: Is the flow meter working correctly?
- Flow Rate: Turn on the gas for a few seconds (without welding) and check the flow rate at the regulator and at the gun (if your regulator has a gauge for that). Aim for 15-25 CFH.
- Leaks: Check connections for any audible gas leaks.
- Drafts: Try to weld in an area with less air movement.
6. Practice Your Technique
- Travel Speed: Slow down your movement to ensure proper melt-through.
- Gun Angle: Experiment with a slight push angle and tilt.
- Stick Out: The distance from the contact tip to the end of the weld puddle (wire stick-out) affects heat. For thicker metals, a slightly longer stick-out (around 1/2 inch to 3/4 inch) can sometimes help add more heat.
7. Clean Your Material
Use a stainless steel wire brush to remove any rust, mill scale, or paint from the weld area. If there’s oil or grease, use a degreaser and a clean rag.
Comparison Table: Wire Size for Metal Thickness
Here’s a general guide for selecting wire diameter based on steel thickness. Always remember to adjust your machine settings to match.
| Steel Thickness (Gauge) | Steel Thickness (Inches) | Recommended Wire Diameter (Inches) | Typical Amperage Range (Approximate) |
|---|---|---|---|
| 24-18 | 0.024 – 0.040 | 0.023 – 0.030 | 30 – 80 A |
| 18-12 | 0.040 – 0.100 | 0.030 – 0.035 | 80 – 150 A |
| 12-3/16 | 0.100 – 0.188 | 0.035 – 0.045 | 150 – 250 A |
| 3/16 – 1/2 | 0.188 – 0.500 | 0.045 | 250 – 400 A |
| Over 1/2 | Over 0.500 | 0.045 or larger | 400+ A |
Note: This is a general guide. Actual settings will vary based on your specific welder, gas, and desired weld characteristics. Always consult your welder’s manual.
Frequently Asked Questions
Question: Why does my MIG arc sound “spitty” on thick metal?
Answer: A spitty arc often means your settings are too low for the metal thickness, your wire speed is too low, or you have a poor electrical connection. It could also mean your shielding gas flow rate is too low, or there are drafts. Check your settings first, then inspect your ground clamp and contact tip.
Question: Can I use a smaller wire (like 0.023″) on thick metal?
Answer: While you might be able to make a very thin bead, it’s not recommended. Smaller wires deliver less heat and are not designed for thick materials. You’ll struggle to get good penetration and a strong weld.
It’s best to switch to a larger diameter wire like 0.035″ or 0.045″.
Question: How much shielding gas should I use?
Answer: For most common steel MIG welding with an Argon/CO2 mix, a flow rate between 15 to 25 cubic feet per hour (CFH) is typical. You can check this on your regulator’s flow meter. The goal is to create a protective blanket around the arc without causing turbulence.
Question: My welds look rough and have lots of spatter. What’s wrong?
Answer: Excessive spatter usually indicates incorrect settings or a problem with the arc. For thick metal, this could mean your amperage is too low, your voltage is off, or your shielding gas isn’t adequate. Ensure your contact tip is clean and your ground is solid.
Question: How do I get better penetration on thick steel?
Answer: Better penetration comes from sufficient heat input and proper technique. Increase your wire speed and voltage to match the metal thickness. Use a larger wire diameter.
Ensure your ground clamp has a clean connection, and slow down your travel speed. A slight push angle can also help.
Final Thoughts
When your MIG arc feels weak on thick metal, it’s usually a sign that you’re not putting enough heat into the weld. This can happen because your machine settings are too low, you’re using the wrong size wire, or there’s a problem with your electrical connections or shielding gas. Taking the time to check these basic things will help you get a strong, consistent arc and a solid weld.
Don’t get discouraged; practice makes perfect, and now you know the common pitfalls and how to avoid them.