Many folks who start stick welding run into a frustrating problem: the welding rod sticks to the metal. It feels like a constant battle, and it can make you wonder if you’ll ever get the hang of it. Don’t worry!
This happens to almost everyone at the beginning. We’ll show you simple ways to fix this common issue, step by step. Ready to learn how to keep your rod from sticking?
Key Takeaways
- Learn the correct arc length for stick welding.
- Discover how different amperage settings affect rod sticking.
- Understand the importance of proper electrode angle.
- Find out how travel speed plays a role in avoiding sticking.
- Identify common electrode types and their sticking tendencies.
- Get practical tips for starting and restarting your arc smoothly.
Why Your Stick Welder Rod Sticking Frequently? Fix It!
Stick welding, also called Shielded Metal Arc Welding (SMAW), is a popular way to join metal. It’s versatile and can be used in many places. But for new welders, one of the biggest headaches is when the welding rod sticks to the metal you’re trying to join.
It’s like trying to draw with a pen that keeps jamming. You pull the trigger, and nothing happens, or worse, the rod just glues itself to the workpiece. This Stick Welder Rod Sticking Frequently?
Fix is a common stumbling block, but it’s not impossible to overcome. With a few adjustments and some practice, you can make this problem a thing of the past.
Understanding the Arc and Electrode
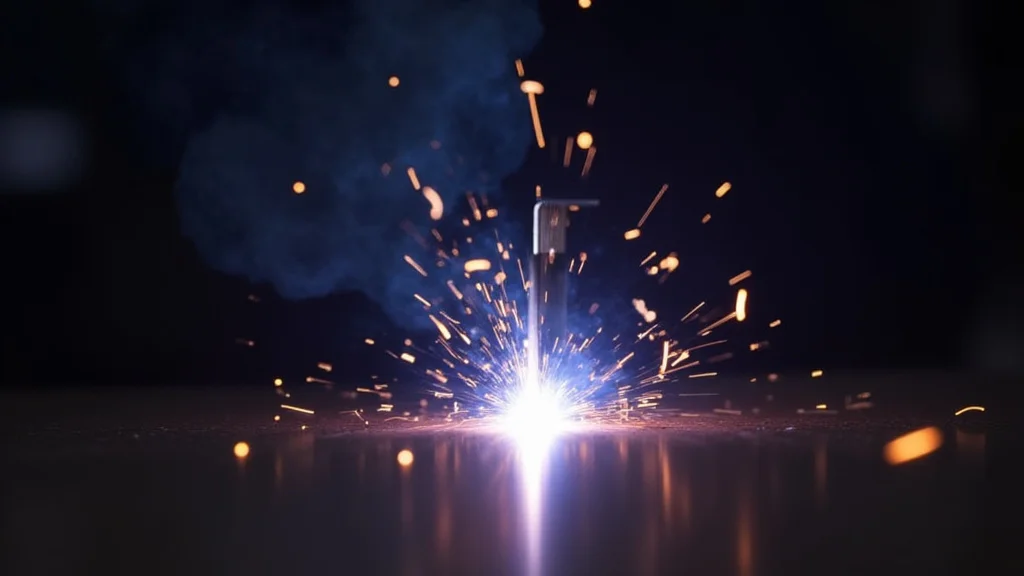
The magic of welding happens at the arc. This is the electrical spark that jumps between the tip of your welding rod and the metal you’re working on. This arc melts both the rod and the metal, creating a molten pool that solidifies into a strong weld.
The welding rod itself is coated in a flux. This flux does several important things: it helps stabilize the arc, it creates shielding gases to protect the molten metal from the air, and it helps form slag, which protects the cooling weld.
When the rod sticks, it means the electrical connection is too close for too long, or something is off in the balance of heat and metal transfer. It’s a sign that the welding process isn’t quite right yet. Think of it like trying to hold a conversation; if you get too close or talk too much, it becomes uncomfortable.
Welding is similar; the distance and timing matter a lot.
The Role of Amperage
Amperage is the amount of electrical current flowing through your welder. It’s a critical setting that directly impacts how hot your weld will be. When your stick welder rod is sticking frequently, a common culprit is the amperage being set too low.
Amperage Too Low
If the amperage is too low, the welding rod won’t melt fast enough. It will touch the base metal and just freeze there. You don’t have enough heat to create a molten pool that can absorb the rod’s material.
It’s like trying to melt butter with a weak candle.
How to Fix: Try increasing your amperage slightly. Most welding machines have a dial or buttons to adjust this. A common starting point for many stick welding jobs is between 75 and 150 amps, but this varies a lot depending on the rod type and diameter, as well as the thickness of the metal you’re welding.
Amperage Too High
While less common for sticking, setting the amperage too high can cause other issues. The metal might melt too fast, creating a large, uncontrollable puddle. The rod might burn away too quickly, and you can actually burn through thin metal.
It can also cause excessive spatter, making a mess.
How to Fix: If you’re experiencing excessive melting or burning through, try decreasing the amperage a bit. You want a nice, controlled puddle, not a runaway fire.
A good rule of thumb is to consult the welding rod manufacturer’s recommendations. The packaging usually suggests a specific amperage range for each type and diameter of rod.
The Importance of Arc Length
Arc length is the distance between the tip of the welding electrode and the surface of the molten weld pool. This is perhaps the most misunderstood aspect for beginners and a primary reason for a stick welder rod sticking frequently.
Short Arc Length
Holding the electrode too close to the workpiece is a major cause of sticking. When the arc gap is too small, the electrode touches the metal before it has a chance to melt properly. The current essentially shorts out, and the rod freezes in place.
It’s like trying to hug someone so tightly they can’t move.
How to Fix: Try to maintain a consistent arc length. A good starting point is to aim for an arc length that is roughly equal to the diameter of the welding rod you are using. For example, if you’re using a 1/8-inch diameter rod, try to keep the arc gap around 1/8 inch.
You should hear a consistent, crackling sound, like bacon frying. If it sounds like a sharp snap or pop, your arc is likely too long or too short.
Long Arc Length
On the flip side, an arc that is too long creates several problems. It makes the arc unstable, leading to excessive spatter and a wide, shallow weld pool. It can also make it harder to control the weld because the heat is not concentrated effectively.
The flux shield might not fully protect the molten metal from atmospheric contamination, leading to porosity (tiny holes) in the weld.
How to Fix: Keep the electrode closer to the workpiece, but not so close that it touches. Focus on listening to the sound of the arc and watching the molten puddle. You want a steady, consistent sound and a well-formed puddle.
Electrode Angle and Travel Speed
How you hold and move the welding rod also plays a huge role in preventing it from sticking.
Electrode Angle
For most stick welding applications, you’ll want to hold the electrode at a slight angle, typically between 10 and 30 degrees, in the direction of travel. This is called the “work angle” or “push/drag” angle, depending on the type of electrode and desired weld bead profile.
- Drag Angle: Holding the electrode angled slightly away from the direction you are moving. This is common for many electrodes like E6010 and E6011.
- Push Angle: Holding the electrode angled slightly towards the direction you are moving. This is less common for stick welding but used with some specific electrodes.
An incorrect angle can disrupt the arc and cause the rod to stick. If you’re dragging the rod and holding it too upright, it can cause it to jam into the metal.
How to Fix: Experiment with a slight drag angle. Imagine you are pulling the rod along the seam, not pushing it. Keep the angle consistent as you move.
Travel Speed
The speed at which you move the welding rod along the joint is also important. If you move too slowly, you’ll deposit too much heat into one spot, causing the metal to overheat and potentially burn through. This excessive heat can also lead to the rod sticking.
If you move too quickly, you won’t deposit enough filler metal, and you might not get good fusion. The weld bead will be narrow and might look like a string of beads rather than a solid seam.
How to Fix: Aim for a consistent travel speed that creates a weld bead of the desired width and penetration. Watch the molten puddle; it should be a consistent size and shape as you move along. The speed is often described as “just fast enough to keep the puddle from getting too big but not so fast that you don’t fuse properly.”
Electrode Types and Their Tendencies
Not all welding rods are the same. Different types are designed for different jobs and have different characteristics. Some are more prone to sticking than others, especially for beginners.
Common Electrode Types
- E6010/E6011: These are known as “cellulosic” rods. They produce a deep penetrating arc and are great for dirty or rusty metal and for welding in all positions. However, they have a very fluid puddle and can be harder for beginners to control, sometimes leading to sticking if the arc length is not managed well.
- E6013: This is a “rutile” electrode. It’s known for its easy arc starting and stability, making it a good choice for beginners. It has less penetration than E6010 but is easier to control and less likely to stick if your arc length isn’t perfect.
- E7018: This is a “low-hydrogen” electrode. It produces strong, high-quality welds and is often used for structural steel. It has a smoother arc and less spatter than cellulosic rods but can be more sensitive to moisture and may require more attention to keeping the arc length consistent. It can stick if the amperage is too low or the arc is too short.
How to Fix: If you’re struggling, try switching to an E6013 rod. They are generally more forgiving for new welders. As you gain experience, you can then move on to rods like E6010 or E7018.
Always check the classification number on the side of the welding rod. It tells you a lot about its properties.
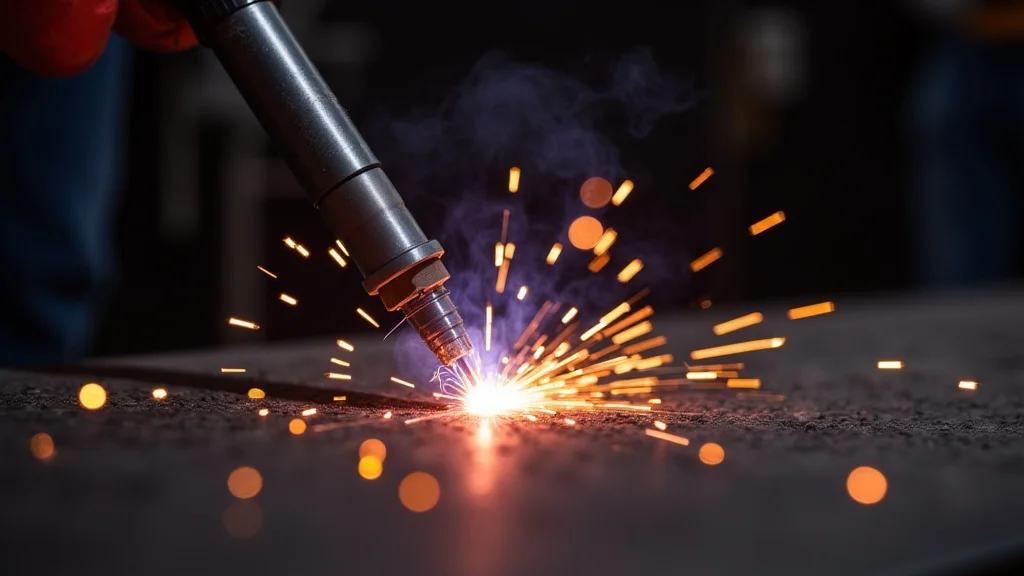
Starting and Restarting Your Arc
Getting the arc started correctly is crucial. Sticking often happens during the initial arc strike or when you try to restart a weld after stopping.
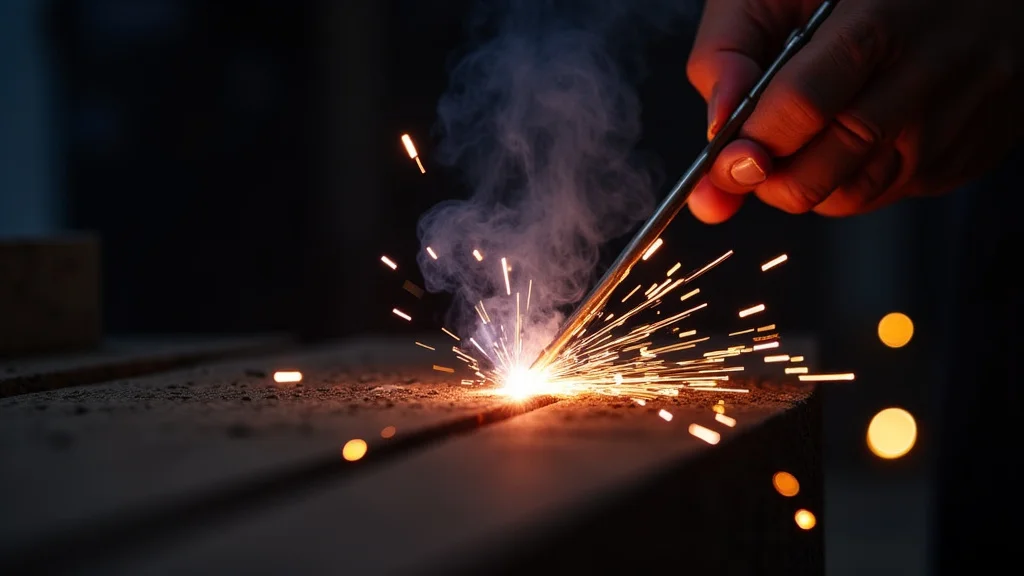
Starting the Arc
There are two main ways to start a stick welding arc:
- Scratching Method: Similar to striking a match. Briefly touch the rod tip to the metal and quickly pull it back a short distance. This creates the arc.
- Tapping Method: Gently tap the rod tip onto the metal, like tapping a hammer, and lift it away immediately.
A common mistake is holding the rod on the metal for too long, which causes it to stick.
How to Fix: Practice the scratching or tapping motion on a scrap piece of metal. Aim for a quick, decisive movement. If it sticks, don’t yank the rod away with force, as this can damage the electrode tip.
Try to break the connection by bending the rod slightly or wiggling it.
Restarting the Arc
When you stop welding, a small crater forms at the end of your bead. To restart, you need to strike an arc just in front of the crater, melt it slightly, and then move back into the crater to tie into the existing weld. If you try to restart by simply touching the rod to the existing bead, it can stick.
How to Fix: Before you restart, prepare the area slightly. Strike your arc just ahead of the crater, establish a small molten puddle, and then gently move back to blend into the previous weld. This ensures a smooth transition and prevents sticking.
Troubleshooting Common Sticking Scenarios
Let’s look at some specific situations where sticking happens and how to address them.
Scenario 1: New Electrode Sticks Immediately
Problem: You insert a new electrode and it sticks the moment you touch it to the metal.
Likely Cause: Amperage too low, or you are holding the electrode too still on contact.
Solution: Increase amperage by 5-10 amps. Try a more confident “scratch” motion. Ensure you are immediately pulling back to establish an arc.
Scenario 2: Sticking When Welding Downhill
Problem: The rod sticks more often when you are welding downhill.
Likely Cause: Gravity is pulling the molten metal down, and if your arc is too long or your travel speed is too slow, the electrode can get buried in the molten puddle.
Solution: Use a slightly faster travel speed. Maintain a slightly shorter arc length. Consider using a rod designed for downhill welding if available.
Scenario 3: Sticking on Thin Metal
Problem: You’re burning through the thin metal and the rod sticks.
Likely Cause: Amperage is too high for the thin metal, or your arc length is inconsistent.
Solution: Lower the amperage significantly. You may need to use a smaller diameter electrode. Focus on a very short, consistent arc length.
Consider using a technique like “stitching” (short, quick welds) rather than a continuous bead.
Scenario 4: Sticking on Rusty or Painted Metal
Problem: The rod sticks more easily on dirty surfaces.
Likely Cause: Contaminants on the surface interfere with arc stability and can cause the rod to adhere.
Solution: Clean the metal thoroughly with a wire brush. For very rusty metal, E6010 or E6011 rods are often better as they have a more forceful arc that can burn through some surface contaminants. However, proper cleaning is always best.
Practice Makes Perfect
The most important thing is practice. Welding is a skill that improves with repetition. Take advantage of scrap metal to practice starting and stopping your arc, maintaining a consistent arc length, and controlling your travel speed.
Don’t get discouraged by a few stuck rods; every one is a learning opportunity.
Frequently Asked Questions
Question: How do I know if my amperage is set correctly?
Answer: The best way to tell if your amperage is correct is by observing the weld puddle and listening to the arc. If the puddle is too small and the arc sounds crackly or spattery, your amperage might be too low. If the puddle is large, uncontrollable, and the metal is burning through, your amperage is likely too high.
Aim for a consistent crackling sound and a manageable, smooth puddle.
Question: Can I fix a weld if the rod stuck?
Answer: If the rod sticks and you can’t break it free, you’ll likely need to cut that section out and re-weld it. However, if you’re quick and can break the connection before it welds firmly, you might be able to continue. The goal is to prevent it from sticking in the first place.
Question: What’s the difference between AC and DC welding for stick welding?
Answer: AC (Alternating Current) welding current changes direction many times per second. DC (Direct Current) welding current flows in one direction. Some welders and electrodes perform better on AC, while others perform best on DC.
AC can be good for general purpose welding with rods like E6013. DC can provide a more stable arc and better penetration, especially with rods like E7018.
Question: Should I use a longer or shorter electrode for easier welding?
Answer: The length of the electrode itself doesn’t directly impact sticking as much as how you use it. However, electrodes come in different diameters (e.g., 1/8″, 3/32″). Smaller diameter electrodes generally require lower amperage and can sometimes be easier to control for beginners, potentially reducing sticking if used correctly.
Question: How can I tell if I’m holding the electrode at the right angle?
Answer: Imagine you are pulling the electrode along the seam. For most electrodes, you’ll want a slight “drag” angle of about 10-30 degrees. This means the electrode is angled slightly away from the direction you are moving.
You can practice this angle on scrap metal to get a feel for it. Consistency is key.
Final Thoughts
When your stick welder rod is sticking frequently, remember it’s a common beginner hurdle, not a sign of failure. Focus on a consistent, short arc length – about the diameter of the rod. Ensure your amperage isn’t too low; it needs enough heat to melt the rod and base metal.
A slight drag angle and steady travel speed help too. By practicing these simple adjustments, you’ll soon be laying smooth, strong beads without the frustration of a sticking rod. Keep at it, and you’ll see great improvement.