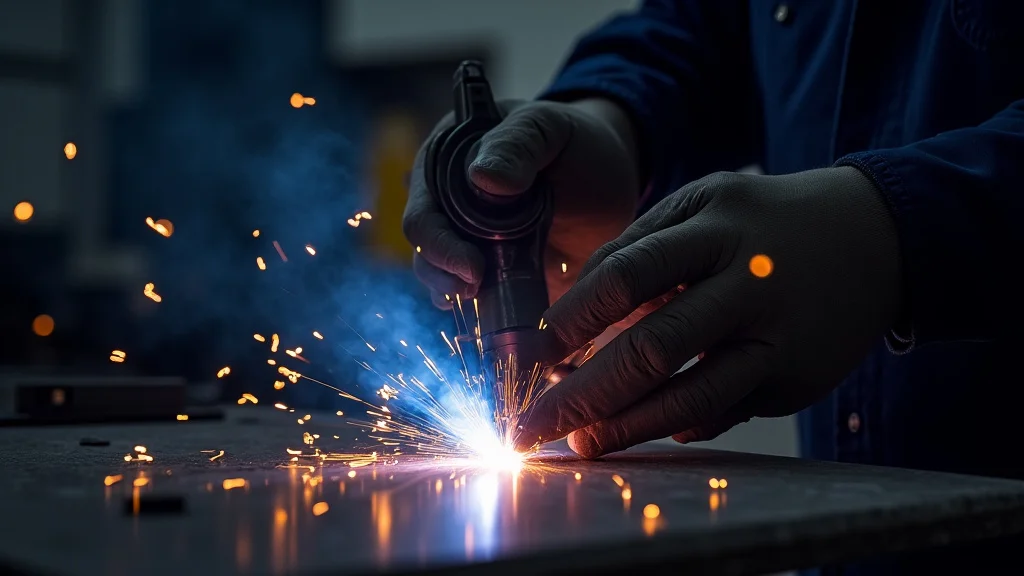
Ever feel like your welding machine just quits on you? That’s a common issue, especially when you’re new to welding. It’s easy to get frustrated.
But don’t worry! This guide will show you exactly how to fix a Welding Machine Overload Problem? Step Fix.
We’ll walk through it so you can get back to your projects quickly. Stick around, and we’ll make sure you know what to do next time.
Key Takeaways
- You will learn what causes a welding machine to overheat.
- We will explain how to identify the signs of an overloaded welder.
- This post offers simple steps to cool down and reset your machine.
- You will discover maintenance tips to prevent future overheating.
- We will cover common troubleshooting steps for overload issues.
Why Does My Welder Overload? Understanding the Basics
A welding machine is like any other tool. It has limits. When you push it too hard or for too long, it can overheat.
This is called an overload. Think of it like a car engine running too hot. It needs to cool down.
Your welder has safety features to prevent serious damage. An overload condition is usually a sign that these safety features are doing their job.
Several things can cause your welding machine to overload. The most common reason is duty cycle. Every welder has a duty cycle rating.
This tells you how long it can weld at a certain amperage in a 10-minute period before it needs to cool off. For example, a 60% duty cycle at 100 amps means you can weld for 6 minutes at 100 amps, then you must let it rest for 4 minutes.
If you try to weld for longer than its duty cycle allows, especially at high amperages, the machine will heat up. Another cause is poor ventilation. Welders need airflow to stay cool.
If the vents are blocked by dust, dirt, or anything else, the heat can’t escape. This makes the machine overheat much faster.
Using the wrong settings for your material can also contribute. If you’re trying to weld thick metal with settings meant for thin metal, your machine has to work much harder. This extra effort generates more heat.
Faulty components inside the machine can also cause it to run hotter than it should, leading to an overload. Sometimes, even the electrical supply can be a factor if it’s not providing enough stable power.
Recognizing the Signs of an Overloaded Welder
Your welding machine will usually give you some clues when it’s about to overload or has already done so. The most common sign is a warning light. Many modern welders have an indicator light that turns red or orange when the machine is too hot.
This light is your signal to stop welding and let the machine cool.
You might also notice a change in how the welder performs. The arc could become unstable, sputtering or becoming weak. Some welders might even shut off completely when they reach a critical temperature.
This is the machine protecting itself from damage. You might also feel the casing of the welder getting unusually hot to the touch.
Don’t ignore these warnings. Pushing a welder that’s already hot can lead to damage. It’s better to take a break and let it cool down.
Checking the machine’s manual can help you understand what specific warning lights or sounds your model might have.
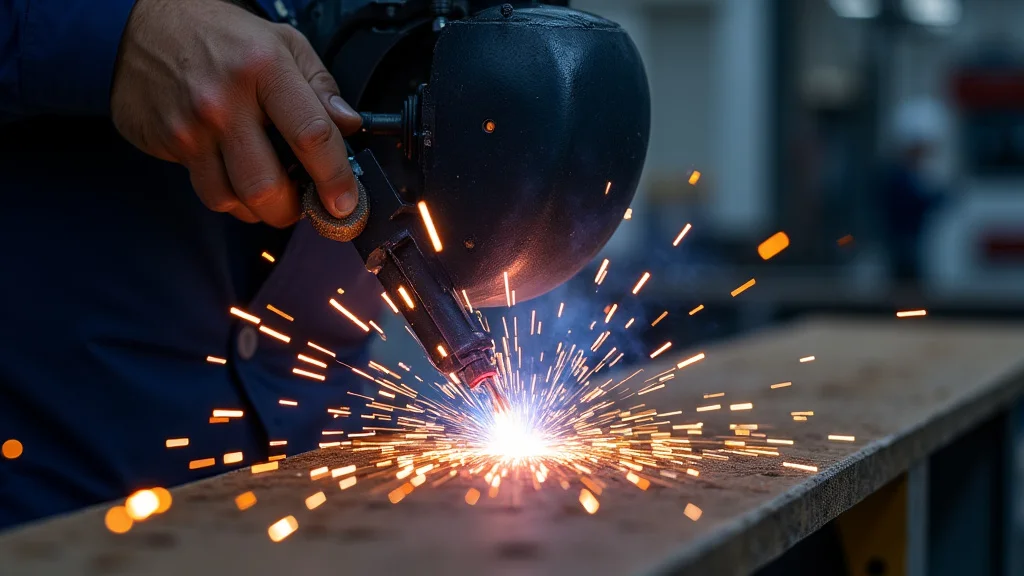
The Simple Step-by-Step Fix for Overload Problems
When your welding machine signals an overload, the fix is usually very simple. It mostly involves patience and a little bit of care. The most important step is to stop welding immediately.
Continuing to weld will only make the problem worse and could lead to damage.
Step 1: Stop Welding. As soon as you see a warning light or notice performance issues, release the trigger. Turn off the power switch on the machine if it hasn’t already shut down. This gives the internal components a chance to start cooling.
Step 2: Let it Cool Down. This is the most crucial part. You need to give the welding machine time to cool down completely. How long this takes depends on how hot it got and the type of machine.
Typically, this can range from 10 to 30 minutes, or sometimes longer. Don’t try to rush this process. Resist the urge to turn it back on too soon.
Step 3: Ensure Proper Ventilation. While it’s cooling, take a look at the welder’s vents. Are they clear? If you see dust, dirt, or debris blocking them, carefully clean them out.
You can use compressed air to blow out any blockages. Good airflow is essential for cooling, so make sure nothing is in the way.
Step 4: Check Your Duty Cycle. Think about what you were doing right before the overload. Were you welding for a long time continuously? Were you using a high amperage setting?
If you were pushing the machine beyond its duty cycle, you’ll need to adjust your welding habits. Plan your work so you take breaks to match the welder’s duty cycle. This means shorter welding periods followed by rest periods.
Step 5: Inspect Power Source and Cables. Make sure the power source is adequate for your welder. Loose connections or damaged cables can also cause issues. Check that the ground clamp is securely attached to the workpiece and that the welding leads are not kinked or damaged.
Step 6: Restart and Test. Once the machine has cooled down sufficiently (the warning light should be off), you can try turning it back on. Start with a short weld at a lower amperage to see if the problem persists. If it seems to be working correctly, you can gradually return to your normal welding settings, keeping an eye on the warning lights and performance.
Preventing Future Welding Machine Overloads
The best way to deal with a welding machine overload is to prevent it from happening in the first place. A little preventative care can save you a lot of hassle and keep your equipment in good shape.
Understand Your Welder’s Duty Cycle: This is the most important factor. Always know your machine’s duty cycle at different amperages. Plan your welding tasks around these limits.
If you have a big job that will take a long time, consider breaking it down into sections with adequate cooling periods in between.
Maintain Clean Vents: Regularly check and clean the air vents on your welding machine. Dust and debris are the enemy of cooling systems. Use compressed air to blow out any build-up.
This should be part of your regular tool maintenance routine.
Use Appropriate Settings: Don’t try to force your machine to do jobs it’s not suited for. Use the correct amperage and voltage settings for the thickness and type of metal you are welding. Consult your machine’s manual or welding charts if you are unsure.
Ensure Good Ventilation in Your Workspace: Make sure the area where you are welding is well-ventilated. This helps the overall cooling of your equipment, not just the machine itself. Avoid welding in confined, hot spaces if possible.
Inspect Power Cables and Connections: Regularly check your welding cables for any signs of wear, fraying, or damage. Ensure all connections, including the ground clamp and electrode holder, are clean and tight. Loose or damaged connections can cause resistance, leading to excess heat.
Avoid Long, Continuous Welds: Unless you have a very high-duty cycle machine designed for industrial use, try to avoid welding for extremely long periods without breaks. Even on less demanding jobs, taking short pauses can help. This is especially true in hot weather conditions.
Store Your Welder Properly: When not in use, store your welding machine in a clean, dry place. Protect it from extreme temperatures and humidity. This helps maintain its internal components.
Common Causes and Solutions Table
Here’s a quick look at common overload causes and their solutions:
| Problem Cause | Solution |
|---|---|
| Exceeding Duty Cycle | Adhere to machine’s duty cycle. Take cooling breaks. |
| Blocked Air Vents | Clean vents regularly with compressed air. Ensure clear airflow. |
| Incorrect Amperage/Voltage | Use settings appropriate for material thickness. Consult charts. |
| Poor Ventilation in Workspace | Ensure the welding area is well-ventilated. |
| Damaged Cables or Connections | Inspect and repair/replace cables. Tighten all connections. |
| High Ambient Temperature | Weld in cooler conditions if possible. Allow extra cooling time. |
| Internal Machine Fault | Contact manufacturer or qualified technician. |
Frequently Asked Questions
Question: How long does a welding machine need to cool down?
Answer: The cooling time varies depending on how hot the machine got and its model. It can take anywhere from 10 to 30 minutes, or sometimes longer. The best indicator is when the overload warning light goes off.
Question: Can I still weld if the overload light is on?
Answer: No, you should not continue welding if the overload light is on. This is a safety feature designed to protect the machine from damage. Keep welding will make the problem worse.
Question: What is duty cycle in simple terms?
Answer: Duty cycle is like a welder’s stamina. It tells you how much you can weld in a 10-minute period at a certain power level before it needs a break to cool down.
Question: What if my welder keeps overheating even after cooling down?
Answer: If your welder repeatedly overheats, it might indicate a more serious issue. Check that vents are clean, you’re not exceeding the duty cycle, and all connections are good. If the problem continues, it’s best to have a professional check it.
Question: Does the type of welding affect overload risk?
Answer: Yes, different welding processes and amperages can generate different amounts of heat. Welding at higher amperages or for longer periods with processes like stick welding or MIG welding on thick materials can increase the risk of overload compared to lighter tasks.
Final Thoughts
Fixing a Welding Machine Overload Problem? Step Fix is usually straightforward. Remember to stop welding, let your machine cool completely, and ensure its vents are clear.
By understanding your welder’s duty cycle and maintaining good practices, you can prevent overheating. Keep your workspace tidy and your cables in good condition. This simple approach keeps your welder running smoothly and ready for your next project.