Seeing burn marks when you’re MIG welding can be a bit of a puzzle, especially when you’re just starting out. That MIG Welder Burn Marks Issue? Fix Fast is a common worry for many new welders because it’s not always clear what causes it or how to stop it.
But don’t worry! We’ve got a simple, step-by-step way to help you fix those burn marks quickly. Read on to learn how to get cleaner welds.
Key Takeaways
- You’ll learn what causes burn marks when MIG welding.
- Discover how to adjust your MIG welder settings to prevent burn marks.
- Understand the role of wire speed and voltage in weld appearance.
- Find out how material thickness affects burn marks.
- Get tips on proper welding technique to avoid excessive heat.
- Learn simple fixes to clean up any accidental burn marks.
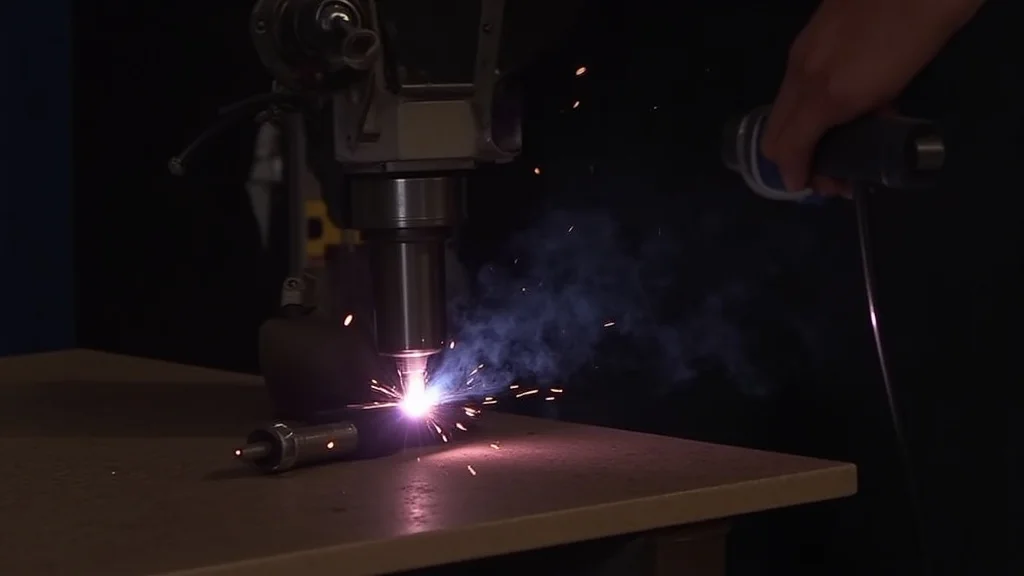
What Are MIG Welder Burn Marks?
Understanding the Problem
When you’re MIG welding, burn marks usually show up as dark, discolored areas around your weld. Sometimes they look like rough, melted edges or even small holes that weren’t meant to be there. These marks aren’t just ugly; they can sometimes mean your weld isn’t as strong as it should be.
Many beginners struggle with this because there are a few things that can cause them, and figuring out which one it is can take some trial and error.
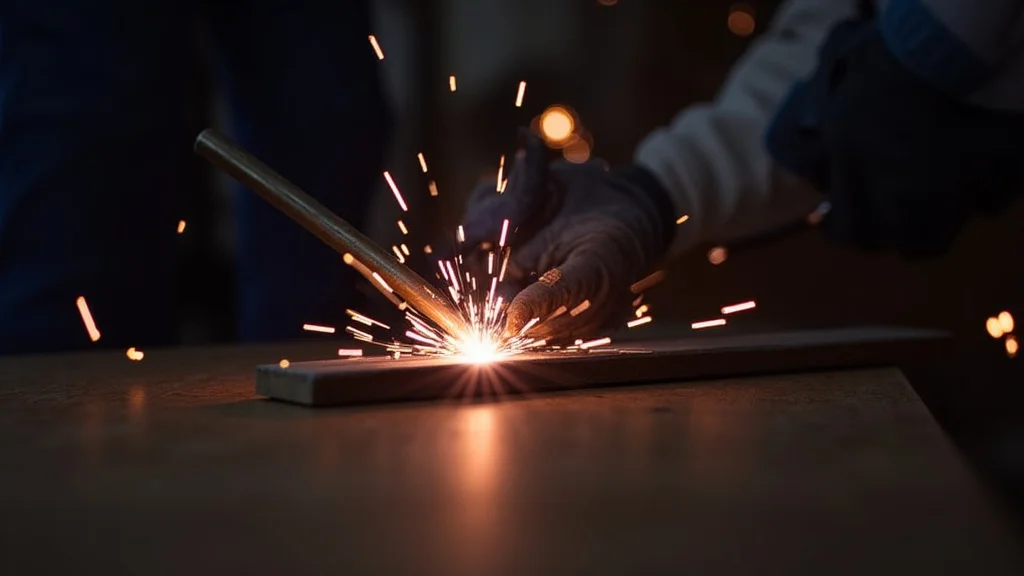
Why They Happen
The main reason you get burn marks is too much heat in one spot for too long. MIG welding uses an electric arc to melt metal, and if that arc is too hot or stays in one place too long, it can overheat the surrounding metal. This causes discoloration and can even burn through thin material.
Common Causes of Burn Marks
Incorrect Voltage Settings
Your MIG welder has a voltage setting. Think of voltage as the “push” of electricity. If the voltage is too high, it creates a very hot arc.
This intense heat can easily overheat the metal and lead to burn marks, especially on thinner pieces. It’s like trying to cook a delicate piece of fish on a super high flame – it burns easily.
When voltage is too high, you might notice:
- A spattery arc.
- The weld pool spreads out too much.
- Deep penetration that might go through thin metal.
- Dark, often shiny, discoloration around the weld.
Wire Speed Too High
Wire speed is how fast the welding wire is fed into the gun. This speed is directly linked to the amperage (the amount of electrical current). A higher wire speed means more amps, which means more heat.
If you feed the wire too fast, you’re essentially dumping more heat into the weld than the metal can handle, causing those burn marks.
Too much wire speed can result in:
- A very loud, crackling sound from the arc.
- Excessive heat buildup.
- A wide, flat bead that might be too hot.
- Burn-through on thinner materials.
Travel Speed Too Slow
Your travel speed is how fast you move the welding gun along the joint. If you move too slowly, the welding arc stays on one spot for too long. This concentrates heat in that area, causing the metal to overheat and leading to burn marks.
Imagine painting a wall; if you hold the brush in one spot too long, the paint will start to drip and look messy. Welding is similar.
A slow travel speed often looks like:
- A large, bulky weld bead.
- The metal appearing to melt away from the weld.
- Significant discoloration or scorching.
Wrong Wire Diameter for Material Thickness
MIG welding uses different wire sizes, like 0.023″, 0.030″, or 0.035″. The size of the wire matters a lot. If you use a wire that’s too thick for the metal you’re welding, it can deliver too much heat.
A thick wire on thin metal is a recipe for burn marks and burn-through. It’s like using a big, hot log on a small campfire – it just overpowers it.
Incorrect Gas Flow Rate
The shielding gas in MIG welding protects your molten weld pool from the air. If the gas flow is too low, the gas isn’t effectively shielding the weld. This can lead to a less stable arc and can cause the metal to get hotter than it should, contributing to burn marks and poor weld quality.
Signs of low gas flow include:
- More spatter than usual.
- Porosity (small holes) in the weld.
- Discoloration at the edges of the weld.
Dirty Metal or Base Material Issues
The surface of the metal you’re welding should be clean. Rust, paint, oil, or dirt can interfere with the arc. When the arc hits these contaminants, it can create uneven heating and lead to burn marks.
It’s like trying to cook food with dirt on it – it doesn’t heat evenly and can scorch in places.
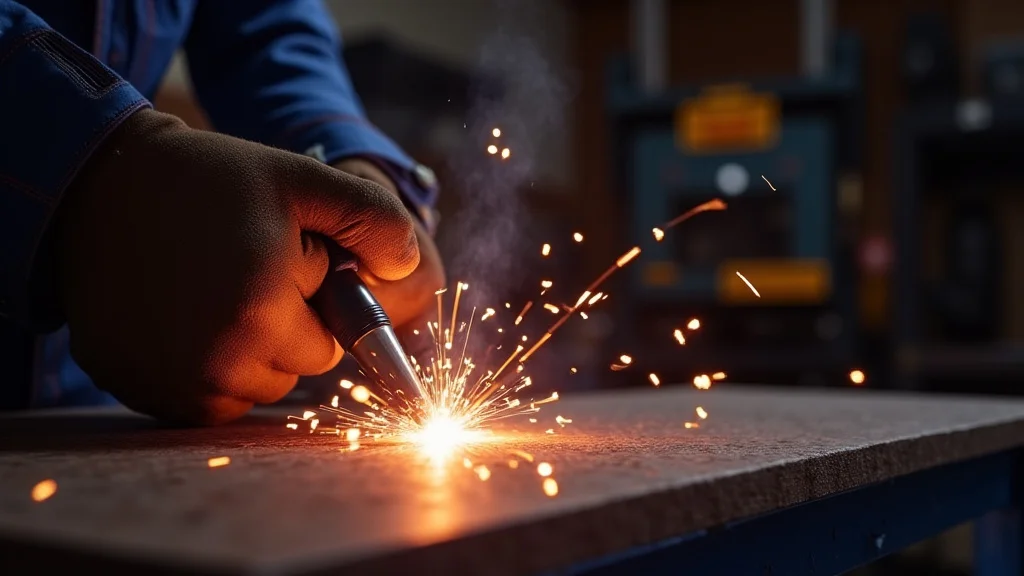
How to Fix MIG Welder Burn Marks (Fast!)
1. Adjust Your Voltage
If you’re getting burn marks, the first thing to check is your voltage. Try turning it down a notch or two. You want a smooth, consistent arc, not a wild, spattery one.
A good arc sounds like a steady sizzle or bacon frying. If it’s crackling loudly, your voltage might be too high.
Quick Tip: Start with the manufacturer’s recommended settings for your material thickness and wire size, then make small adjustments.
2. Fine-Tune Your Wire Speed
Next, adjust your wire speed. If your voltage is set correctly, but you’re still getting hot, try lowering the wire speed slightly. This reduces the amperage and the heat input.
You’re looking for a good balance between the wire feeding in and the electricity melting it smoothly.
| Material Thickness (Gauge) | Suggested Wire Speed (IPM) | Suggested Voltage |
|---|---|---|
| 24-20 (Thin) | 80-150 | 14-17 |
| 18-16 (Medium) | 150-250 | 17-19 |
| 14-12 (Thick) | 250-400 | 19-22 |
Note: These are starting points. Always test on scrap metal. IPM = Inches Per Minute.
3. Speed Up Your Travel
Practice moving your welding gun at a consistent pace. If you’re moving too slowly, consciously try to speed up. Imagine you’re painting a line; you want to keep a steady hand and a consistent rhythm.
A good travel speed usually results in a nice, even bead width that isn’t too wide or too narrow.
4. Use the Right Wire for the Job
Make sure the wire diameter you’re using is appropriate for the thickness of the metal. For thin sheet metal (like car body panels), you’ll want a smaller wire (0.023″ or 0.024″). For thicker steel, you can use a larger wire (0.030″ or 0.035″).
Using the correct wire helps control heat input effectively.
5. Check Your Gas Flow
Ensure your shielding gas is flowing correctly. For most common setups, a flow rate of 15-25 cubic feet per hour (CFH) is a good starting point. You can test this by briefly pulling the trigger and feeling the gas coming out of the nozzle.
If you can feel a good, steady stream, it’s likely correct. Too little gas leads to weld contamination and issues.
6. Clean Your Metal Thoroughly
Before you start welding, always clean the metal. Use a wire brush or sandpaper to remove any rust, paint, oil, or dirt. Clean metal helps the arc create a consistent, stable weld without the interference of contaminants, which reduces the chance of burn marks.
7. Adjust Your Stick-Out
The “stick-out” is the length of the welding wire that extends out of the nozzle tip. A longer stick-out generally results in less heat and lower amperage. A shorter stick-out (around 1/4 to 1/2 inch) delivers more heat.
If you’re getting burn marks, try slightly increasing your stick-out. Make sure your contact tip is clean and not clogged with spatter.
Techniques to Prevent Burn Marks
Weld Stitching on Thin Metal
When welding thin materials, don’t try to create one long, continuous weld. Instead, use a “stitch” welding technique. This involves making short, intermittent welds, like dashes in a line.
You weld for a short burst, then move a short distance away and weld again, letting the metal cool slightly in between. This prevents heat from building up in one area.
Using a Heat Sink
For very thin metal, you can place a piece of copper or aluminum behind the weld seam. This is called a heat sink. It absorbs some of the heat from the weld, preventing it from burning through the thin material.
This is especially helpful when welding edges or corners.
Back-Step Welding
This is another technique to manage heat. Instead of welding from left to right (or right to left) in one direction, you weld a short section, then move your torch backward a short distance along the weld path and weld again. This helps to distribute heat more evenly and can prevent burn-through.
Pulsed MIG Welding (If Available)
Some advanced MIG welders have a pulsed welding mode. This mode cycles the welding current between a high peak current and a lower background current. The peak current provides good penetration, while the background current allows the weld pool to cool slightly.
This offers better control over heat input, especially on thin materials, and can significantly reduce burn marks.
FAQ
Question: How do I know if my MIG welder settings are too hot?
Answer: If you see excessive spatter, the weld puddle is spreading out too much and becoming very flat, or you’re burning through thin metal, your settings are likely too hot. Also, a loud, crackling arc sound often indicates too much heat.
Question: Can I fix burn marks after they happen?
Answer: Minor burn marks or discoloration can often be cleaned up with a grinder or a wire brush. If the metal is actually burnt through, you’ll need to repair the hole, possibly by welding it shut or using a patch.
Question: What’s the difference between voltage and wire speed for heat?
Answer: Voltage controls the arc length and the overall arc intensity, while wire speed controls the amperage, which is the amount of electrical current. Both affect heat, but voltage often has a more direct impact on arc heat, and wire speed determines how much metal is being melted.
Question: Should I use a gasless (flux-cored) wire if I’m having burn mark issues?
Answer: Flux-cored wire can sometimes be hotter than solid wire. While it can be useful in some situations, if your main problem is burn marks due to excessive heat, switching to a solid wire with adjusted settings might be a better solution.
Question: How does the contact tip affect burn marks?
Answer: The contact tip transfers electricity to the wire. If the tip is worn out or clogged with spatter, it can cause an inconsistent arc and lead to poor heat control, potentially causing burn marks. Regularly clean or replace your contact tip.
Final Thoughts
Getting rid of unwanted burn marks when MIG welding is about finding the right balance. It often comes down to making small, smart adjustments to your welder’s settings. Try lowering your voltage first, then your wire speed.
Make sure you’re moving at a good pace, and always start with clean metal. With a little practice and these simple fixes, you’ll be producing cleaner, better-looking welds in no time.