It’s really common for folks new to TIG welding to ask, “Why Is My TIG Welder Producing Inconsistent Welds?”. You’re trying your best, but the welds look bumpy, have gaps, or just don’t seem right. It can be frustrating when your TIG welder isn’t giving you the smooth, clean lines you expect.
Don’t worry, though! We’ll break down the common reasons this happens and show you how to fix it, step by step. We’ll look at simple things you can adjust to get much better results.
Key Takeaways
- Understand how different amperage settings affect weld quality.
- Learn the importance of proper tungsten preparation and selection.
- Discover how filler metal type and technique impact weld consistency.
- Recognize the role of gas flow rate in preventing weld defects.
- Identify common mistakes in arc length and travel speed.
- See how base metal cleanliness is vital for good TIG welds.
Understanding Why TIG Welds Become Inconsistent
TIG welding, or Gas Tungsten Arc Welding (GTAW), is known for creating beautiful, precise welds. But when you’re starting out, getting those perfect beads can feel like a puzzle. Inconsistent welds can show up as uneven bead width, porosity (little holes), undercut (grooves along the edge of the weld), or even a lack of fusion (where the metal didn’t fully join).
Most of the time, these issues come down to a few key settings and techniques that aren’t quite right.
The good news is that most of these problems are fixable with a bit of knowledge and practice. We’ll go through the most common culprits so you can start making smoother, stronger welds right away. Fixing these things often makes a big difference very quickly.
Amperage: The Power Behind Your Weld
Amperage is like the heat setting on your TIG welder. It’s one of the most important factors for a good weld. If your amperage is too high, you’ll melt the metal too fast and too much, leading to a wide, messy bead and possibly blowing holes through your material.
If it’s too low, the metal won’t melt properly, and your weld won’t be strong. This is a big reason why a TIG welder might produce inconsistent welds.
Setting the Right Amperage
The correct amperage depends on several things:
- Material Thickness: Thicker metal needs more amperage than thinner metal.
- Material Type: Steel, aluminum, and stainless steel all behave differently.
- Your Welding Position: Sometimes you need slightly different settings for overhead or vertical welding compared to flat welding.
As a general rule of thumb, a good starting point for mild steel is about 1 amp per thousandth of an inch of thickness. So, for 1/8-inch steel (0.125 inches), you’d aim for around 125 amps. For aluminum, you often need more amperage than steel for the same thickness.
Tip: Always do test welds on scrap pieces of the same material before welding your actual project. This helps you dial in the perfect amperage without ruining your work.
Tungsten Electrode: The Heart of the Arc
The tungsten electrode is what creates the arc that melts the metal. Its condition and type play a huge role in weld consistency. A dirty, blunted, or incorrect tungsten will give you an unstable arc, making it hard to get a smooth, even bead.
Tungsten Types and Preparation
There are different types of tungsten electrodes, often indicated by a color band on the electrode. Common types include:
- Pure Tungsten (Green): Good for AC welding of aluminum, but less common now.
- Thoriated Tungsten (Red): Popular for DC welding, but contains a radioactive element.
- Ceriated Tungsten (Gray/Orange): A good all-around choice for DC and AC, and is non-radioactive.
- Lanthanated Tungsten (Blue/Gold): Excellent all-around performance for DC and AC, stable arc, and non-radioactive. Often considered a top choice.
For most beginner TIG welding, especially on steel with DC current, a 2% lanthanated (blue tip) or 2% ceriated (gray tip) tungsten is an excellent choice. For aluminum with AC current, lanthanated or pure tungsten are common.
Sharpening Your Tungsten
How you prepare the tip of your tungsten is critical. For DC welding (like steel), you want to grind a sharp, pointed tip. This concentrates the arc and makes it easier to control.
Use a dedicated tungsten grinder (never one you use for metal cutting) to avoid contamination.
For AC welding (like aluminum), you generally want to grind the tungsten to a slightly blunter, more rounded tip. Some people even let the AC arc ball the tip slightly. A sharply pointed tungsten can vaporize too quickly on AC.
Tip: Never touch the tungsten electrode with your filler metal. This contaminates the tungsten and will cause an unstable arc and poor welds.
Filler Metal: Adding Strength and Form
Filler metal is the rod you add to build up your weld bead. Using the wrong type or adding it incorrectly can lead to weak welds, cracks, or inconsistent bead appearance.
Choosing the Right Filler Metal
Always match your filler metal to the base metal you are welding. For example:
- Mild Steel: Use ER70S-2 or ER70S-6 filler rods.
- Stainless Steel: Use stainless steel filler rods that match the grade (e.g., 308 for 304 stainless).
- Aluminum: Use aluminum filler rods like 4043 (common, good all-around) or 5356 (stronger, better for certain applications).
Filler Metal Technique
How you add the filler metal matters a lot. You want to introduce it smoothly into the leading edge of the weld puddle. Don’t hold the filler rod in the puddle for too long, or you’ll melt it and create a messy, inconsistent bead.
It should just barely kiss the puddle.
Tip: Keep your filler rod clean. Oils, dirt, or moisture on the rod can contaminate the weld and cause porosity.
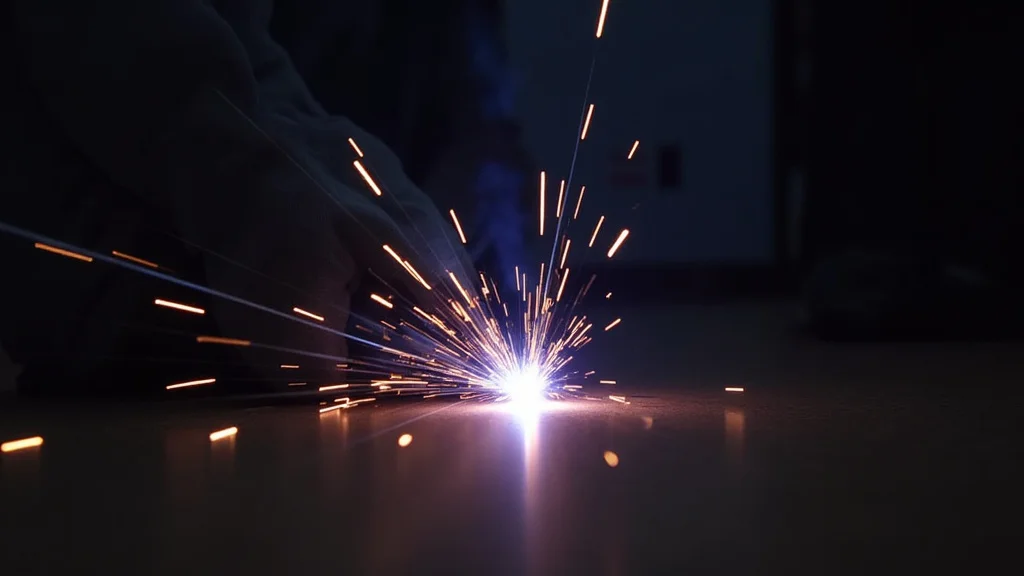
Shielding Gas: Protecting Your Weld
Shielding gas is vital for TIG welding. It protects the molten weld puddle and the tungsten electrode from reacting with oxygen and nitrogen in the air. If your shielding gas isn’t adequate, your welds will likely be porous and weak.
Gas Flow Rate
The flow rate of your shielding gas (usually Argon for TIG) needs to be set correctly. Too little gas means the air can get to your weld, causing contamination. Too much gas can create turbulence, which can also pull air into the puddle or blow away the shielding gas.
A good starting point for most TIG welding is 15-25 cubic feet per hour (CFH). This can vary based on:
- Weld Size: Larger welds might need slightly more gas.
- Drafts: If you’re welding in a windy area, you might need higher flow or a draft shield.
- Torch Size: Larger cups often require more gas.
Tip: Always check your gas cylinder pressure and make sure your regulator is working properly. Also, ensure your gas lens is clean and free of damage. A gas lens helps create a more stable and wider gas coverage.
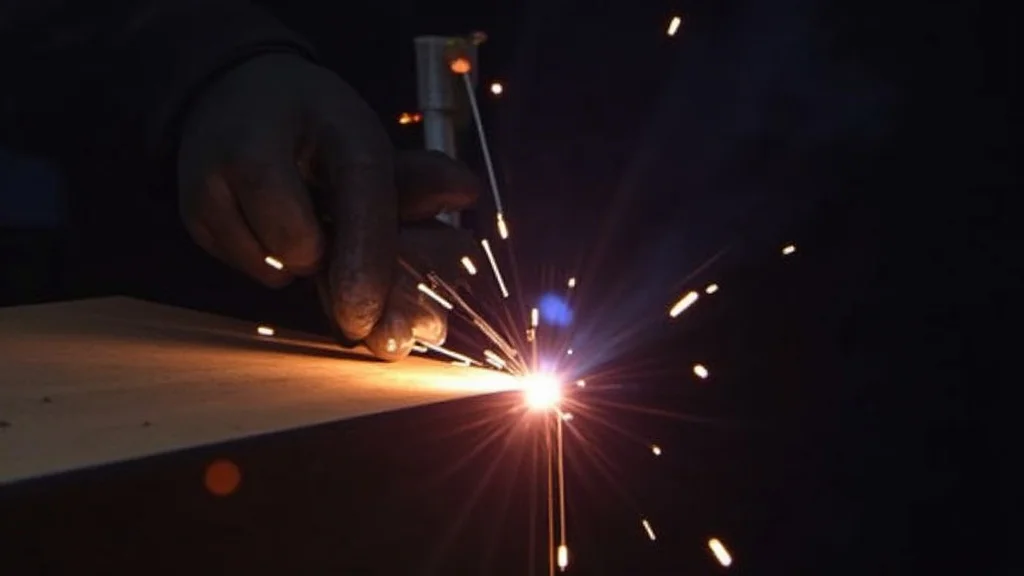
Arc Length: The Gap Between Tungsten and Work
Arc length is the distance between the tip of your tungsten electrode and the surface of the metal you’re welding. This is another critical setting for controlling weld quality and appearance. An inconsistent arc length is a major contributor to inconsistent welds.
Keeping a Consistent Arc Length
Ideally, you want to maintain a very short, consistent arc length. Think of it as being just long enough for the arc to flow smoothly without sputtering. A good rule of thumb for DC welding is to keep the arc length roughly the diameter of your tungsten electrode.
- Too Long: A long arc is unstable, makes a lot of noise, and will produce a wide, flat bead with poor penetration. It can also lead to tungsten inclusions (pieces of tungsten breaking off into the weld).
- Too Short: If you dip your tungsten into the puddle, you’ll contaminate it, create an unstable arc, and potentially get a shock. It can also cause a narrow, raised bead with poor tie-in.
Tip: Practice moving your hand and torch in a steady rhythm. Focus on keeping that consistent, short distance to the metal as you weld.
Travel Speed: How Fast You Move
Your travel speed is how quickly you move the TIG torch along the joint. Just like amperage and arc length, this needs to be consistent. An inconsistent travel speed will result in an uneven bead.
Finding the Right Travel Speed
The correct travel speed is closely related to your amperage and the size of your weld puddle. You want to move at a pace that allows the filler metal to melt into the puddle and the puddle to flow and form a nice, even bead.
- Too Fast: If you move too quickly, the puddle won’t have time to form properly, and you’ll get a narrow bead with poor penetration and possibly undercut.
- Too Slow: Moving too slowly will cause the puddle to get too large, leading to a wide, flat, or even convex bead. It can also lead to excessive heat input, potentially warping or burning through thin materials.
Tip: Watch the weld puddle. It should be roughly the size of a dime or nickel, depending on the application. As you get more experienced, you’ll learn to feel the right speed by how the puddle flows and solidifies behind you.
Base Metal Preparation: The Foundation of a Good Weld
It doesn’t matter how perfect your TIG settings are if the metal you’re welding is dirty. Contaminants like rust, paint, oil, grease, or even just oxidation on the surface will get into your weld and cause all sorts of problems.
Cleaning is Key
Before you even strike an arc, thoroughly clean the base metal. This usually involves:
- Wire Brushing: Use a stainless steel wire brush dedicated only for TIG welding (to avoid contamination). Brush in one direction.
- Grinding: For thicker materials, grinding the surface can remove thicker layers of rust or scale.
- Solvent Cleaning: Use a TIG-specific acetone or degreaser to remove oils and grease.
For aluminum, it’s especially important to clean off any oxide layer. This can be done with a stainless steel brush or by using chemicals designed for aluminum preparation.
Tip: After cleaning, try to weld as soon as possible, especially on reactive metals like aluminum or stainless steel, as they can re-oxidize quickly.
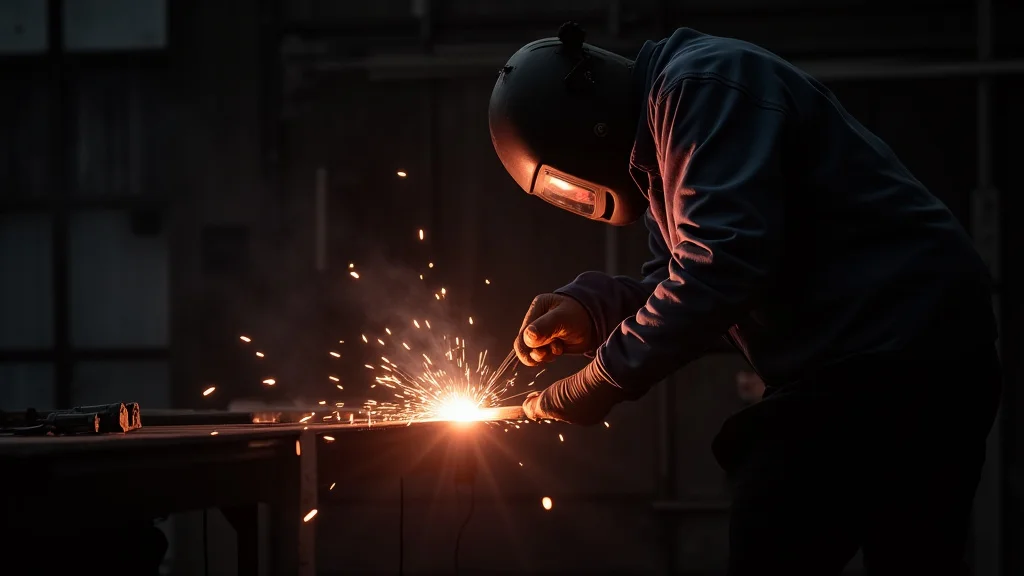
Technique: Foot Pedal and Torch Control
Your physical technique plays a huge part in TIG weld consistency. This includes how you control the amperage with your foot pedal (if you have one) and how you manipulate the torch.
Foot Pedal Control
If your TIG welder has a foot pedal, learning to use it smoothly is essential. It allows you to gradually increase amperage to start the weld and then control the heat as you go.
- Starting the Weld: Gently press the pedal to establish a small puddle.
- Maintaining the Puddle: Adjust the pedal to keep the puddle at a consistent size.
- Finishing the Weld: Slowly ease off the pedal to let the puddle taper off smoothly, preventing a crater.
Torch Movement
The way you hold and move the torch affects the arc and the gas coverage. Keep your grip relaxed but controlled. Move the torch in a steady, consistent motion, usually in a slight circular or back-and-forth motion to tie in each bit of filler metal.
Tip: Practice welding without filler metal first, just focusing on creating a consistent bead with good penetration. Then, start adding filler metal.
Material Type Differences
Different metals require different approaches, and not adapting your settings can lead to inconsistent results. The three most common metals for TIG beginners are mild steel, stainless steel, and aluminum.
Mild Steel
Mild steel is generally the easiest to TIG weld. It’s forgiving with settings. You’ll use DC current, a pointed tungsten (lanthanated or ceriated), and Argon shielding gas.
The main challenges are often getting good penetration and avoiding burn-through on thin material.
Stainless Steel
Stainless steel can be a bit trickier. It has lower thermal conductivity than steel, meaning heat builds up. This can cause warping and burn-through.
You’ll typically use DC current, a pointed tungsten, and Argon gas. Sometimes, a blend of Argon and Helium is used for thicker stainless to improve penetration and reduce heat buildup.
Aluminum
Aluminum requires AC current. It oxidizes very quickly, so cleaning is extremely important. The oxide layer has a much higher melting point than the aluminum itself.
The AC current helps to break through this oxide layer. You’ll use a blunter tungsten tip (or let it ball up) and Argon gas. Aluminum also needs more amperage than steel for the same thickness.
Tip: Understand the unique properties of the metal you’re working with. This knowledge will help you make better-informed decisions about your settings.
Common Problems and Quick Fixes
Let’s quickly look at some common issues and their solutions:
| Problem | Likely Cause | Quick Fix |
|---|---|---|
| Porosity (holes in weld) | Contaminated base metal, insufficient shielding gas, dirty filler rod, arc too long. | Clean metal thoroughly. Check gas flow and regulator. Use clean filler rod. Keep arc short. |
| Undercut (groove at weld edge) | Amperage too high, travel speed too fast, arc too long. | Lower amperage slightly. Slow down travel speed. Keep arc short and consistent. |
| Lack of Fusion (metal not joined) | Amperage too low, travel speed too fast, poor joint preparation. | Increase amperage. Slow down travel speed. Ensure edges are clean and fit up properly. |
| Weld is too wide and flat | Amperage too high, arc too long, travel speed too slow. | Lower amperage. Keep arc short. Speed up travel slightly. |
| Weld is too narrow and tall | Amperage too low, travel speed too fast. | Increase amperage. Slow down travel speed. |
Frequently Asked Questions
Question: Why does my TIG weld look like bird droppings?
Answer: This usually means your amperage is too low, your travel speed is too fast, or your arc length is too long. Try increasing your amperage slightly, slowing down your travel speed, and keeping the arc as short and consistent as possible.
Question: I’m getting little black specs in my weld. What is that?
Answer: Those black specs are likely contaminants. This can happen if your base metal wasn’t clean enough, your shielding gas isn’t flowing correctly, or your filler rod is dirty. Make sure everything is spotless before welding and check your gas flow.
Question: My tungsten electrode keeps breaking off into the weld. What am I doing wrong?
Answer: You are likely dipping your tungsten into the weld puddle. You need to maintain a consistent, short arc length without touching the metal. Also, ensure your tungsten is properly ground to a point for DC welding.
Question: Why is my aluminum weld so dirty and dull, not shiny?
Answer: Aluminum welds can be dull if the oxide layer isn’t properly removed before welding, or if your shielding gas coverage is poor. Use a dedicated stainless steel wire brush for aluminum and ensure your Argon flow is adequate and steady.
Question: How do I start a TIG weld without making a big hole?
Answer: Use your foot pedal or amperage control to slowly bring the heat up. Establish a small puddle first, then start adding filler metal. Gradually easing off the pedal at the end helps prevent a crater.
Final Thoughts
Fixing inconsistent TIG welds is about paying attention to details. You’ve learned that things like the right amperage, clean and prepared tungsten, proper filler metal choice, good shielding gas flow, consistent arc length, and steady travel speed are all key. Your base metal needs to be clean.
Different metals like steel and aluminum have their own needs. Practice makes perfect, so keep trying. Small adjustments can make a big difference in the quality of your welds.
You’ve got this!